
You scrub the wall, spray it down, and watch the dark patches disappear. The room smells fresh, the surface looks clean, and for a few weeks everything seems fine. Then it creeps back - sometimes in the exact same spot. If this cycle sounds painfully familiar, you are not alone. Most homeowners who try to remove fungus from wall surfaces discover the same frustrating truth: killing mould and stopping it from returning are two completely different things.
Understanding how to stop mould coming back starts with a simple shift in thinking. Surface cleaning treats the symptom, not the disease. When you wipe away visible growth without changing the underlying conditions, you are essentially resetting a countdown timer. Mould spores are microscopic and exist virtually everywhere - in outdoor air, on clothing, and settled on household surfaces. You cannot eliminate them entirely, and you do not need to. Spores only become a problem when the environment invites them to grow.
Here is a myth that costs homeowners time and money: bleach is the best way to kill mold and keep it gone. In reality, the U.S. Environmental Protection Agency does not recommend bleach as a routine mould cleanup practice. Bleach can kill surface mould on non-porous materials, but it fails to penetrate porous surfaces like drywall and wood where roots embed deeply. Worse, the water content in bleach can actually add moisture to porous materials, feeding the very problem you are trying to solve. Even dead mould can trigger allergic reactions, which means you need to physically remove the mold, not just disinfect over the top of it.
The real question is not what kills mold on walls - it is what keeps the mould from coming back once the wall is clean. And the answer lies in the growing conditions themselves.
Mould is not random. It follows a predictable recipe. Four specific conditions must be present simultaneously for mould to colonize a surface:
You cannot remove spores from the air, and you cannot realistically keep your home outside the temperature range mould prefers. Organic building materials are part of your home's structure. That leaves two conditions firmly within your control: moisture and airflow. Eliminate either one, and the cycle breaks.
This guide takes a diagnostic-first approach. Rather than offering how to get rid of mildew tips you have probably already tried, it walks you through identifying your specific moisture source, choosing the right fix, and building a long-term prevention system - step by step. The goal is not just a clean wall today, but a wall that stays clean for good.
The first step in that process? Figuring out exactly where all that moisture is coming from.
Moisture is the trigger, but not all moisture enters your home the same way. Grabbing a bottle of cleaning spray before identifying the source is like taking painkillers for a toothache without visiting the dentist - you feel better temporarily, but the problem is still there. Getting rid of mould in house after house follows the same pattern: homeowners treat the surface, skip the diagnosis, and end up right back where they started. A smarter approach begins with detective work.
Residential buildings typically suffer from one - or a combination - of these five moisture problems. Each one leaves distinct clues:
How do you prevent mold from returning if you are not sure which of these sources is feeding it? You test.
Two straightforward diagnostic methods can narrow down the culprit without any specialist equipment.
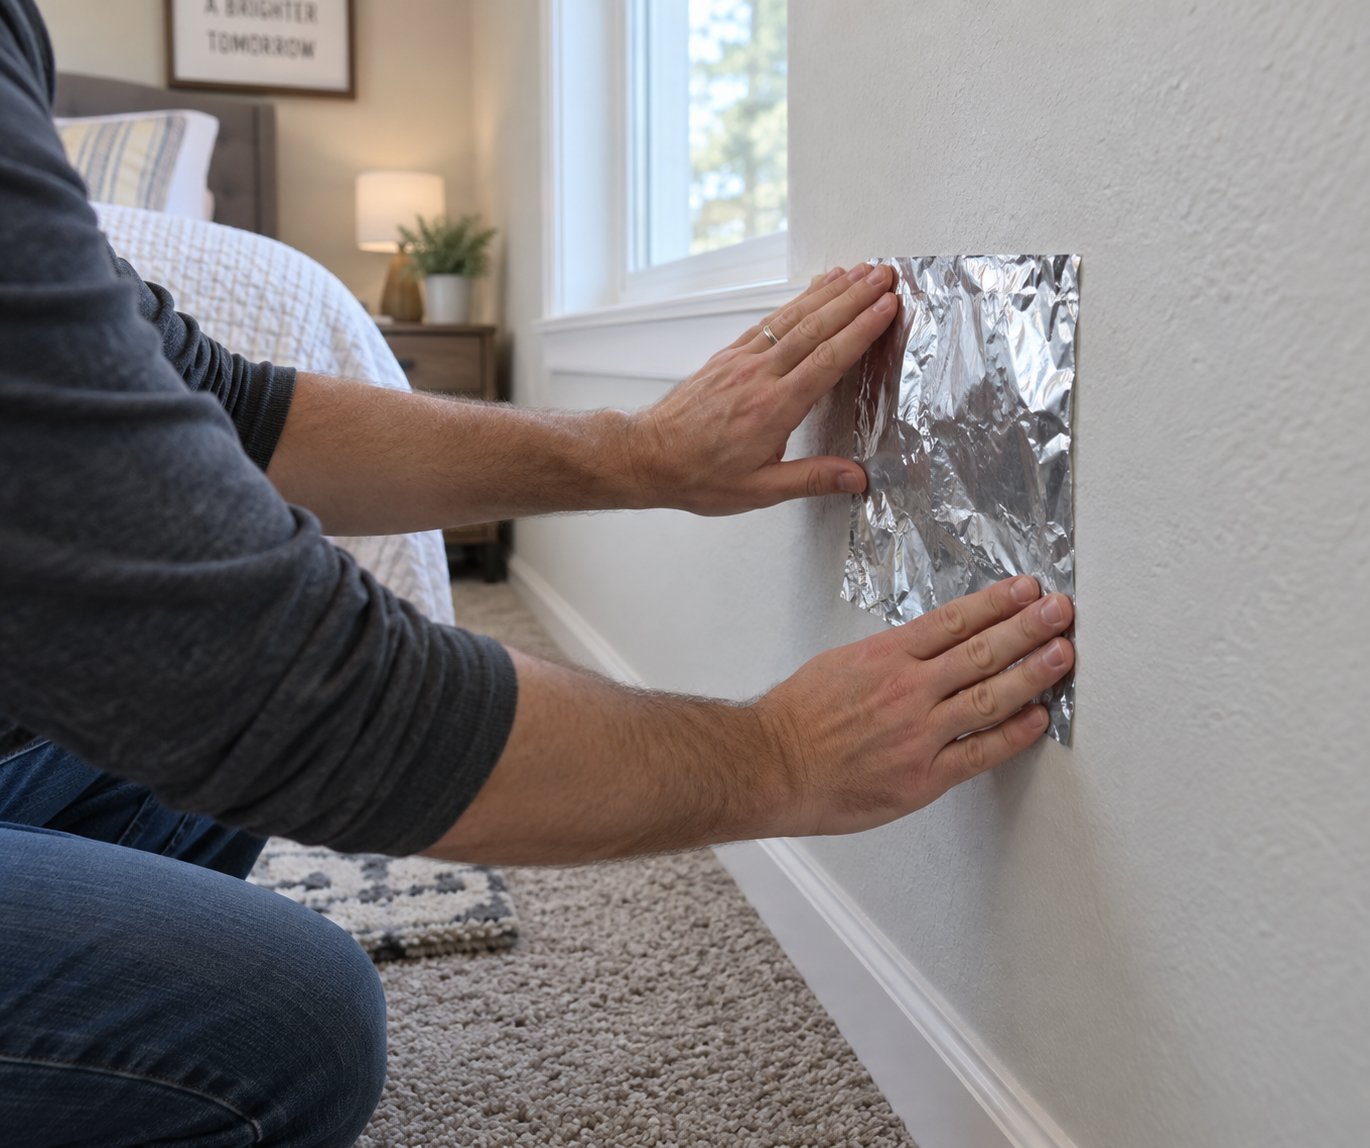
The foil test: Dry the damp area on your wall thoroughly, then tape a piece of aluminum foil firmly over the patch. Leave it undisturbed for 24 to 48 hours. When you peel it back, check both sides. Water droplets on the room-facing side indicate condensation - warm indoor air is depositing moisture onto the cold wall surface. Moisture trapped behind the foil, against the wall itself, points to water entering from within the structure: a leak, rising damp, or rainwater penetration.
The water meter test: If you suspect a hidden plumbing leak, turn off every tap, appliance, and water-using device in the house. Note the reading on your water meter, then wait one to two hours without using any water. If the meter has moved, water is escaping somewhere in your plumbing system - and that hidden leak could be the moisture source fueling your mould problem.
These simple tests matter because the correct fix depends entirely on what they reveal. Condensation calls for ventilation improvements and humidity control. A plumbing leak demands a plumber. Rising damp or rainwater ingress requires building repairs. How to treat household mold effectively and how to remove mold from your house permanently both hinge on matching the solution to the source. Applying a ventilation fix to a leaking pipe - or a dehumidifier to a cracked external wall - wastes money and leaves the mould free to return.
With the moisture source identified, the next priority is clearing the existing mould correctly so that your structural or ventilation fix has a clean slate to protect.
Knowing where the moisture comes from is half the battle. The other half starts with a clean surface. You cannot layer prevention strategies on top of active mould growth and expect lasting results - that is like waterproofing a boat that already has water sloshing around inside. Cleaning mould from walls properly is the essential reset that gives every downstream fix a fighting chance.
Here is the critical mindset shift, though: surface cleaning is step one, not the final solution. Think of it as clearing the battlefield before building your defenses. If you stop after scrubbing, you are right back in the cycle discussed earlier. With that framing in mind, let us look at what actually works - and what is overrated.
Not every cleaning agent performs equally on every material. The best way to remove mold from walls depends heavily on whether the surface is porous or non-porous. Bleach, for instance, excels on glass and ceramic tile but often makes things worse on porous materials like drywall and wood because its high water content feeds mould roots it cannot reach. Undiluted white vinegar, on the other hand, kills approximately 82% of mould species and offers mild penetration into porous surfaces - making it a safer all-rounder for most household situations.
This comparison breaks down the four most common options:
| Cleaning Agent | Effectiveness on Porous Surfaces | Effectiveness on Non-Porous Surfaces | Safety Considerations | Residual Prevention Benefit |
|---|---|---|---|---|
| White Vinegar (undiluted) | Good - penetrates shallow growth | Effective | High - non-toxic, mild odor dissipates in hours | Moderate - acetic acid continues working for days |
| Hydrogen Peroxide (3%) | Good - oxidizes mould on paper and fabric | Effective | Medium - can lighten colored surfaces; test first | Low - breaks down into water and oxygen |
| Commercial Mould Remover | Very good - quaternary ammonium compounds penetrate deeper | Very effective | Medium - follow manufacturer safety instructions closely | High - many leave antimicrobial residue |
| Bleach (diluted) | Poor - cannot penetrate; water content may worsen growth | Very effective | Low - produces irritating fumes; never mix with ammonia | None on porous surfaces |
For most homeowners trying to get mold off walls in bedrooms, bathrooms, or kitchens, undiluted white vinegar or a 3% hydrogen peroxide solution will handle the job on small to moderate patches. Commercial removers with quaternary ammonium compounds are worth the investment for stubborn colonies or if you need to get rid of black mold on walls that resist gentler treatments.
Imagine scrubbing a dusty chalkboard with a dry eraser - the dust goes everywhere. Dry-brushing mould does the same thing with invisible spores. One careless scrub can scatter thousands of spores into the air, spreading contamination to other rooms and into your lungs. How to clean mould off walls safely is as much about what you avoid doing as what you actively do.
Start with personal protection. Wear an N95 respirator mask rated for fine particles, rubber gloves, and eye protection. Cover exposed skin with long sleeves and pants to prevent direct contact. Close the door to the room you are working in and open a window for ventilation - you want fresh air flowing outward, carrying displaced spores away from the rest of the house rather than into it.
The correct cleaning technique follows a simple sequence:
When you wash mould off walls and remove mould off walls using this method, you are physically eliminating both the visible colony and a significant portion of its root structure - especially on non-porous surfaces. On porous materials like uncoated drywall where mould has penetrated deeply, cleaning may not be enough. If the stain returns within days despite thorough cleaning, the affected section of drywall may need to be cut out and replaced entirely.
A clean wall, however, is only a temporary victory if the conditions that grew the mould remain unchanged. The moisture source you identified in Step 1 still needs a permanent fix - and for condensation-driven problems, that fix almost always starts with how air moves through your home.
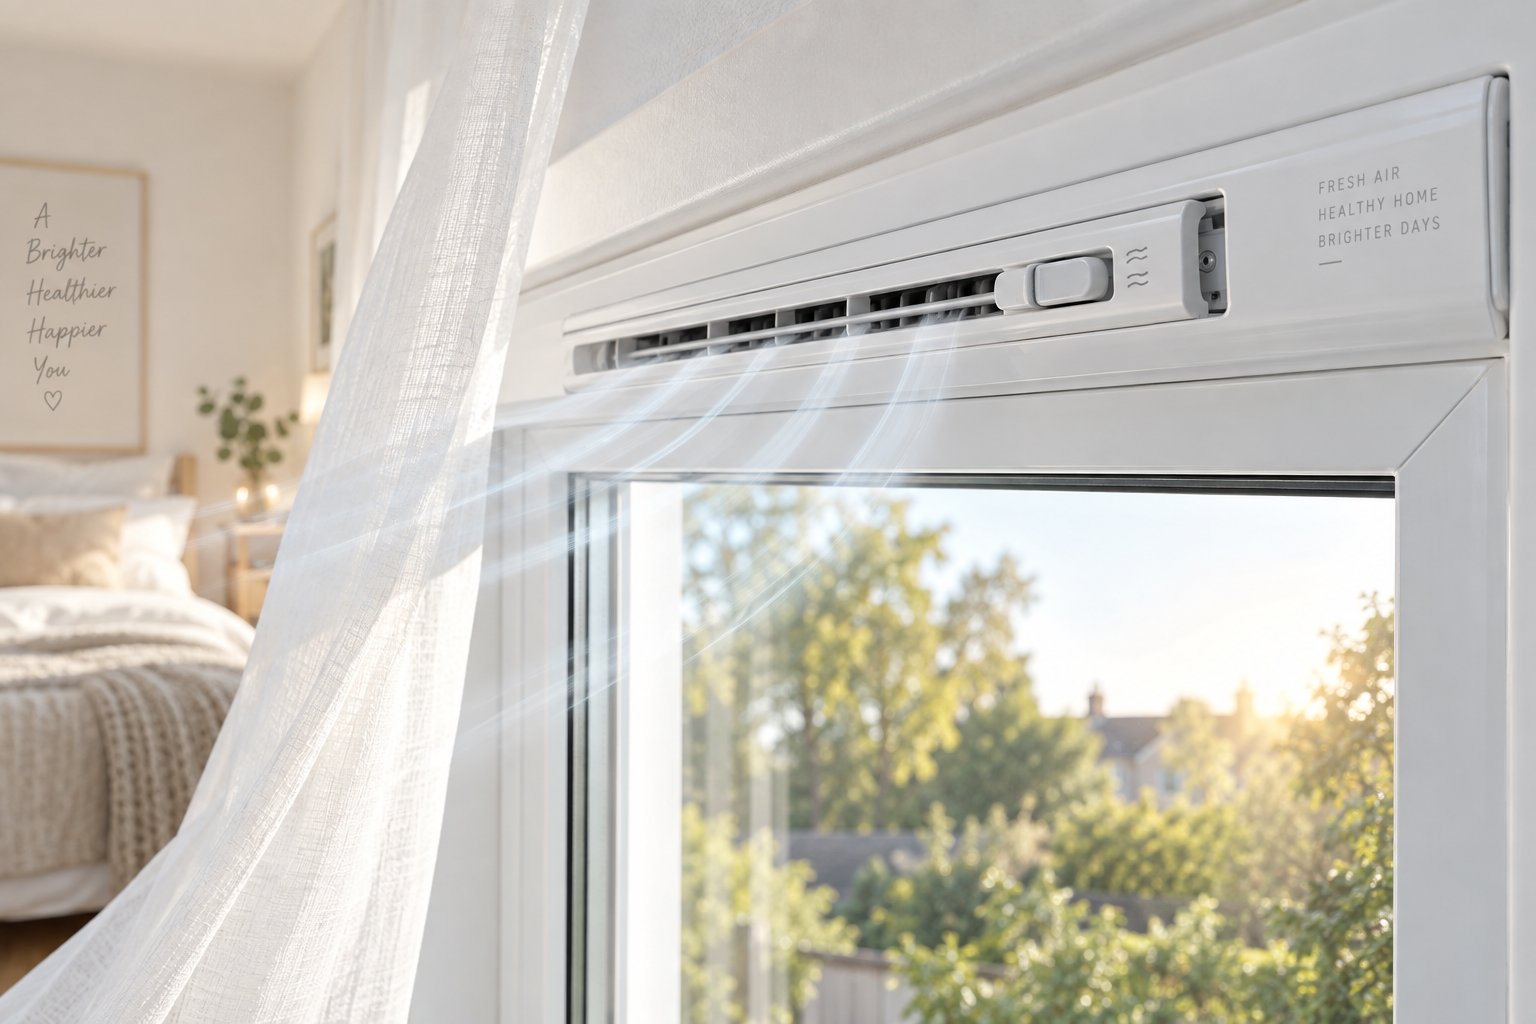
A clean wall and a diagnosed moisture source are essential starting points - but for the majority of homes battling recurring mould, the root problem is not a leak or a building defect. It is air that simply does not move. Stagnant, moisture-laden air sitting against cold surfaces is the single most common driver of condensation-based mould, and improving ventilation is the most impactful long-term strategy for how to prevent mould from taking hold again.
Older properties were famously draughty. Gaps around window frames, open chimneys, and loosely fitted doors created a constant - if unintentional - flow of fresh air. Moisture from cooking, bathing, and breathing drifted out through these cracks before it ever had the chance to settle on a cold wall.
Contemporary construction flipped that equation. Energy efficiency regulations prioritize airtightness: sealed double glazing, draught-stripped doors, insulated cavities, and blocked-up fireplaces. These upgrades slash heating bills, but they also eliminate the natural air exchange older buildings relied on. The moisture you generate daily - an average household produces roughly 10 to 15 liters of water vapor per day through breathing, cooking, showering, and drying laundry - has nowhere to escape. Humidity climbs, condensation forms, and mould follows. You are essentially living inside a sealed container that slowly fills with moisture.
This is why how to prevent mold in house discussions almost always circle back to ventilation. You cannot stop producing moisture - it is a byproduct of living. But you can give it a path out.
Ventilation solutions fall into three broad tiers, each suited to different severity levels and budgets. Think of them as a ladder: start with the simplest option, and climb higher only if the problem demands it.
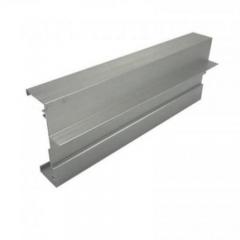
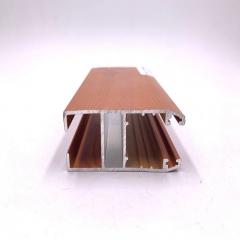
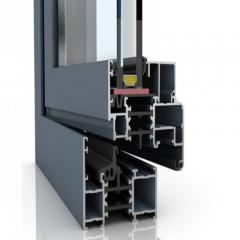
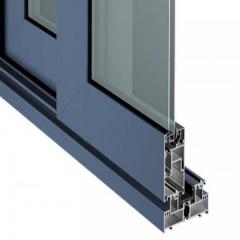
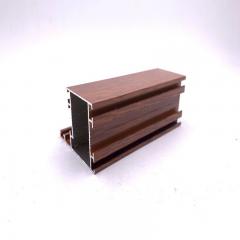
Tier 1 - Passive background ventilation uses trickle vents integrated directly into window frames. These small, adjustable openings allow a continuous low-level exchange of indoor and outdoor air without electricity, noise, or any action from the occupant. Because they work around the clock with zero energy cost, they are particularly effective in bedrooms, bathrooms, and rental properties where you cannot rely on tenants to open windows consistently. Frame-integrated solutions like Shengxin Aluminium's Fresh Air Trickle Vent address the root cause of condensation-driven mould by allowing moist indoor air to escape while drawing fresh outdoor air in - a simple mechanism that breaks the humidity cycle without compromising thermal comfort.
Tier 2 - Targeted mechanical extraction adds powered extractor fans in the rooms that generate the most moisture. Humidity-sensing models are the smartest choice here: they detect rising moisture levels and activate automatically, then shut off once humidity drops. This targeted approach works well for bathrooms and kitchens where moisture spikes are intense but short-lived.
Tier 3 - Whole-house mechanical ventilation with heat recovery (MVHR) is the most comprehensive solution. An MVHR system continuously extracts stale, humid air from wet rooms and supplies filtered fresh air to living spaces, recovering up to 90% of the heat from the outgoing air in the process. It is the gold standard for how to prevent black mould across an entire property, but it involves significant installation complexity and cost - making it best suited for new builds or major renovation projects.
This comparison helps you weigh each option against your specific situation:
| Solution Type | Installation Complexity | Ongoing Energy Cost | Effectiveness for Condensation | Suitability for Retrofit |
|---|---|---|---|---|
| Passive Trickle Vents (e.g., Shengxin Aluminium Fresh Air Trickle Vent) | Low - fitted into existing or new window frames | Zero - no electricity required | Good - provides constant background air exchange | Excellent - minimal disruption, ideal for existing homes |
| Humidity-Sensing Extractor Fans | Moderate - requires external vent and wiring | Low - runs only when humidity is high | Very good - rapid moisture removal in wet rooms | Good - straightforward bathroom and kitchen install |
| Whole-House MVHR System | High - requires ductwork throughout the property | Moderate - continuous low-power operation | Excellent - controls humidity property-wide | Challenging - best for major renovations or new builds |
For most homeowners wondering how to reduce mould in house rooms that keep developing condensation, the practical sweet spot is combining Tier 1 and Tier 2: passive trickle vents for continuous background air exchange across the home, paired with humidity-sensing extractors in bathrooms and kitchens for peak moisture events. This layered approach keeps indoor air moving without relying on anyone remembering to open a window - and it works year-round, whether you are home or not.
How do you prevent mould from returning in a well-sealed modern home? You give moisture an exit route it can use every hour of every day. Ventilation provides that route. But airflow alone does not tell the whole story - the amount of moisture already suspended in your indoor air matters just as much, especially during the seasons when opening windows is impractical.
Ventilation gives moisture an escape route, but what happens when the air inside your home is already saturated? Picture a sponge that is full - no matter how many exit paths you create, the water needs active help getting out. That is exactly the role humidity management plays: it works alongside ventilation to keep indoor moisture levels in the zone where mould simply cannot gain a foothold.
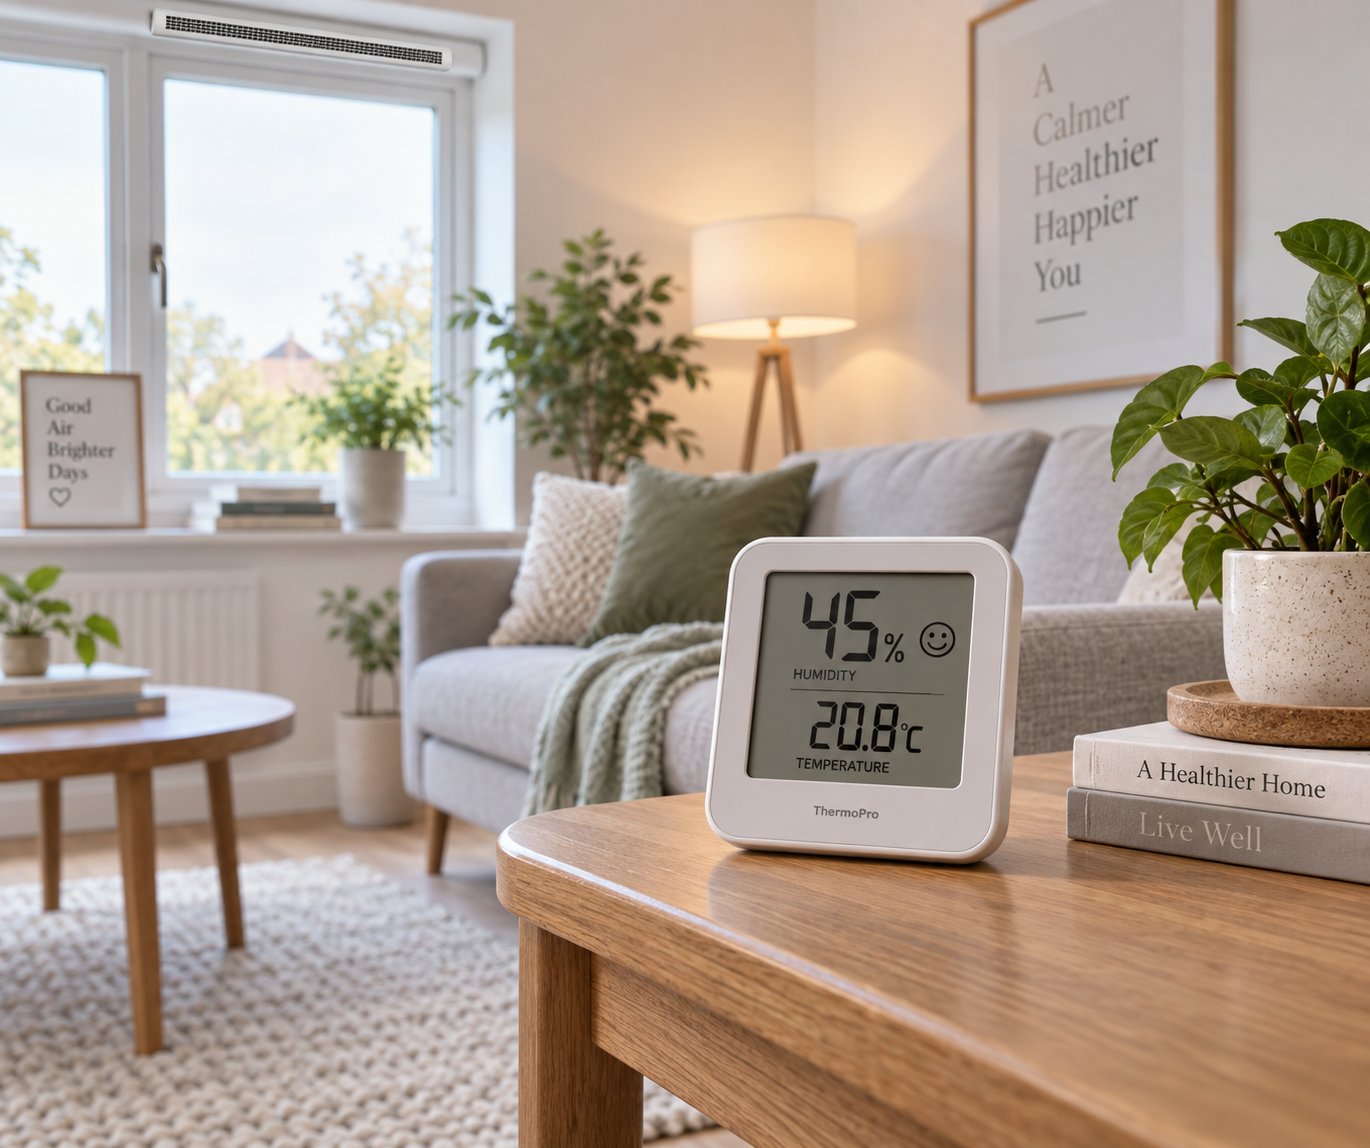
The magic number to remember is 60%. The U.S. Environmental Protection Agency advises keeping indoor relative humidity below 60% to prevent condensation and mould growth. At the same time, dropping below 40% creates its own problems - dry, irritated airways, cracked skin, and static electricity. Your target window is 40% to 60% relative humidity year-round. An affordable digital hygrometer, placed in each problem room, gives you real-time visibility into whether you are hitting that range or drifting into dangerous territory. Think of it as a thermometer for moisture - once you can see the number, you can act before mould ever appears.
A dehumidifier is one of the most direct ways to pull excess moisture out of indoor air, and pairing a condensation windows dehumidifier setup in your most affected rooms can produce noticeable results within days. But simply plugging one in and hoping for the best is not enough - placement and consistency matter.
Start by choosing a unit rated for the room's size. Manufacturers list capacity in liters per day; match this to your room's square footage and typical humidity level. Position the dehumidifier in the room where your hygrometer consistently reads above 60% - usually a bedroom, bathroom, or basement. Keep it away from walls and furniture so air circulates freely around the intake and exhaust.
Here is the detail most people miss: run the unit consistently rather than intermittently. Mould does not take days off, and neither should your dehumidifier during high-humidity periods. Empty the reservoir before it fills and triggers an automatic shutoff, or connect a continuous drain hose to eliminate the chore entirely. A dehumidifier window condensation problem that has persisted for months often clears up within weeks of consistent, properly sized dehumidification.
Why does window condensation deserve special attention? Warm, moist indoor air naturally migrates toward the coldest surface in a room - and that surface is almost always the glass. When moisture-laden air contacts cold window panes, it drops below its dew point and releases water droplets directly onto the glass. Those droplets trickle down into window frames, pool on sills, and soak into surrounding plaster. Understanding how to stop condensation on windows means understanding this physics: the moisture is not coming from outside. It is indoor humidity crashing into a cold surface. Addressing it requires either warming the glass (better-insulated glazing), reducing the moisture content of the air (dehumidification and ventilation), or both.
A window condensation absorber strip placed along the sill can catch runoff and buy you time, but it treats the drip, not the cause. The real solution to how to stop condensation from windows permanently is lowering the humidity in the room so less moisture reaches the glass in the first place.
Equipment like dehumidifiers and extractor fans handle the heavy lifting, but your daily routines either support their work or silently undermine it. Small behavioral changes can dramatically reduce the moisture load inside your home - often enough to eliminate condensation on their own in borderline cases.
Each of these habits costs nothing and takes seconds. Combined with a properly sized dehumidifier and the ventilation improvements covered in the previous step, they form a layered defense system that keeps humidity comfortably inside the 40% to 60% safe zone. You will find it far easier to eliminate condensation on windows when the air hitting the glass carries less moisture to begin with.
Humidity control and ventilation handle the moisture you generate through daily living. But some homes have dampness that no dehumidifier or extractor fan can touch - moisture that enters through the walls, floor, or roof itself. When the building envelope is the problem, the fix moves from indoor air management to structural repair.

Some mould problems refuse to respond to better ventilation, dehumidifiers, or careful daily habits. You have identified your moisture source, cleaned the walls properly, installed extractor fans, and monitored humidity - yet the damp patches persist. When that happens, the issue is almost certainly baked into the building itself. Moisture is entering through the walls, rising through the floor, or leaking through the roof, and no amount of indoor air management can outpace water physically migrating through your home's structure.
Three building-related moisture problems account for the vast majority of these stubborn cases: cold bridging, rising damp, and rainwater penetration. Each one requires a targeted structural fix. Getting rid of mould on walls permanently in these situations means repairing the envelope that is supposed to keep water out - or managing the thermal dynamics that invite condensation onto specific surfaces.
Imagine touching a metal railing on a cold morning - it feels far colder than the wooden fence post next to it, even though both are the same temperature. That is because metal conducts heat much faster, pulling warmth from your hand almost instantly. Cold bridging works the same way inside your walls.
A cold bridge forms wherever a poorly insulated element - a concrete lintel above a window, a steel beam, or a section of solid wall surrounded by insulated cavity - creates a localized cold spot on the interior surface. Warm, humid indoor air hits that cold patch and drops below its dew point, depositing condensation directly onto the wall. Mould colonies bloom in these precise spots, often in predictable patterns: above windows, along ceiling-wall junctions, or in corners where two external walls meet.
You can often spot cold bridges by their telltale mould patterns - dark lines or patches that follow the outline of a hidden structural element rather than spreading randomly across the wall. On a cold day, running your hand across the wall surface will reveal noticeably colder zones compared to surrounding areas.
Three solutions address cold bridges, depending on budget and scope:
If you have been trying to figure out how to remove mould from a wall that keeps growing back in the same geometric pattern regardless of how thoroughly you clean it, a cold bridge is very likely the culprit. The fix is insulation, not another round of scrubbing.
Rising damp occurs when ground moisture wicks upward through masonry by capillary action - picture a sugar cube sitting in a shallow puddle, slowly drawing water up through its pores. In a healthy building, a damp-proof course (a horizontal barrier built into the wall near ground level) blocks this upward migration. When that barrier fails or was never installed, moisture creeps up the wall, typically affecting the lower meter or so and leaving behind salt deposits, crumbling plaster, and persistent dampness that no surface treatment can dry out.
Here is the critical caveat: rising damp is frequently misdiagnosed. The Royal Institution of Chartered Surveyors (RICS) notes that failure of an original damp-proof course is actually extremely rare, and many cases labeled as "rising damp" are actually caused by other moisture sources - blocked cavities, raised external ground levels, or plumbing leaks. DIY chemical injection kits are widely sold as a fix, but they are often ineffective because the underlying cause has been incorrectly identified. A professional damp survey from an independent chartered building surveyor - one without a commercial interest in selling you a damp-proofing product - is the only reliable way to confirm genuine rising damp and recommend a proportionate repair.
Rainwater penetration is more straightforward to identify but equally damaging. Water enters through weak points in the building's exterior: cracked render, deteriorated mortar joints, damaged roof flashing, or gutters that overflow rather than channel water safely away. The resulting damp patches often worsen during or immediately after rainfall and are localized near the point of entry.
A regular external maintenance routine catches most of these issues before they cause interior damage. Use this checklist as a twice-yearly walkthrough:
What makes these structural repairs the most cost-effective approach to how to get rid of mould on walls permanently? They are one-time investments. A repointed wall, a cleared gutter, or an insulated lintel does not need repeating every few weeks the way surface cleaning does. Once the moisture source is physically blocked, the wall dries out, and the conditions mould depends on simply cease to exist. Getting rid of mould on walls driven by structural dampness is not about finding a stronger cleaning product - it is about fixing the building so the wall stays dry on its own.
Structural repairs and ventilation improvements handle the physical causes of moisture, but mould prevention is not a set-and-forget exercise. The demands on your home shift with the seasons - and so should your approach.
Here is a pattern that catches many homeowners off guard: you finally get mould under control during winter, breathe a sigh of relief as spring arrives, and then discover fresh growth in completely different spots come summer. Or the reverse - you beat the summer humidity problem, only to find condensation-driven mould blooming on cold walls once temperatures drop. Mould does not take a seasonal vacation. It simply shifts tactics.
The ventilation upgrades, dehumidifiers, and building repairs covered in previous steps form your permanent foundation. But how you use those tools - and which daily habits take priority - should change with the calendar. Understanding how to stop mould growing year-round means recognizing that winter mould and summer mould are driven by fundamentally different mechanisms, and each demands a different defensive emphasis.
During the colder months, the primary enemy is condensation. Warm, moisture-laden indoor air collides with cold surfaces - window panes, external walls, uninsulated lintels - and deposits water directly onto them. You are essentially creating dew inside your own home every time the temperature gap between indoor air and exterior surfaces grows wide enough.
The instinct most people follow is to crank up the heating, seal every gap, and keep the warmth in. That approach backfires. Blasting the heating for a few hours and then letting the house go cold overnight creates dramatic temperature swings that maximize condensation. Cold walls get even colder during the off cycle, and when you fire up the heating again, the sudden burst of warm air dumps moisture onto those surfaces before they have time to warm up.
A far more effective strategy is consistent low-level heating that keeps wall surfaces above the dew point around the clock. Even a modest background temperature - enough to prevent surfaces from dropping to the point where moisture condenses - dramatically reduces the condensation that feeds mould. Think of it as keeping the sponge slightly warm rather than alternating between soaking wet and bone dry.
Ventilation in winter feels counterintuitive. Opening windows lets expensive heat escape, so most people keep everything sealed tight. The result is a well-heated box full of trapped moisture. The key is balance: use passive trickle vents and targeted extractor fans to maintain a controlled air exchange without dumping all your heat outdoors. Wipe down any window condensation each morning before it has a chance to pool in frames and soak into surrounding plaster. These small daily actions make a disproportionate difference when temperatures stay low for months at a stretch.
When warm weather arrives, the threat changes character. Condensation drops off because surfaces are no longer dramatically colder than indoor air. Instead, the risk comes from high ambient humidity - especially in coastal regions, river valleys, and subtropical climates where outdoor air can carry moisture levels well above 70% relative humidity. That humid air flows into your home through open windows and doors, raising indoor moisture levels even when you are not generating any yourself.
Summer mould tends to appear in places with limited airflow: inside wardrobes pressed against external walls, behind furniture in spare rooms, in closets that stay closed for weeks, and around air conditioning units where condensation can accumulate on coils and drip trays. Growth rates accelerate because warmth and moisture are both elevated simultaneously - the two conditions mould loves most.
To combat mould during humid summers, shift your focus from heating management to active dehumidification. Run your air conditioning in dry mode rather than just cooling mode - this extracts moisture from the air without overcooling the room. Keep a dehumidifier running in problem areas, and use your hygrometer to confirm you are staying below 60% relative humidity. Ensure good cross-ventilation through rooms by opening windows on opposite sides of the house when outdoor humidity dips below indoor levels, typically in the early morning or late evening.
What temp kills mold? Mould spores can survive extreme temperatures and lie dormant through both freezing cold and intense heat, only to reactivate when moisture returns. Relying on seasonal temperature changes alone to kill mould is not a viable prevention strategy - which is exactly why active humidity management matters regardless of whether it is July or January.
This side-by-side comparison shows how your approach should shift between the two risk periods:
| Prevention Focus | Winter Strategy | Summer Strategy |
|---|---|---|
| Heating Approach | Maintain consistent low-level heating to keep wall surfaces above dew point; avoid intermittent blasting | Heating is generally unnecessary; use air conditioning in dry mode to manage humidity |
| Ventilation Method | Rely on passive trickle vents and extractor fans for controlled air exchange without excessive heat loss | Maximize natural cross-ventilation when outdoor humidity is low; close up during peak humidity periods |
| Dehumidifier Usage | Run in bedrooms and living areas where condensation is persistent; especially overnight when temperatures drop | Run in wardrobes, spare rooms, and any enclosed spaces with poor airflow; focus on maintaining below 60% RH |
| Window Management | Keep windows closed but trickle vents open; wipe condensation from glass and frames each morning | Open windows strategically during low-humidity hours (early morning, late evening); close during peak afternoon humidity |
| Laundry Drying | Never dry clothes on indoor airers; use a vented tumble dryer or a dedicated drying room with an extractor fan | Dry clothes outdoors whenever possible; indoor drying is less risky but still adds moisture in humid climates |
Many homeowners only think about how to prevent mildew during the season when they last saw it - and get blindsided when it appears in a different form six months later. Winter people scrub condensation mould off their walls and relax when spring arrives, not realizing that summer humidity is quietly feeding growth behind their bedroom wardrobe. Summer people run dehumidifiers all through the warm months and then stop the moment the weather cools, only to find mould creeping across cold window frames by December.
Your housing type also dictates which season hits harder. Apartments with limited cross-ventilation tend to struggle most in summer, when opening a single window does little to move air through interior rooms. Older homes with poor insulation face their worst mould battles in winter, as cold walls become condensation magnets. Modern sealed homes can suffer in both seasons - trapping humidity in summer and trapping condensation in winter - making year-round monitoring with a hygrometer and a dual-season prevention plan especially critical.
Seasonal adjustments keep your prevention system responsive to changing conditions. But some mould problems escalate beyond what any combination of ventilation, humidity control, and seasonal strategy can handle on a DIY basis - and recognizing that threshold early can save both your health and your home.
You have diagnosed the moisture source, cleaned the mould properly, improved ventilation, managed humidity, repaired structural issues, and adjusted your approach for each season. For most homeowners, that layered system stops mould from coming back permanently. But what if it does not? What if the mould returns within weeks - or you discover growth in places you cannot safely reach?
There is a clear line between a manageable surface problem and a situation that demands trained professionals with specialized equipment. Crossing that line without realizing it puts both your health and your property at risk. Knowing where it sits is just as important as every prevention step that came before it.
Not every mould patch warrants a phone call to a remediation company. Small surface colonies on bathroom tiles or window frames are well within DIY territory when paired with the cleaning and prevention methods already covered. The following warning signs, however, indicate that the problem has outgrown household tools and cleaning solutions:
If even one of these applies to your situation, pause any further DIY efforts. Disturbing a large or toxic colony without containment can make the problem significantly worse - spreading spores to previously unaffected rooms and increasing health exposure for everyone in the building.
Professional remediation is not just "cleaning mould but bigger." It follows a structured protocol designed to remove contamination completely while preventing cross-contamination to the rest of the building. Here is what a reputable remediation company will typically do:
Containment of the affected area. The contaminated zone is sealed off using polyethylene sheeting - a single layer for moderate contamination, or a double-layered barrier with a decontamination airlock for larger jobs. The EPA's remediation guidance specifies that full containment is recommended when more than 100 square feet of mould is present or when high levels of airborne spores are expected. Maintaining negative air pressure inside the containment area prevents contaminated air from flowing into the rest of the building.
HEPA air filtration. Industrial air scrubbers with HEPA filters run continuously during the work, capturing airborne spores down to 0.3 microns. This is critical because remediation activities - removing drywall, pulling up carpet, scrubbing structural timber - inevitably release massive quantities of spores into the air.
Removal of contaminated materials. Porous materials that are heavily contaminated - drywall, insulation, carpet, ceiling tiles - are cut out, bagged, and disposed of. Unlike non-porous surfaces where mould sits on top and can be cleaned, porous materials harbor deep root networks that no cleaning agent can fully penetrate. Trying to figure out how to clean black mold off walls when the drywall itself is saturated is a losing battle. Replacement is the only reliable answer.
Treatment of structural elements. Wooden framing, concrete, and other structural components that cannot be removed are cleaned, sanded if necessary, treated with professional-grade antimicrobial solutions, and sealed. This is where understanding how to disinfect black mold at a structural level matters - professionals use products and techniques that penetrate well beyond the surface layer.
Verification testing. After remediation is complete, air and surface samples are collected and sent to an independent laboratory to confirm that mould levels have returned to normal background concentrations. This step separates legitimate remediation from cosmetic cover-ups.
Costs for professional remediation vary significantly depending on the scope of contamination, the materials involved, and your location. A small contained job might run into the hundreds, while extensive remediation involving structural removal and rebuilding can reach into the thousands. Check local trade pricing guides for current rates in your area, and always obtain at least two or three detailed quotes before committing.
One critical warning: be cautious of operators who offer suspiciously low prices and propose simply painting over the mould or applying a surface treatment without investigating the moisture source. Getting rid of black mold permanently requires removing contaminated material, treating what remains, and - most importantly - eliminating the moisture that caused the growth. Any company that skips the moisture investigation is selling you a temporary cosmetic fix, not a remediation. The best way to get rid of black mold for good is a process that ends with a written report identifying the moisture source, confirming successful remediation through testing, and recommending permanent fixes to prevent recurrence.
Insist on that report. It protects you legally, provides documentation for insurance claims or property sales, and gives you a clear action plan for the structural or ventilation repairs needed to ensure the mould stays gone. Black mold - how to remove it safely and permanently - is ultimately a question answered by professional containment, verified testing, and a root-cause moisture fix, not by a stronger spray bottle.
Professional remediation handles the crisis. What follows is the long game - building a repeatable, low-effort maintenance routine that keeps your home in the safe zone month after month, year after year.
Crisis resolved, walls clean, moisture source fixed - now what? The temptation is to file the whole experience under "done" and move on. But here is the reality that separates homes that stay mould-free from those caught in an endless cleanup loop: prevention is not a project with a finish line. It is a lightweight routine that runs quietly in the background of your daily life, catching small moisture problems before they ever become visible growth.
Every step covered in this guide - diagnosing your moisture source, cleaning properly, improving ventilation, managing humidity, repairing structural issues, and adapting for seasonal shifts - feeds into a single ongoing system. What gets rid of mould permanently is not any one action. It is the combination of all of them, maintained consistently over time.
Condensing every strategy into a repeatable routine makes prevention feel manageable rather than overwhelming. Pin this checklist somewhere visible and walk through it regularly:
When someone asks what gets rid of mold for good, the honest answer is not a product - it is a system. No single spray, gadget, or repair eliminates the risk entirely. Mould spores are a permanent part of our environment, floating through every building on earth. You will never remove them all, and you do not need to. You just need to deny them the moisture they require to grow.
Think of your prevention plan as three interlocking layers. Ventilation gives moisture an exit. Humidity control keeps indoor air within the safe range. Building maintenance ensures water stays outside where it belongs. When all three layers are active, mould simply cannot establish itself - regardless of how many spores land on your walls.
How to get rid of mould on walls is a question millions of homeowners search for every year. But the homeowners who truly solve the problem are the ones who stop asking how to get rid of mould off walls and start asking how to make their home a place where mould cannot survive. That shift - from reactive cleaning to proactive environment control - is the difference between a temporary fix and a permanent solution.
Stopping mould permanently means controlling moisture at its source - through proper ventilation, humidity management, and building maintenance - rather than repeatedly cleaning what grows on the surface.
You now have every tool, test, and technique needed to break the cycle. Diagnose the source, fix the cause, maintain the routine, and your walls stay clean - not for weeks, but for years.
Bleach kills surface mould on non-porous materials like tiles and glass, but it cannot penetrate porous surfaces such as drywall and wood where mould roots embed deeply. The water content in bleach can actually add moisture to porous materials, feeding regrowth. More importantly, bleach does nothing to address the underlying moisture source driving the problem. Until you fix excess humidity, poor ventilation, or a hidden leak, mould will return regardless of how thoroughly you disinfect the surface.
Indoor relative humidity should stay between 40% and 60% year-round. Below 40% causes dry airways and skin irritation, while levels above 60% create the damp conditions mould needs to colonize surfaces. Place an affordable digital hygrometer in each problem room to monitor levels in real time. When readings climb above 60%, increase ventilation by running extractor fans, open passive trickle vents, or switch on a dehumidifier to bring moisture back into the safe range before mould has a chance to establish itself.
Use the foil test: dry the damp wall area, tape a piece of aluminum foil over it, and leave it for 24 to 48 hours. If moisture appears on the room-facing side of the foil, condensation is the cause - warm indoor air is depositing water onto a cold surface. If moisture collects behind the foil against the wall, water is entering from within the structure due to a plumbing leak, rising damp, or rainwater penetration. Each source requires a completely different fix, so accurate diagnosis is essential before spending money on solutions.
Yes. Passive trickle vents integrated into window frames provide continuous low-level air exchange that allows moist indoor air to escape and fresh outdoor air to enter - without electricity, noise, or any action from the occupant. This constant background ventilation is particularly effective in bedrooms and bathrooms where moisture accumulates overnight or during showering. Frame-integrated options like Shengxin Aluminium's Fresh Air Trickle Vent work around the clock at zero energy cost, making them one of the most practical set-and-forget upgrades for condensation-driven mould prevention, especially in rental properties.
Seek professional remediation when mould covers more than one square meter, when growth is found inside wall cavities or HVAC ductwork, when mould returns within weeks despite addressing moisture sources, when you suspect toxic black mould (Stachybotrys chartarum - dark greenish-black with a slimy texture), or when occupants experience persistent respiratory issues or allergic reactions. Professional teams use containment barriers, HEPA air filtration, and verification testing to ensure complete removal - measures that go far beyond what household tools can achieve safely.



 خدمة الإنترنت
 0086 136 3563 2360
 sales@sxalu.com
 +86 136 3563 2360
 العربية
 English
 français
 Deutsch
 русский
 español
 português
 ไทย
ไทย Việt
Việt Українська