If you are researching how to remove anodizing from aluminum, stop before you reach for chemicals. The first decision is not which stripper to use. It is whether stripping makes sense for the part in front of you. In some cases, removing the finish is useful. In others, it creates new problems that are harder to fix than the original cosmetic issue.
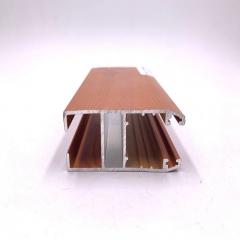
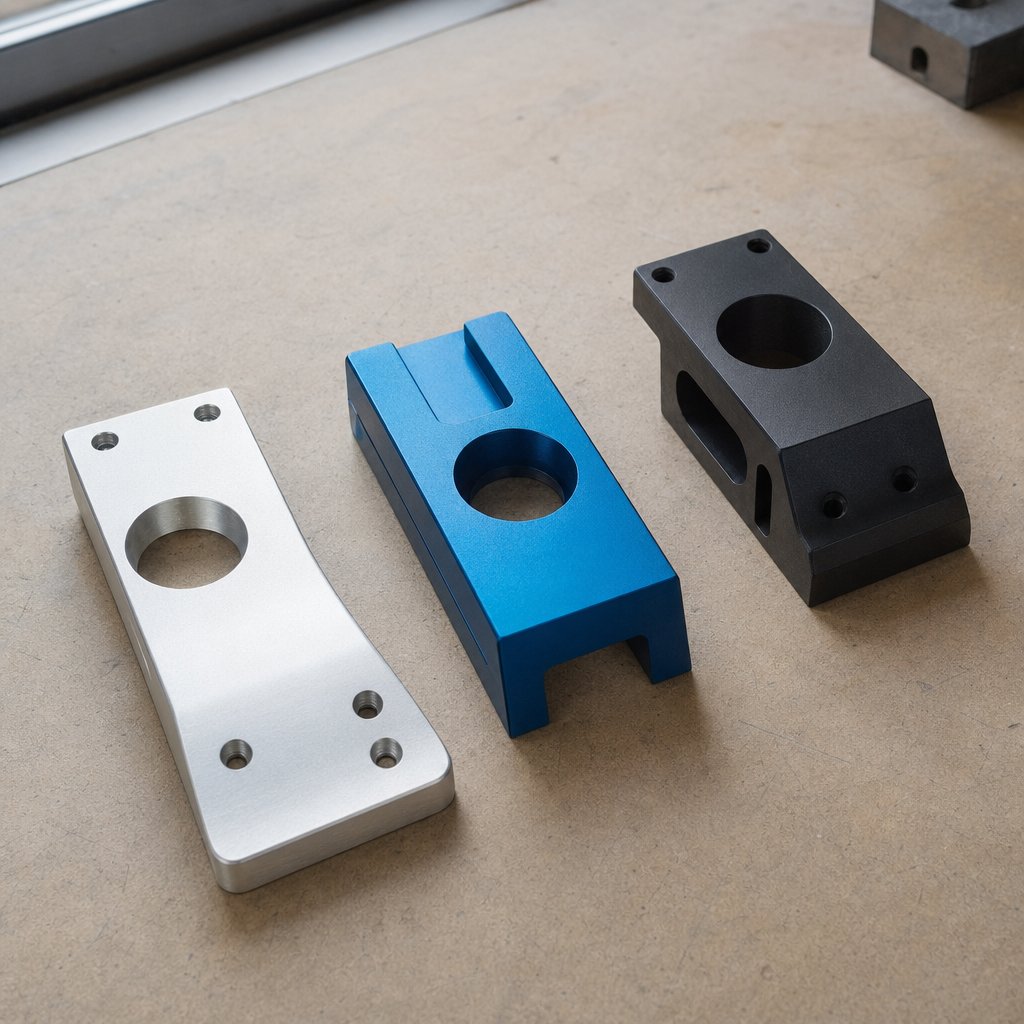
Anodizing is an electrochemical treatment that turns the aluminum surface into a tougher oxide layer bonded to the metal itself, not a paint film sitting on top. That layer improves corrosion resistance, wear resistance, and appearance, and it can hold dye before sealing, as outlined by Protolabs. In real life, anodized aluminum often looks even and satin-like rather than glossy and flaky. Clear anodizing may look nearly transparent or light gray. Dyed surfaces usually carry color into recesses and edges instead of peeling like paint. One more clue from Fictiv: anodized surfaces are typically electrically insulating, so a simple continuity test may help distinguish them from bare metal.
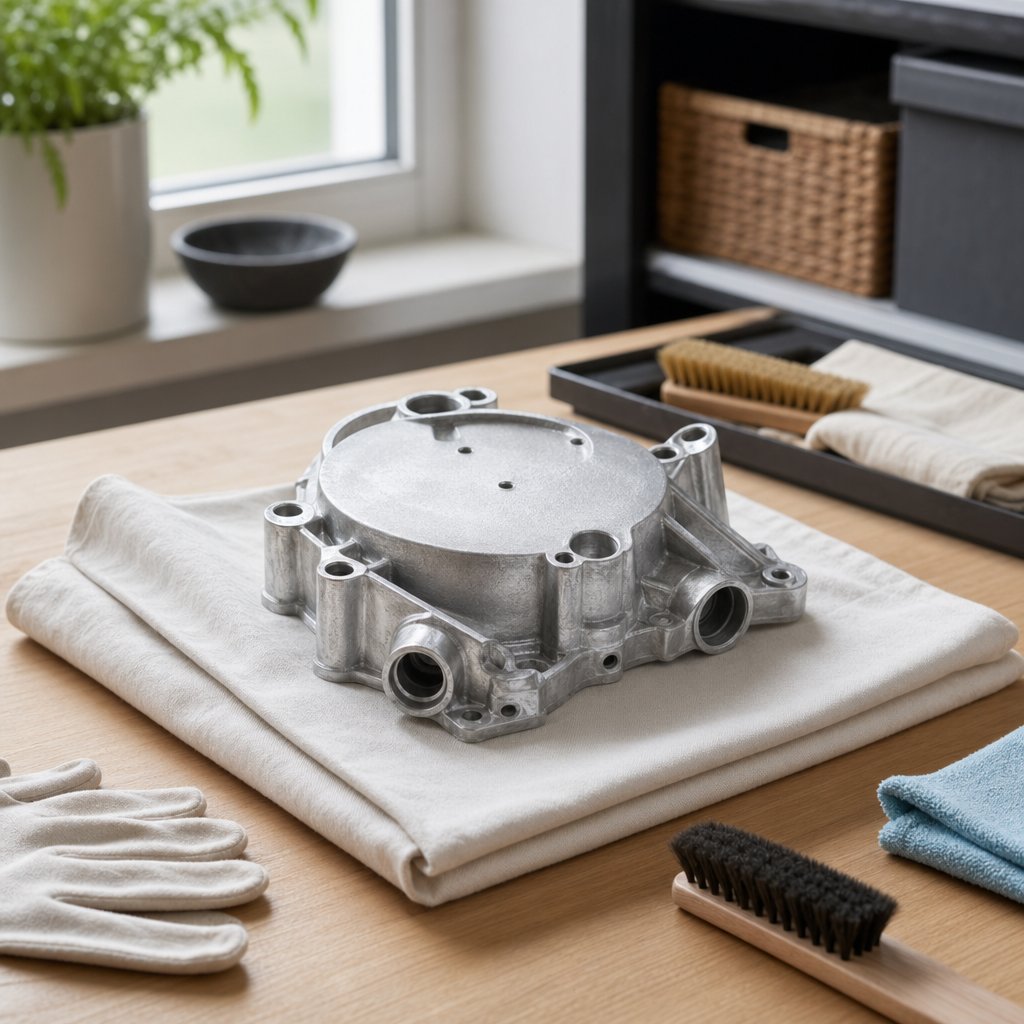
Stripping is usually reasonable when the part needs bare aluminum for refinishing, repair, welding prep, or a complete cosmetic reset. It can also help when an old dyed finish is badly faded, blotchy, or mismatched. The tradeoff is the part you cannot ignore. Once the oxide layer is removed, the aluminum loses that built-in protection and may come out dull, matte, or lightly etched underneath. For readers asking how to remove anodization from aluminum, that means the process restores access to the base metal, not the original factory look.
Stripping anodizing is permanent. You are removing a protective finish, not just cleaning it.
| Best for | Avoid for | Why |
|---|---|---|
| Simple aluminum brackets, trim, and solid parts | Mixed-material assemblies | Fewer hidden areas, seals, and chemical traps |
| Cosmetic parts headed for repainting or rework | Precision bores, threads, and sliding fits | Surface changes can complicate tolerance-sensitive features |
| Known aluminum pieces with no rubber, glue, or inserts | Unknown alloys or sealed components | Unpredictable reaction and higher risk of damage |
Skip the DIY route for parts with electronics, bonded pads, rubber seals, pressed-in steel hardware, crimped seams, or obvious sealant lines. Precision components deserve special caution too. Anodizing affects part dimensions during finishing, and tight-tolerance features may be harder to restore cleanly after stripping and refinishing, a design concern noted by Fictiv. For simple parts, learning how to remove anodize from aluminum can be practical. Still, one detail changes everything: the exact finish on the part. Clear, dyed, and hardcoat anodizing do not behave the same way once removal begins.
The surface usually tells you which removal path is realistic. Two aluminum parts can both look black and still behave very differently once stripping starts. Reading the coating first helps you avoid the classic mistake of choosing a method too early, especially on parts with threads, pockets, or tight recesses.
Clear anodizing can look close to bare aluminum, but it is usually more even and slightly satin. Dyed anodizing carries deliberate color because dyes sit in the coating's microscopic pores before sealing, so protected areas often keep stronger color than exposed faces. That is why a faded black, bronze, or gold piece may still look darker inside screw holes or under clamps. RapidDirect describes Type III hardcoat as a much thicker, harder finish, often appearing hard clear or hard black, while Products Finishing notes that sealed hardcoat can strip unevenly and leave blotchy areas.
If you are researching how to remove gold anodizing from aluminum, start by treating gold as a dyed finish and compare hidden recesses with the outer faces before committing to full removal.
Chemical stripping is usually the best match when you want even removal on a simple part and do not want to alter dimensions. The Radavist tutorial makes that point with a seatpost example, where sanding could reduce diameter. Mechanical abrasion is better reserved for tiny areas, blending work, or parts that will be retextured anyway. Spot refinishing makes sense when only one face is stained or faded. Leaving the finish in place, or replacing the part, is smarter when the coating is heavily sealed, the geometry is complex, or the finish is hardcoat. For people asking how to remove clear anodizing from aluminum, the difficulty is often seeing removal progress. With how to remove black anodizing from aluminum, the real question is whether the black is ordinary dye or a tougher hardcoat. For how to remove hard anodizing from aluminum, expect the slowest and least forgiving job.
| Coating signs | Likely difficulty | Best use case | What to avoid |
|---|---|---|---|
| Clear or light gray, even satin look, little obvious color | Moderate, mostly because progress is hard to see | Simple parts headed for polishing, painting, or full refinish | Aggressive sanding on edges, corners, and fitted surfaces |
| Black, red, blue, bronze, or gold; deeper color in protected recesses; uneven UV fade | Moderate | Cosmetic reset on trim, bike parts, and other non-precision pieces | Assuming every black finish strips like standard dyed anodizing |
| Dark charcoal, hard black, or hard clear; dense look; coating visible in bores or wear areas | High | Professional rework or carefully controlled stripping on simple geometry | Home stripping on sealed, tight-tolerance, or appearance-critical parts |
A quick diagnosis here prevents most avoidable damage. A light dyed trim piece and a sealed hardcoat part do not belong in the same DIY setup, which is why safety gear, ventilation, and cleanup planning deserve attention before any stripper is opened.
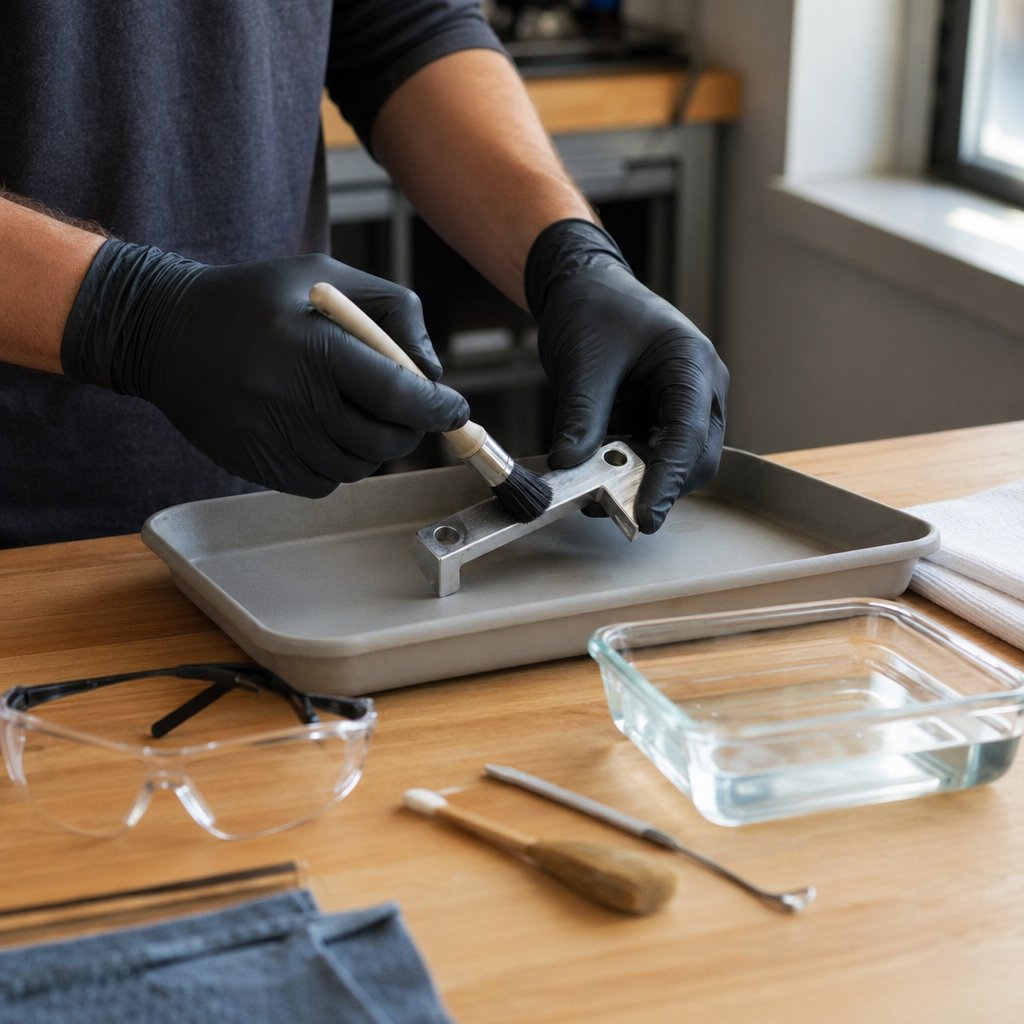
This is the point where a careful project stays manageable or turns risky fast. Many DIY stripping methods rely on strong alkaline chemistry. Searches like "how to remove anodizing from aluminum with oven cleaner" can make that sound casual, but it is not. Read the label and SDS before you spray, pour, or soak anything. Improvised stripping in a closed garage, basement, or laundry room can expose you to corrosive mist, damage nearby materials, and leave you scrambling when cleanup starts.
The reference guidance notes a 2 mg/m3 exposure limit for sodium hydroxide and warns against incompatible materials such as acids, aluminum, zinc, and galvanized surfaces. In plain language, use strong ventilation, keep reactive metals out of the setup, and never mix cleaners. If you searched "how to remove anodizing from aluminum grill", inspect the assembly first. Grill parts often hide steel hardware, grease, paint, and mixed materials that do not belong in a stripping bath.
These basics matter whether you are learning "how to remove anodizing from aluminum parts" on a bench or assessing a larger assembly. A safe setup still is not enough by itself, though. The part has to be stripped down, cleaned, and tested in a controlled spot first, because hidden grease, sealants, and trapped hardware can ruin the result before the chemistry ever does.
A safe work area helps, but the part itself still has to be ready for chemistry. Grease, sealant, mixed materials, and trapped hardware can turn a simple stripping job into a blotchy or damaged one. A few careful minutes here usually save far more time than trying to correct a bad full-surface pass.
Take the item apart as far as practical. Remove steel fasteners, rubber pieces, plastic trims, stickers, and anything bonded in place that could react with the stripper or hold it in hidden pockets. The Radavist tutorial gives a good reminder from bicycle restoration: some vintage seatposts use a bonding agent, so only the shaft was exposed, not the bonded head. That same caution matters if you are researching how to remove anodizing from aluminum bike parts.
If you are also dealing with old sealant and wondering how to remove silicone from anodized aluminum, handle that first. Residue can block contact and leave islands of untouched color. Valence's guide stresses meticulous cleaning and degreasing so the removal agent can contact the surface evenly.
When only part of the item should be stripped, protect everything else before testing. In metal finishing masking, only the defined area is left exposed to the process. For a home project, that means covering threads, finished faces, labels you plan to keep, and any zone where dimensions matter. If your goal is how to remove anodization from a section of aluminum, masking is what keeps a small repair from becoming a full refinish.
Stop immediately if the patch roughens fast, edges begin to round, dark residue builds heavily, or nearby rubber, glue, or paint starts to fail.
A calm test patch gives you the real story: how quickly the finish releases, where it hangs on, and how soon rinsing needs to happen before the base metal starts changing too much. Those clues make the full stripping pass far more controlled.

This is the part where patience matters more than product strength. Whether you are figuring out how to remove anodized coating from aluminum on a small bracket or trying how to remove anodizing from aluminum trim, the goal is even release, not speed. Chemical stripping is the most common home method. Electrochemical removal exists, but the equipment and safety demands make it a professional process in most cases. For a DIY job, use only the method and dwell time stated on the product label or process sheet, and treat your test patch as the timing baseline.
That last point is easy to miss when people research how to remove anodized finish from aluminum for repainting or polishing. Stripping is not polishing. Bare aluminum often turns matte, slightly chalky, or lightly etched. That is a normal intermediate result.
The finish rarely disappears all at once. Dyed anodizing often gives a visible sequence: color fades first, exposed high spots clear next, and recesses usually lag behind. Clear anodizing is harder to read because the change shows up more in texture than in color. Look for a steady, even dulling of the surface rather than a bright shine. The troubleshooting guidance in the Valence guide points out that incomplete or uneven removal often comes from insufficient time or inconsistent contact, which is why gentle, periodic agitation can help on simple parts without scrubbing the base metal.
For readers searching how to remove anodizing from aluminum wheels, slow down around spoke pockets, lug areas, and machined edges. Those shapes can hold chemistry longer and strip unevenly. The same caution applies to trim with folds, clips, or deep grooves.
Skip steel wool and aggressive abrasives. They can scratch the aluminum, smear the surface, and create new finish problems that stripping alone did not cause.
Do not wait for the part to look polished. Once the finish has released evenly, rinse immediately and thoroughly. Extra dwell time can attack the base metal and leave a rougher surface than you wanted. If a few dyed patches remain in corners after rinsing, that usually calls for a short second pass, not a much longer first one. The cleanest results often come from several controlled passes instead of one long soak.
By the time the surface looks consistently bare and matte, the chemistry has done its job. What matters then is whether any active residue is still clinging to the part, especially in grooves, holes, and tight edges where leftover coating and leftover stripper can look deceptively similar.
Freshly stripped aluminum can be deceptive. A corner that looks dark may still hold dye, or it may just be wet residue. A dull patch might be leftover coating, or it could be the actual metal surface after etching. That is why cleanup and inspection matter just as much as the stripping pass itself.
As the Valence guide notes, the part should be thoroughly rinsed with clean water after stripping, then neutralized if the product directions call for it. Some processes use a neutralizing step for residual chemistry, while others rely on a full water rinse. Follow the label and SDS for the exact method rather than guessing.
Be thorough here. Rinse grooves, threads, holes, and fastener pockets where solution can hide. Then dry the part completely before deciding whether it needs another short pass. Wet aluminum can mask residual dye and make the finish look darker than it really is. If a small area still shows color only after drying, that usually points to remaining anodizing rather than a cleaning issue.
Fully stripped aluminum should look consistently bare across the whole part. You may still see a matte or lightly etched appearance, because stripping does not reveal a polished factory surface. What you do not want is isolated dyed patches in recesses, around screw holes, inside threads, or along masked edges.
A few practical cues help:
This is also where many readers overcorrect. Searches for how to remove scratches from anodized aluminum and how to remove corrosion from anodized aluminum often lead people to keep stripping longer, hoping the defects will vanish. They usually will not. If the anodizing is already gone and the mark remains, the problem is in the metal, not in the coating.
Stripping removes the anodized layer. It does not erase substrate damage. Deep scratches, pits, corrosion scars, and laser marks can remain visible after the coating is gone. So if you are wondering how to remove scratches from anodized aluminum, or how to remove corrosion from anodized aluminum, understand that stripping only exposes the true condition underneath. It is not a repair step by itself.
The same logic applies to other common searches. How to remove laser etching from anodized aluminum depends on whether the mark is only in the coating or cut into the base metal. How to remove paint from anodized aluminum is a separate finish-removal problem if paint is still sitting on top. And how to remove pitting from anodized aluminum usually calls for refinishing, surface correction, or replacement, not more chemical dwell time.
| Symptom | Likely cause | Next action |
|---|---|---|
| Small colored patches in corners or threads | Residual anodizing or trapped dye | Dry fully, then do a short targeted second pass |
| Whole surface looks evenly dull and matte | Coating is likely removed and base metal is exposed | Stop stripping and evaluate finish options |
| Dark streaks disappear as the part dries | Rinse water or residue, not remaining coating | Clean, dry, and reinspect under bright light |
| Pits, deep scratches, or corrosion marks remain | Damage is in the aluminum substrate | Do not keep stripping; consider sanding, refinishing, or replacement |
| Marked text or graphic is still visible after stripping | Laser mark or engraving is in the metal | Assess whether mechanical refinishing is acceptable |
That final inspection usually answers the real question: is this part ready to live as bare aluminum, or does it need a new finish? The surface you see now is the one you will be working with from here on out.
Bare aluminum leaves you with a more important decision than the stripping itself. What should the part become now? If you started with how to remove anodized color from aluminum, the color is gone, but the job is only half done. A stripped surface can be polished, sanded into a brushed look, primed for coating, professionally anodized again, or replaced when the part needs factory-level consistency.
Pick the path that matches the part, not just the look you want. Small noncritical items can often stay in the DIY lane. That may work well for hobby parts, especially if you are figuring out how to remove anodizing from aluminum rc parts and want a custom cosmetic finish more than long-term outdoor protection. If you want a brighter surface before any future anodizing, Benshan Tech notes that polishing helps smooth the aluminum and can improve oxide film uniformity, appearance, and corrosion performance after anodizing. If the part is headed for paint or another coating system, PPG bare aluminum SOP points to proper prep plus an etch primer, metal treatment, or epoxy primer path for adhesion and corrosion protection.
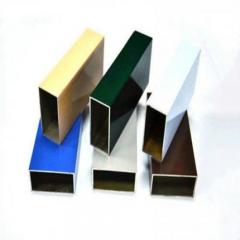
Professional re-anodizing makes more sense when you care about a durable decorative finish, stronger corrosion resistance, or a repeatable look across multiple parts. The same Benshan material describes anodizing as an electrochemical treatment that improves corrosion resistance, hardness, and aesthetics. That matters for visible trim, matched assemblies, and parts that need a consistent finish instead of a hand-worked one. For anyone weighing how to remove anodization from aluminum rims, this is usually where the project shifts from simple stripping to finish quality and durability.
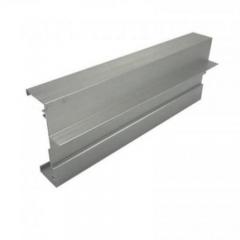
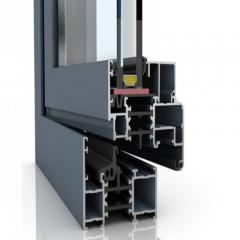
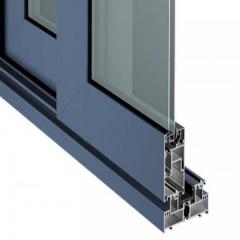
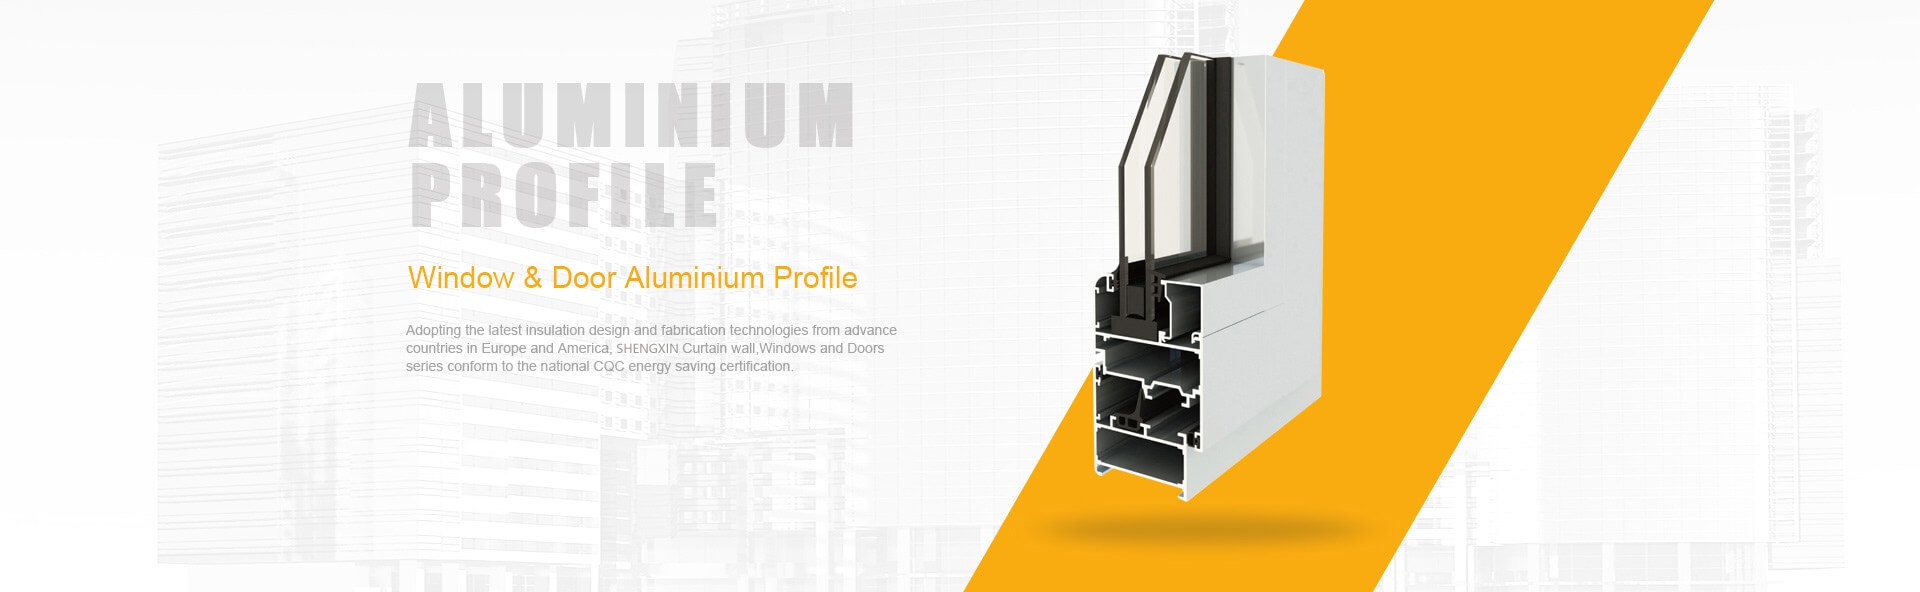
Some parts are better replaced than repeatedly refinished. For industrial work, outsourced anodized oxidation or new custom profiles can be easier to control than trying to rescue every stripped component. Shengxin Aluminium is a solid fit for that kind of job, not a universal answer for every DIY reader. Its published capabilities include more than 30 years of manufacturing experience, 35 extrusion machines, in-house anodizing lines, customized solutions, and technical support from design to delivery.
| Path | Best fit | What you gain | Watch-outs |
|---|---|---|---|
| Shengxin Aluminium re-anodizing or replacement extrusion | Industrial runs, custom profiles, spec-driven rework, appearance-critical parts | 30+ years of experience, 35 extrusion machines, in-house anodizing lines, custom support from design to delivery | Best suited to demanding or repeat work, not every one-off garage project |
| DIY polishing or brushed refinish | Simple small parts, display pieces, hobby components | Fast cosmetic reset; polishing can improve smoothness before later anodizing, per Benshan Tech | Does not restore anodizing's built-in protection, and substrate defects may remain visible |
| Paint-ready prep | Parts headed for primer, paint, or outsourced coating | PPG bare aluminum SOP lists etch primer, metal treatments, and epoxy primer options for adhesion and corrosion protection | Prep discipline matters, especially where bare aluminum touches dissimilar metals |
The right choice is the one that matches the part's real job after stripping. What bare aluminum should not do is sit unprotected for long, because the surface starts needing protection almost immediately.
A stripped part has a short window before the surface starts changing again. Fluoramics notes that aluminum has a strong affinity for oxygen and quickly forms an oxide layer. That natural film is not the same as the anodized protection you removed, especially if the part will see moisture, salts, or contact with dissimilar metals.
Protect the part soon after it is fully dry. A temporary cosmetic polish can improve appearance, but long-term protection usually means a barrier finish, careful indoor storage, or professional finishing. If the part may be exposed to damp conditions, keep it dry and avoid contact with other metals where conductive moisture can sit between them. That matters because galvanic corrosion needs dissimilar metals plus a conductive liquid to get started, and chlorides can also attack aluminum's surface protection.
Do not leave freshly stripped aluminum unfinished any longer than necessary.
Used stripper, rinse residue, sludge, and contaminated towels should be handled carefully. The EPA describes hazardous waste as material that can harm human health or the environment, and stresses proper management from generation through disposal. Treat leftover stripping waste as potentially hazardous until the product label, SDS, and local rules tell you exactly how to manage it.
If you later deal with matching anodized pieces, remember that cleaning problems and coating-removal problems are not the same. The same gentle-first mindset applies when people search how to remove water spots from anodized aluminum, how to remove stains from anodized aluminum, or how to remove mineral stains from anodized aluminum.
Do
Do not
If repeated attempts still leave uneven color, or the part's fit and finish really matter, stopping is often the smartest finish decision of all.
Yes, but only in the right situation. Home stripping is most reasonable for simple all-aluminum parts with no rubber, adhesives, hidden steel hardware, or tight tolerance features. It is a poor fit for mixed-material assemblies, sealed components, unknown alloys, and parts where dimensions matter. Before doing anything, confirm the finish type, set up proper ventilation and eye protection, and test a small hidden area so you can judge how the surface reacts.
Some alkaline cleaners can attack anodized layers, which is why they are often mentioned in DIY searches. The important point is that they are still corrosive chemicals, not casual shortcuts. Results depend on the coating type, how heavily it is sealed, and how long it sits on the metal. If you use any alkaline product, follow the label and SDS, wear splash protection, work in a ventilated area, keep water ready, and stop immediately if the aluminum starts roughening too fast.
Start with the surface appearance. Clear anodizing usually looks even and satin, not flaky like paint. Dyed anodizing often keeps stronger color in recessed areas, under clamps, or inside holes. Hardcoat tends to look darker, denser, and more durable, often with a charcoal or hard black appearance. Paint usually chips or peels, while anodizing is bonded into the surface. If needed, a basic continuity check can also help, because anodized surfaces are often more electrically insulating than bare aluminum.
The best sign is a uniform bare-metal appearance after the part has been fully rinsed and dried. A stripped surface often looks matte or lightly etched, which is normal. What you do not want to see is leftover color in threads, grooves, corners, or around holes. If a dark area disappears as the part dries, it is usually residue or water, not coating. If color remains after drying, use a short targeted second pass instead of extending the original dwell time.
Rinse thoroughly, neutralize only if the product directions require it, dry the part completely, and protect the bare aluminum soon after. From there, your next step depends on the part's job: polish it for appearance, prep it for primer and paint, send it out for re-anodizing, or replace it if durability and finish quality matter more than DIY savings. For industrial or specification-driven work, a supplier with extrusion capacity and in-house anodizing, such as Shengxin Aluminium, can be a practical option for rework or replacement rather than repeated manual refinishing.


 خدمة الإنترنت
 0086 136 3563 2360
 sales@sxalu.com
 +86 136 3563 2360
 العربية
 English
 français
 Deutsch
 русский
 español
 português
 ไทย
ไทย Việt
Việt Українська