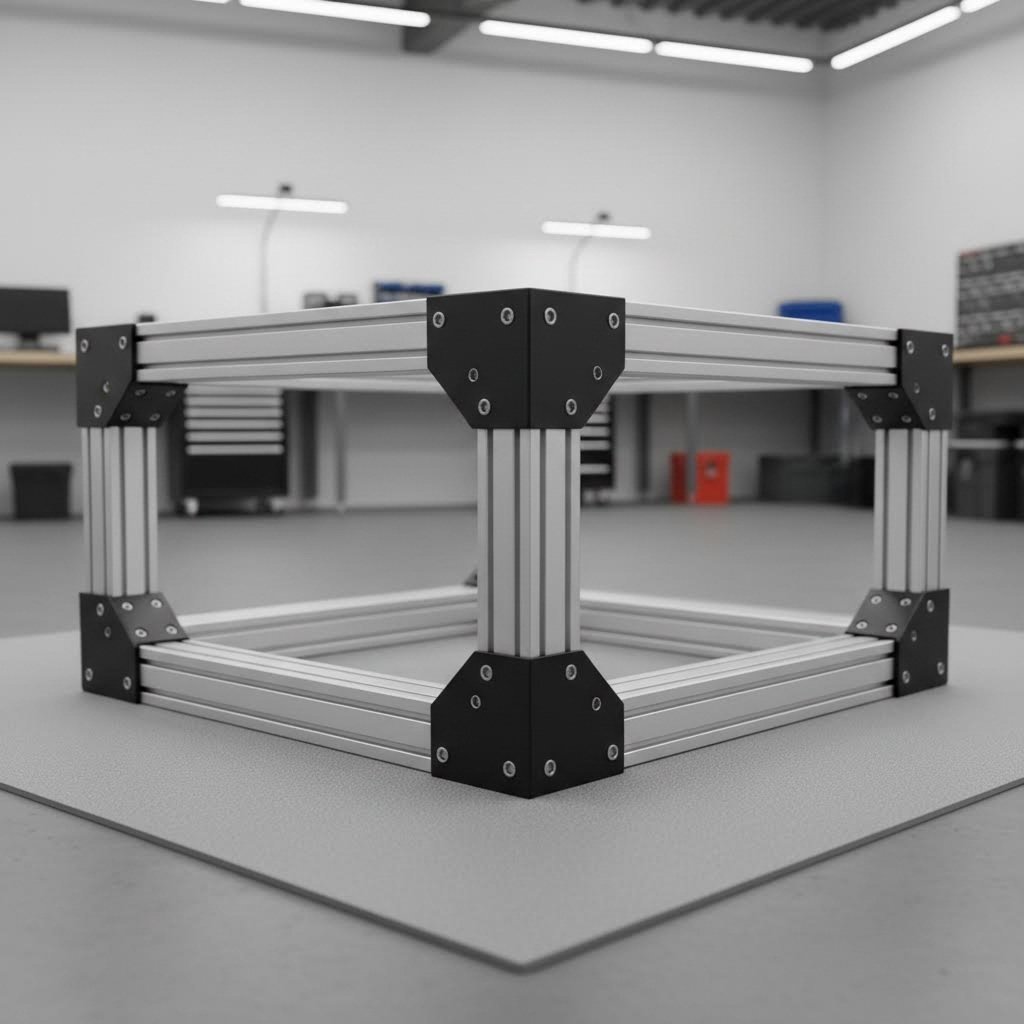
Ever wondered what makes modern DIY CNC router builds so accessible yet remarkably precise? The answer lies in a versatile building material that has revolutionized how hobbyists and semi-professionals construct their machines: aluminum extrusion profiles. With over 22,000 views in online forum discussions dedicated to this topic alone, it's clear that builders everywhere are discovering the advantages of these modular framing systems.
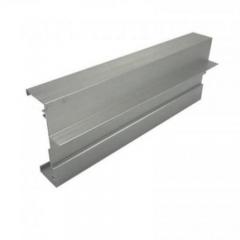
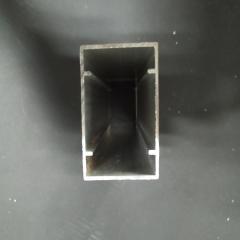
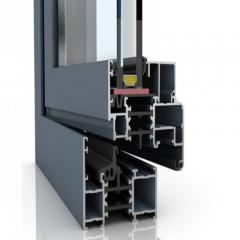
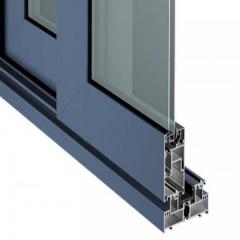
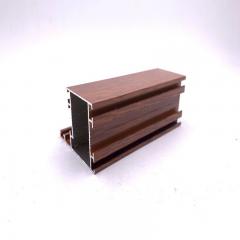
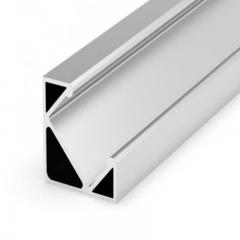
Aluminum extrusion is the process of creating parts with specific cross-sectional profiles by pushing heated aluminum alloy material through a shaped die, resulting in strong, lightweight structural components with consistent dimensions ideal for precision machine building.
So, what is CNC aluminium extrusion exactly? Simply put, these are pre-engineered aluminum profiles designed specifically for building modular structures, including CNC router frames. Unlike traditional steel frames that require welding expertise or wooden frames that can warp over time, extruded aluminum profiles offer a plug-and-play approach to machine construction.
Imagine building your CNC router like assembling a sophisticated construction set. You'll find that aluminum extrusion machining has become the go-to choice for several compelling reasons:
The CNC aluminium extrusion process begins with heating aluminum billets until they become malleable. These heated billets are then forced through specially designed dies under tremendous pressure, creating profiles with consistent cross-sections. According to Gabrian's extrusion guide, this process can produce profiles 8-24 feet long that can then be heat treated, finished, and fabricated to exact specifications.
The most common alloy used is 6063 aluminum, which offers excellent finish quality and is ideal for structural applications. For builds requiring higher strength, 6061 aluminum provides superior tensile strength, making it popular for CNC router frames that will machine harder materials.
When you compare aluminum frames to traditional alternatives, the differences become striking. Steel frames offer excellent rigidity but add significant weight and require specialized welding skills. Wood-based options like MDF or plywood are affordable but susceptible to moisture damage and lack the precision that aluminum provides. As noted in CannedCycle's frame materials guide, the frame material directly impacts your machine's durability, precision, and overall performance.
Whether you're building a desktop engraver or a full-sized router capable of cutting aluminum sheets, understanding these foundational concepts will guide every decision you make throughout your build. The following sections will explore the specific profile types, sizing options, and joining methods that transform simple extrusions into precision CNC machines.
Now that you understand what aluminum extrusions are, you're likely facing the most common question among CNC router builders: should you choose V-slot or T-slot profiles? While both options use extruded aluminum CNC technology, their fundamental design differences make each suited for distinct applications. Let's break down exactly what sets these aluminum extrusion parts apart.
At first glance, V-slot and T-slot profiles might look similar. Both feature grooves running along their length for mounting components. However, the shape of these grooves creates dramatically different capabilities.
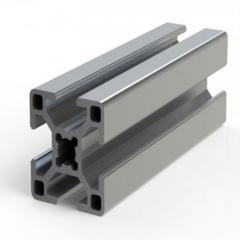
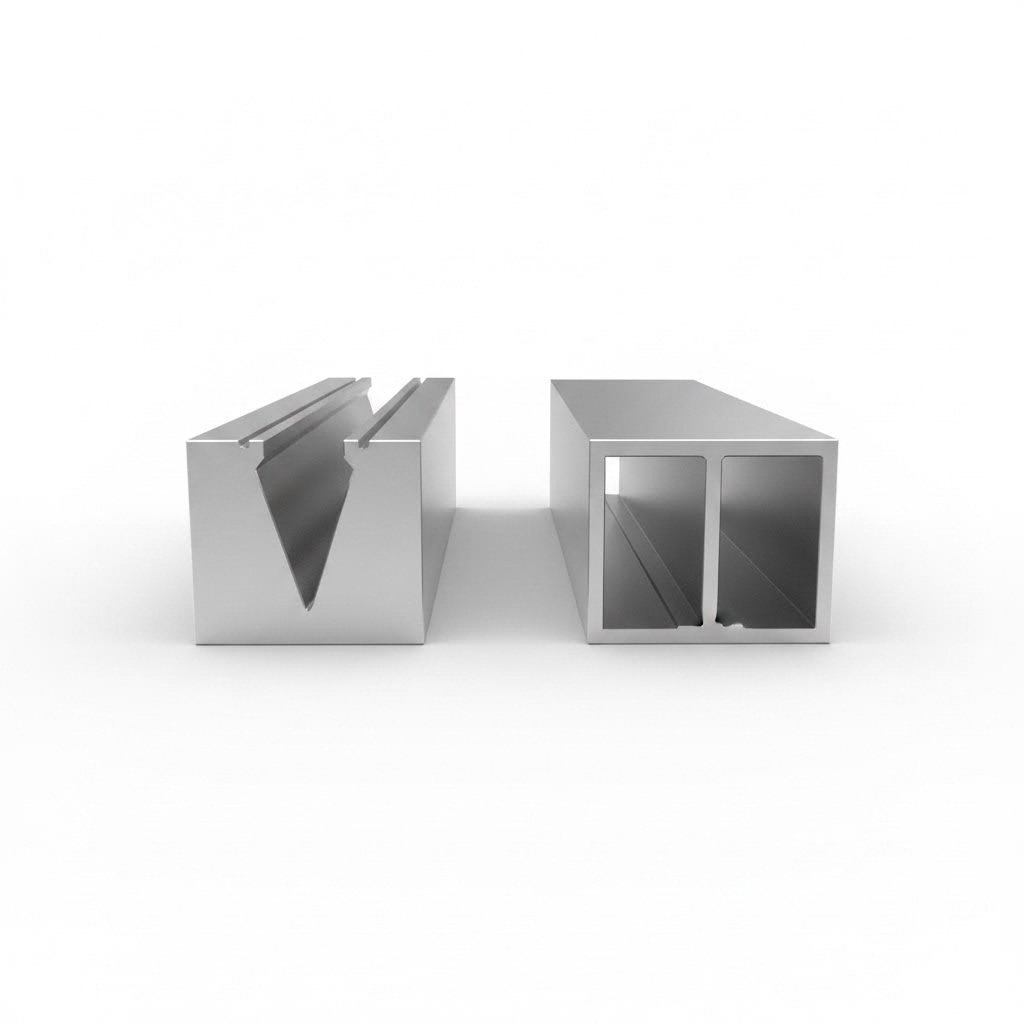
T-Slot profiles feature a groove shaped like the letter "T" when viewed in cross-section. According to PTSMAKE's comprehensive guide, this design is engineered specifically to capture the head of a bolt or a specialized T-nut. The primary function is structural, making these profiles the workhouse for industrial framing where rigidity and versatile connections are paramount.
V-Slot profiles, on the other hand, feature a 90-degree angled groove that creates a "V" shape. This isn't just aesthetic; it serves a specific mechanical purpose. The V-groove acts as a precision track designed to mate perfectly with V-shaped wheels, enabling smooth linear motion directly along the profile itself.
Here's the key distinction: T-slots are optimized for building structures, while V-slots are optimized for enabling motion. This fundamental difference should guide your aluminum profile CNC selection process.
When planning your CNC router frame, consider what each section of your machine needs to accomplish. Ask yourself: does this profile primarily need to hold components in place, or does it need to guide moving parts?
| Feature | V-Slot Profile | T-Slot Profile |
|---|---|---|
| Slot Shape | 90-degree V-shaped groove | T-shaped or trapezoidal groove |
| Primary Function | Linear motion and structure | Structural connections only |
| Wheel Compatibility | Direct V-wheel integration | Requires separate linear rail system |
| Linear Motion Capability | Built-in track for V-wheels | Must mount external linear rails |
| T-Nut Compatibility | Limited; angled walls affect seating | Extensive; designed for T-nuts |
| Accessory Ecosystem | Moderate selection available | Vast variety of brackets, fasteners, connectors |
| Cost Considerations | Slightly higher per meter | Generally more economical |
| Best Applications | 3D printers, laser cutters, light-duty CNC routers, gantry axes | Machine bases, enclosures, heavy-duty frames, static structures |
| Load Capacity | Good for light-to-medium loads | Excellent; available in heavy-duty industrial series |
For CNC router builds, many experienced builders use a hybrid approach. They select V-slot profiles for the X and Y axes where the gantry and carriage need smooth linear travel, while using T-slot profiles for the static base frame where maximum rigidity matters most. This combination leverages the strengths of both aluminum extrusion parts.
Consider these practical guidelines:
The strongest T-slot systems, such as the 80/20 series or Bosch Rexroth's heavy-duty profiles (45x90mm and 90x90mm), offer superior load capacity for demanding industrial applications. However, for typical hobbyist and semi-professional CNC router builds, standard 40-series profiles in either slot configuration provide ample strength.
Understanding these slot configurations is just the beginning. Your next critical decision involves matching the profile size to your machine's dimensions and intended cutting materials.
Choosing the right slot configuration is only half the equation. The other critical decision? Selecting the correct extrusion size for your specific machine. Many hobbyists pick a random profile and start building, only to discover their frame shakes, flexes, or fails to deliver accurate cuts. This sizing guide will help you avoid that frustrating outcome.
Think of aluminum extrusion sizing like choosing the right foundation for a building. Too small, and your structure becomes unstable under load. Too large, and you've wasted money while adding unnecessary bulk. The key is matching your profile dimensions to your machine's work area and intended use.
Extrusion profiles are typically measured in millimeters, with common sizes including 20x20, 20x40, 30x30, 40x40, 40x80, and 45x90. The first number indicates width, while the second indicates height. Rectangular profiles like 20x40 or 40x80 offer directional stiffness, meaning they resist bending better in one orientation than the other.
According to industry sizing guidelines, the relationship between your CNC router's bed size and appropriate extrusion dimensions follows predictable patterns. Here's how different work areas match with recommended profile sizes:
Here's a critical insight many forum discussions miss: if your CNC machine has a bed larger than 600mm by 400mm, 40x40mm extrusion is often the bare minimum. Going one size up costs marginally more but delivers significant gains in stiffness and longevity.
Your intended cutting materials dramatically influence extrusion sizing requirements. Why? Because different materials generate vastly different cutting forces that your frame must absorb without flexing.
When planning to cut wood and plastics, the forces remain moderate. A properly assembled frame using 40x40mm profiles can handle these materials effectively for medium-sized machines. The key concern here is preventing vibration that affects surface finish quality rather than managing extreme loads.
Planning to cut aluminum or other metals changes everything. Metal cutting generates substantially higher forces, demanding stiffer frames. For any cnc machine for aluminum extrusions work, consider upgrading your primary structural members to 40x80mm or larger. The aluminum extrusion press process creates profiles with varying wall thicknesses, typically ranging from 1.5-2.0mm for light profiles to 3-4mm for heavy-duty options. Thicker walls resist bending better and hold bolts more securely without deforming.
| Machine Type | Work Area | Cutting Materials | Recommended Profile Size | Wall Thickness |
|---|---|---|---|---|
| Desktop Laser/Engraver | Under 300x300mm | Paper, thin wood, acrylic | 20x20mm or 20x40mm | 1.5-2.0mm |
| Small CNC Router | 300x300mm | Softwood, foam, plastics | 30x30mm or 20x40mm | 1.5-2.0mm |
| Medium Hobby Router | 600x400mm | Hardwood, plywood, acrylic | 40x40mm minimum | 2.0-3.0mm |
| Large Semi-Pro Router | 1000x600mm | Hardwood, aluminum, composites | 40x80mm or 45x90mm | 3.0-4.0mm |
| Heavy-Duty Mill | 1200x800mm+ | Steel, thick aluminum | 45x90mm or custom | 4.0mm+ |
Beyond profile dimensions, consider how your aluminium extrusion machine frame will handle unsupported spans. Long horizontal runs without intermediate supports will flex regardless of profile size. For gantry spans exceeding 800mm, either step up to heavier profiles or add diagonal bracing. According to aluminum frame assembly guidelines, avoid unsupported spans over 800mm without reinforcement to minimize vibration and deflection.
When uncertainty strikes, apply this simple rule: go one size larger than you think you need. The modest additional cost delivers meaningful improvements in machine rigidity, cutting accuracy, and long-term reliability. A frame that starts rigid stays accurate for years, while an undersized frame will require constant adjustments and eventual replacement.
With your profile size selected, the next crucial consideration is ensuring compatibility between your extrusion choice and the linear motion system that will guide your cutting head.
You've selected your profile size and slot configuration. Now comes a question that trips up many first-time builders: how do you actually make things move? Your aluminum extrusion cnc frame is only as capable as the linear motion system guiding your spindle. Choosing the wrong combination leads to binding, backlash, or premature wear that undermines your entire build.
The relationship between aluminium extrusion machining and motion systems isn't just about bolting components together. It's about ensuring your extrusion profile, mounting method, and motion hardware work as an integrated system. Let's explore how to get this critical pairing right.
Linear motion components need a stable, precisely aligned mounting surface. Your aluminum extrusions provide exactly that, but only when you understand the mounting options available for each profile type.
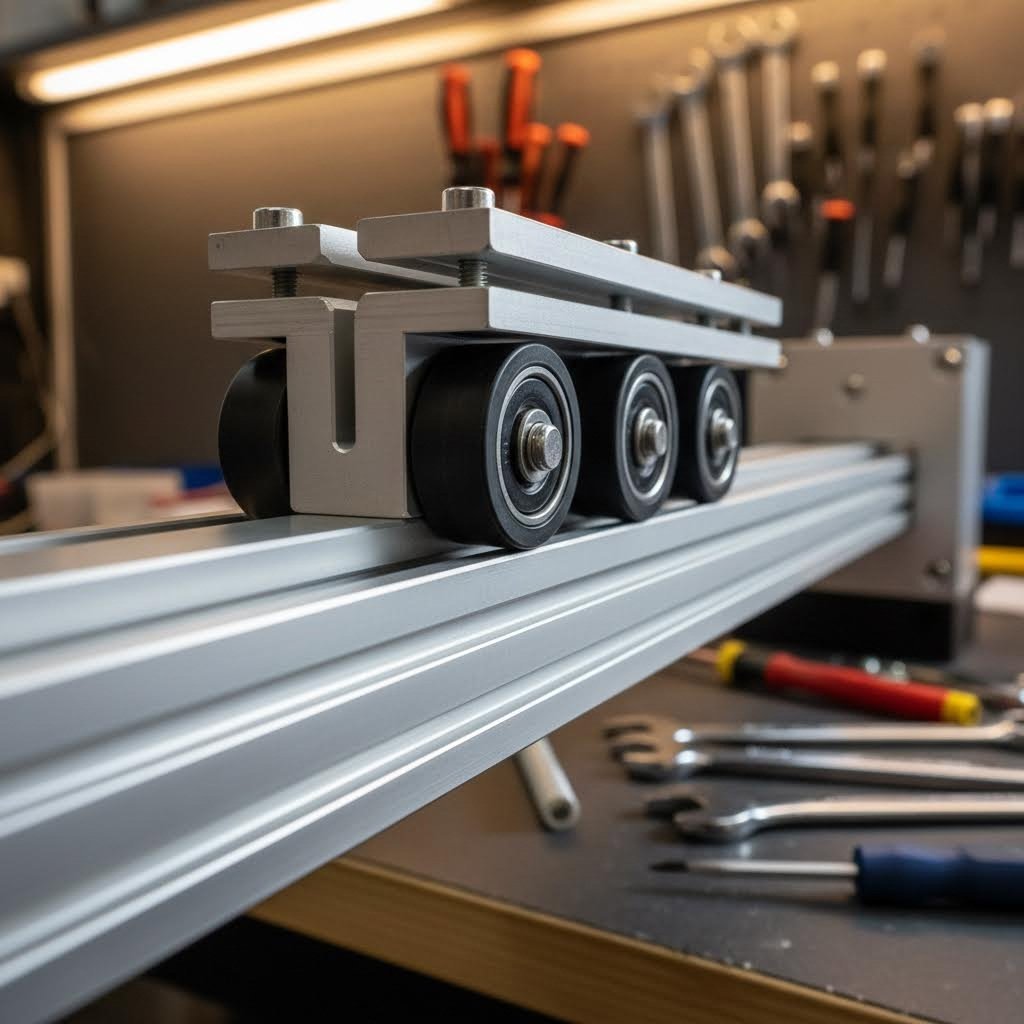
V-Wheel Systems: If you chose V-slot profiles, you already have a built-in linear motion solution. V-wheels ride directly in the angled grooves, creating smooth travel without additional rails. According to precision engineering guidelines, V-wheels fit perfectly into the V-groove and provide accurate, consistent movement when properly aligned. This approach works beautifully for light-to-medium duty applications like 3D printers and hobby CNC routers cutting wood or plastics.
However, V-wheel systems have limitations. The wheels eventually wear, requiring periodic replacement. They also struggle with the higher forces generated during aluminum cutting or aggressive feed rates.
Linear Rail Systems: For machined aluminum extrusion frames demanding higher precision and load capacity, separate linear rails become essential. These rails mount directly to the flat surfaces of your extrusion profiles, typically using T-nuts that slide into the profile slots. As noted by EZTube's engineering resources, linear rail extrusions consist of a rail and a carriage containing ball bearings or rollers to reduce friction and ensure smooth movement.
Popular options include:
The critical consideration? Your extrusion's top surface width must accommodate your chosen rail. A 20mm-wide extrusion limits you to MGN9 or MGN12 rails, while 40mm and wider profiles support virtually any rail system.
Beyond the linear guides themselves, you must select a drive mechanism that converts rotary motor motion into linear travel. Two primary options dominate CNC router builds, each with distinct characteristics.
Ball Screw Systems: These use a threaded shaft with recirculating ball bearings to achieve extremely precise, low-backlash motion. Ball screws excel at:
The tradeoff? Ball screws become increasingly expensive and prone to whip (vibration) as length increases. For spans exceeding 1000mm, you'll need supported screws or alternative solutions.
Rack and Pinion Systems: These use a gear (pinion) engaging a linear gear bar (rack) for motion. This approach suits:
Rack and pinion systems maintain consistent performance regardless of travel length, making them popular for full-sheet CNC routers. However, they typically exhibit more backlash than quality ball screws.
Feeling overwhelmed? Follow this logical sequence to match your motion system to your extrusion choices:
One often-overlooked detail: the machining quality of your extrusion ends and mounting surfaces directly affects motion system performance. Poorly cut extrusions create alignment headaches that no amount of adjustment can fully correct. This is where precision aluminium extrusion machining becomes critical, ensuring your frame components meet the tight tolerances your motion system demands.
With your motion system strategy defined, the next challenge involves joining your extrusion profiles into a rigid, vibration-resistant frame structure.
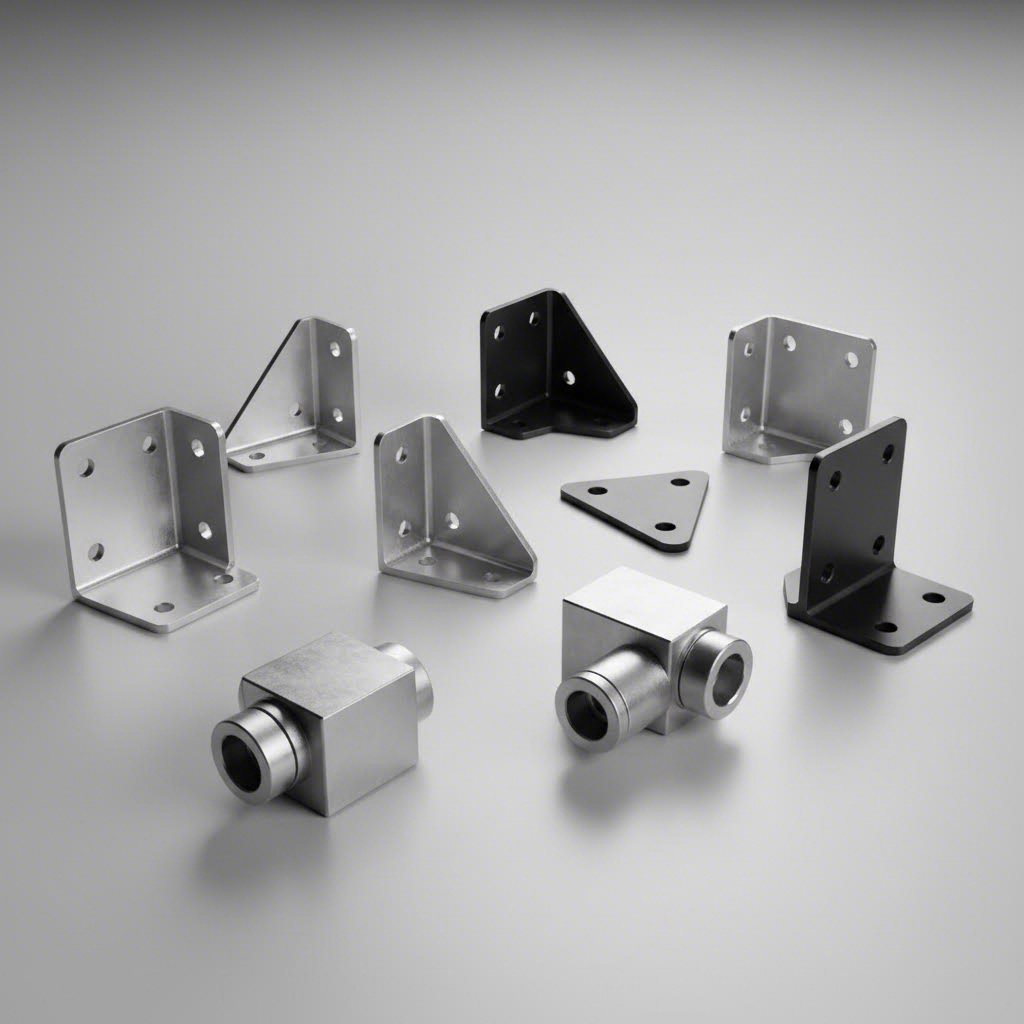
You've selected the perfect extrusion profiles and motion system. But here's a truth many builders learn the hard way: your CNC router is only as rigid as its weakest joint. A beautifully planned frame becomes a vibrating, inaccurate mess when corners flex under cutting loads. Understanding joining methods isn't just about bolting things together; it's about creating connections that transfer loads efficiently and dampen vibrations before they reach your cutting tool.
According to Industrial Profile Systems, aluminum extrusion joints can be as stiff and as strong as welded joints, but they must be designed and assembled the right way. Let's explore exactly how to achieve that level of performance.
When three pieces of extrusion meet at a corner, you face an engineering challenge: how do you prevent twisting, slipping, and flexing under dynamic loads? The answer depends on your specific requirements for strength, adjustability, and budget.
Standard Blind Joints: This method involves drilling an access hole inside the slot, then using an Allen key to tighten a button head cap screw threaded into the opposite profile. As noted by GAP Engineering, this system provides secure connections when you have proper drilling and tapping equipment. The limitation? Members cannot be relocated without drilling new holes, making this approach best for permanent assemblies.
Through Connection Method: When strength is non-negotiable, this technique shines. A fastener passes completely through one profile into another, creating exceptional resistance to shock loading and vibration. This method requires additional machining but remains cost-effective for demanding applications like CNC routers that will cut aluminum or experience heavy use.
Internal Corner Brackets: These versatile connectors require no machining operations, making them popular among hobbyists. They mount inside the profile slots using T-nuts, allowing quick adjustments and relocations. However, if your design involves internal paneling, these brackets may interfere with panel installation.
Die-Cast Corner Brackets: Easy to install and reposition, these brackets work well for light-to-medium duty frames. One important consideration: rotational loads can challenge single-bracket installations. For CNC router frames experiencing cutting forces, use multiple brackets per corner or combine with other joining methods.
Extruded Aluminum Corner Brackets: Available in standard 90-degree and 45-degree configurations, these offer superior aesthetics compared to die-cast options. They lack locating tabs, requiring more careful alignment during assembly, but their availability in 3-meter lengths enables custom corner joint configurations.
How do you choose among these options? The decision comes down to understanding the loads your frame will experience and matching connection strength accordingly.
| Joining Method | Strength Rating | Ease of Assembly | Cost | Best Applications |
|---|---|---|---|---|
| Standard Blind Joint | High | Moderate (requires drilling/tapping) | Low | Permanent frames, heavy-duty CNC bases |
| Through Connection | Very High | Moderate (requires machining) | Low-Medium | High-vibration environments, aluminium cnc milling machines |
| Internal Corner Brackets | Medium-High | Easy (no machining) | Medium | Adjustable frames, prototype builds |
| Die-Cast Corner Brackets | Medium | Very Easy | Low-Medium | Light-duty frames, enclosures, guards |
| Extruded Aluminum Brackets | Medium-High | Moderate (precise alignment needed) | Medium | Aesthetic builds, custom angles |
| Gusset Plates | Very High | Easy-Moderate | Medium-High | High-load corners, profile milling machine frames |
| Connecting End Plates | High | Easy | Medium | Retrofittable connections, relocatable joints |
Here's a practical insight that separates successful builds from frustrating ones: joint configuration matters as much as joint type. According to engineering best practices, strength is maximized by directing applied loads down through an extruded section. This means your horizontal load-bearing pieces should rest on vertical uprights whenever possible, preventing slip under load.
For CNC router frames experiencing dynamic cutting forces, consider these assembly guidelines:
For projects involving significant movement or vibration, combining multiple connection methods greatly enhances structural integrity. Many experienced builders use blind joints for the main structural connections, then add gusset plates or corner brackets for additional reinforcement. This layered approach creates frames capable of withstanding the dynamic forces generated during aggressive routing operations.
Remember: joint quality directly affects every cut your machine makes. Loose or flexible joints translate into vibration, chatter marks, and dimensional inaccuracy. Investing time in proper corner assembly pays dividends in machining precision for years to come. With your frame joints properly designed, the next consideration involves cutting and machining those extrusions to exact specifications.
Your extrusion profiles have arrived, and your frame design is finalized. Now comes the hands-on work: transforming those long aluminum lengths into precisely sized components. Here's where many builds succeed or fail. Sloppy cuts create alignment nightmares that no amount of adjustment can fix, while precision aluminum cutting establishes the foundation for an accurate machine.
The good news? You don't need industrial equipment to achieve professional results. With the right aluminum cutting techniques and proper setup, hobbyist tools can deliver surprisingly clean, square cuts. Let's explore your options from budget-friendly to semi-professional.
Sounds complex? It doesn't have to be. The secret lies in matching your cutting method to your tools, budget, and accuracy requirements. Each approach has distinct advantages worth understanding before you make your first cut.
Miter Saw with Carbide Blade: This remains the most popular choice among hobbyist builders, and for good reason. A quality miter saw delivers square, repeatable cuts with minimal setup. However, as noted by ToolsToday's machining experts, aluminum has a smaller "sweet spot" for feeds and speeds than wood, making proper blade selection critical.
Band Saw Cutting: When you need to cut multiple profiles or handle longer stock, a metal-cutting band saw offers advantages over miter saws. The continuous blade action produces less heat, reducing the risk of chip welding that occurs when aluminum sticks to cutting tools due to heat, pressure, and friction during machining.
CNC Extrusion Machining: For builders demanding ultimate precision or producing multiple identical frames, dedicated CNC cutting eliminates human error entirely. This approach becomes cost-effective when accuracy requirements are tight or when cutting quantities justify the setup time.
Cutting extrusions to length is just the beginning. Most CNC router builds require additional machining operations: drilling mounting holes, tapping threads for fasteners, and sometimes milling custom features. Understanding these secondary operations helps you plan your build efficiently.
Drilling Operations: Creating clean, accurately positioned holes in aluminum extrusions requires attention to several factors:
Tapping Threads: Many CNC router joints require threaded holes for secure fastening. Aluminum taps easily but demands proper technique:
Milling Custom Features: Sometimes your design requires slots, pockets, or custom profiles that standard extrusions don't provide. According to machining best practices, aluminum can "stick" to router bits during machining due to chip welding. Preventing this requires:
Here's an important reality check: regularly inspecting and cleaning your cutting tools removes built-up edge or material residue that degrades cutting effectiveness. Even quality carbide tools accumulate aluminum deposits that affect performance. A brass brush and some solvent keeps tools cutting cleanly.
For hobbyists working within budget constraints, a quality miter saw and hand drill handle most operations adequately. Semi-professional builders benefit from adding a drill press for perpendicular holes and a tap handle set for threading. The investment in proper cutting tools pays for itself through cleaner assemblies and fewer frustrating do-overs.
With your extrusions precisely cut and machined, the next consideration becomes equally important: understanding the cost implications of your material choices and where to source quality components economically.
You've designed your frame, selected your profiles, and planned your motion system. Now comes the question that keeps many builders up at night: what will this actually cost? Understanding the economics behind CNC router build cost decisions separates successful projects from abandoned ones. Whether you're a hobbyist building your first machine or a professional planning production runs, aluminum extrusion pricing follows predictable patterns once you understand the key cost drivers.
Here's the reality: your diy cnc frame cost depends on far more than just the price per meter of extrusion. Tooling fees, surface treatments, order quantities, and supplier relationships all influence your bottom line. Let's break down exactly what to expect and how to optimize your budget.
When you're planning a hobbyist build, cost predictability matters. Standard aluminum extrusion profiles offer exactly that. According to industry pricing analysis, standard aluminum profiles cost 30% to 50% less than custom alternatives, making them the logical starting point for most DIY builders.
What drives this cost difference? Standard profiles use existing dies that manufacturers have already paid for. Mass production keeps per-unit costs low, and suppliers maintain inventory for immediate shipping. You pay primarily for raw aluminum, the extrusion process, and any basic finishing.
Your project scale dramatically influences overall expenses. Here's how costs typically break down:
Beyond raw materials, factor in these often-overlooked expenses: cutting tools and blades ($50-150), drilling and tapping equipment ($30-100), and assembly hardware like bolts, T-nuts, and corner brackets that can add 15-25% to your extrusion costs.
Custom extrusion budget planning requires different calculations entirely. You're not just buying aluminum; you're paying for tooling, engineering time, and specialized production runs. According to Gabrian's comprehensive cost analysis, tooling costs for standard industrial applications range from $400 to $1,000, while large or complex dies can reach $2,000 or more.
Does this mean custom profiles are always expensive? Not necessarily. The economics shift dramatically based on production volume:
| Production Volume | Die Cost Per Part | Setup Cost Per Part | Relative Total Unit Cost | Best Application |
|---|---|---|---|---|
| Low (500m) | High | High | Very High | One-off prototypes only |
| Medium (2000m) | Moderate | Moderate | Moderate | Small production runs |
| High (10000m+) | Low | Low | Low | Production manufacturing |
Here's the insight that changes the equation: custom profiles can actually reduce total project costs for high-volume applications. How? By integrating features directly into the extrusion that would otherwise require secondary machining. A custom profile with built-in mounting channels, cable management grooves, or specialized geometries eliminates post-extrusion operations that add labor costs.
The break-even point varies by complexity, but generally speaking, custom extrusion budget considerations favor customization when:
Surface treatments add another layer to cost calculations. According to industry pricing data, anodizing and powder coating typically range from $1,200 to $1,400 per metric ton, while chemical conversion coatings like Alodine run approximately $800 per metric ton. For hobbyist quantities, expect to pay $2-5 per meter for anodizing on standard profiles.
Raw aluminum pricing represents the largest variable in your custom extrusion budget. Market prices have fluctuated between $1,500 and $3,500 per metric ton in recent years, influenced by global demand, energy costs, and geopolitical factors. Some manufacturers offer metal purchase agreements that lock in pricing for ongoing production needs, providing cost predictability for larger projects.
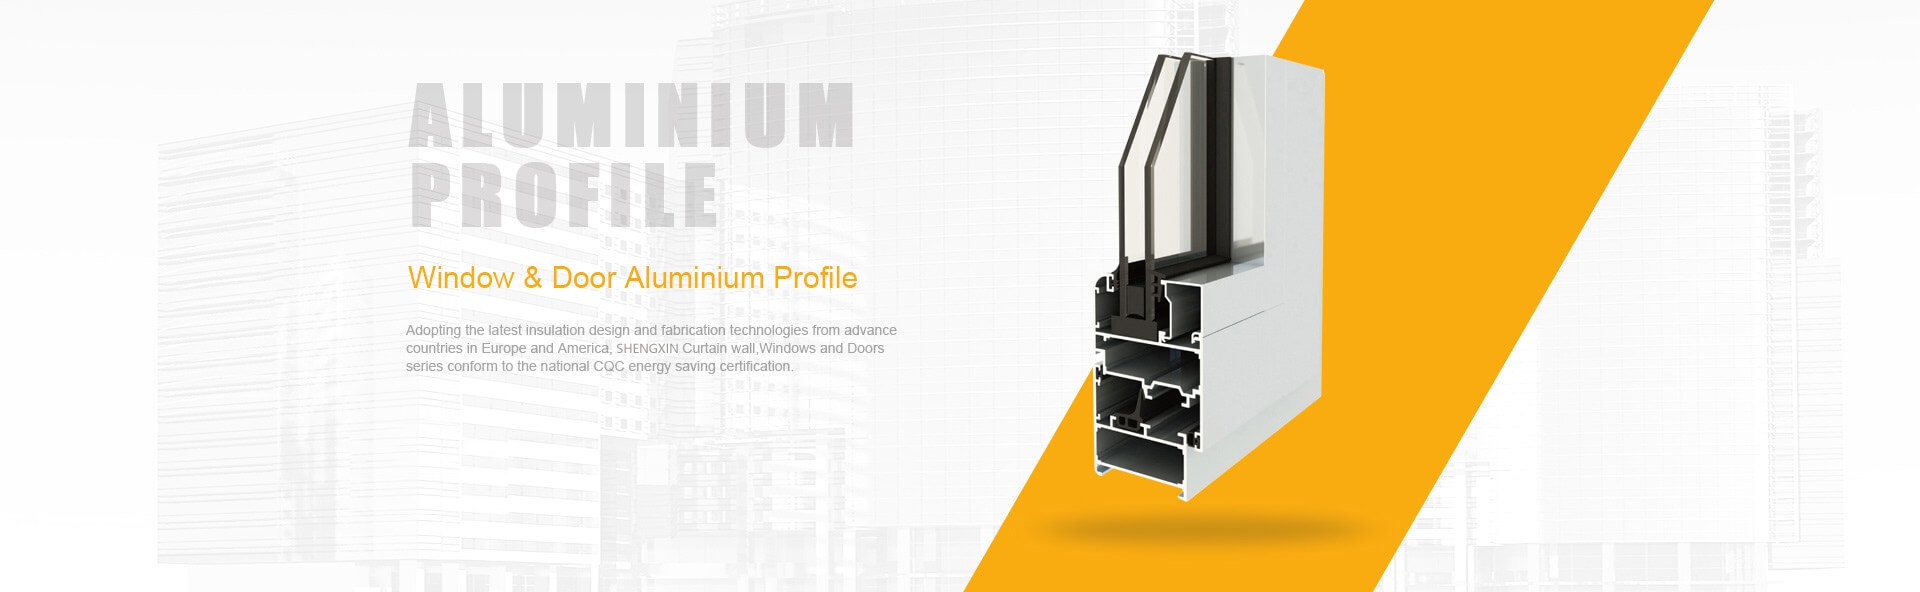
For builders seeking the best value across project scales, working with established aluminum processing partners offers distinct advantages. Suppliers with vertically integrated capabilities, combining extrusion, fabrication, and finishing under one roof, eliminate the logistics burden and markup of coordinating multiple vendors. Companies like Shengxin Aluminium, with over 30 years of experience and factory-direct pricing, exemplify how established suppliers can reduce costs for both prototype quantities and production runs through their comprehensive processing capabilities.
Whether you're building a single hobby machine or planning a production line, understanding these cost dynamics helps you make informed decisions. The cheapest option isn't always the most economical when you factor in assembly time, machining requirements, and long-term durability. Sometimes investing slightly more in quality extrusions and professional surface treatments delivers better value through easier assembly and extended service life.
Speaking of surface treatments, your finishing choices affect far more than appearance. The next section explores how different treatments impact durability, component compatibility, and overall project costs.
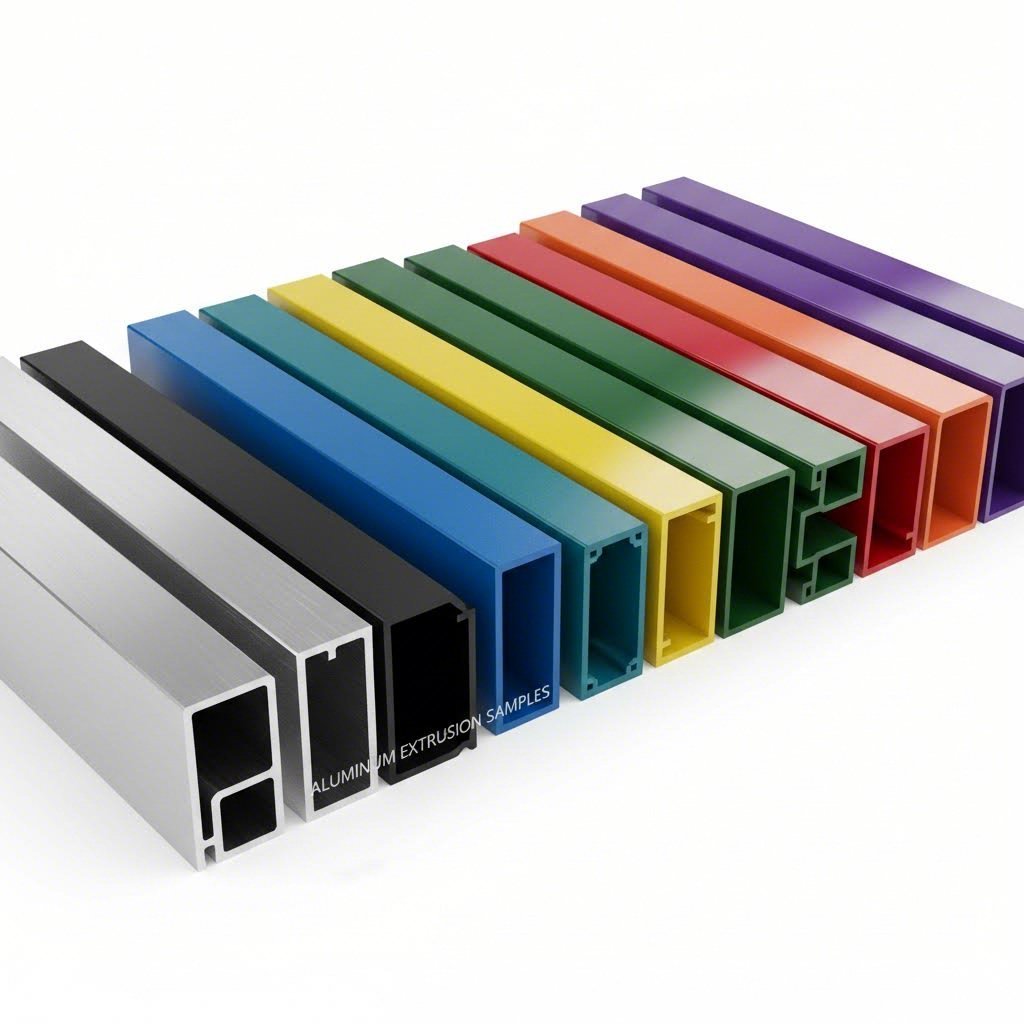
Your aluminum extrusion frame is taking shape, but raw aluminum isn't the finish line. Surface treatments transform bare profiles into durable, attractive components that resist corrosion, wear, and the workshop environment for years. Beyond aesthetics, your aluminum surface finishing choice directly affects how components mount, how fasteners grip, and how your machine ages over time.
Wondering which protective aluminum treatment makes sense for your build? The answer depends on your priorities: maximum durability, specific color requirements, budget constraints, or professional appearance. Let's explore the options that CNC router builders most commonly consider.
Aluminum naturally forms a thin oxide layer when exposed to air, providing basic corrosion resistance. However, this natural protection isn't sufficient for machine frames experiencing handling, cutting fluid exposure, and years of use. Professional surface treatments dramatically extend frame life while adding functional benefits.
Anodizing: This electrochemical process thickens aluminum's natural oxide layer, creating a hard, integrated surface rather than a coating that can peel. According to Gabrian's finishing guide, anodizing enhances resistance to wear and corrosion, increases heat dissipation, and improves adhesion for subsequent coatings or adhesives. The resulting surface becomes part of the aluminum itself, making it impossible to chip or flake like applied coatings.
For CNC router frames, anodizing offers several distinct advantages:
Powder Coating: Unlike anodizing, powder coating applies a dry polymer powder electrostatically, then cures it in an oven to form a durable, uniform layer. According to industry analysis, powder coatings produce thicker, more uniform layers than traditional paints while emitting minimal volatile organic compounds.
This treatment excels at:
PVDF Coating: Polyvinylidene fluoride coatings represent the premium tier of aluminum finishing. This fluoropolymer coating offers exceptional weather resistance, color retention, and chemical resistance. Architectural applications favor PVDF for facades expected to maintain appearance for decades. For CNC router frames, PVDF makes sense when the machine will live in harsh environments or when premium aesthetics justify the additional cost.
Micro-arc Oxidation: This advanced treatment creates ceramic-like surfaces with exceptional hardness and wear resistance. While more expensive than standard anodizing, micro-arc oxidation produces coatings capable of withstanding significant abrasion, making it suitable for high-wear areas of professional-grade machines.
Surface treatment selection involves tradeoffs between durability, cost, appearance, and compatibility with your assembly methods. Understanding these tradeoffs helps you make informed decisions rather than defaulting to whatever your supplier offers.
| Treatment Type | Durability | Relative Cost | Color Options | Best Applications |
|---|---|---|---|---|
| Clear Anodizing | High | Low-Medium | Natural metallic silver | Standard machine frames, clean industrial aesthetic |
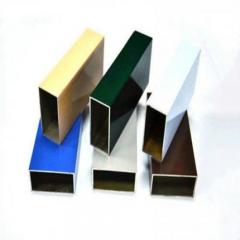
| Color Anodizing | High | Medium | Black, gold, bronze, champagne, rose gold, blue, red | Professional builds, branded equipment, custom aesthetics |
| Powder Coating | Very High | Medium | Virtually unlimited RAL colors, textures available | Outdoor machines, harsh environments, vibrant color needs |
| PVDF Coating | Exceptional | High | Wide range with superior fade resistance | Premium installations, long-term outdoor exposure |
| Micro-arc Oxidation | Exceptional | High | Limited (typically white, gray, black) | High-wear surfaces, extreme durability requirements |
| Electrophoretic Coating | High | Medium | Limited range | Complex geometries requiring uniform coverage |
Here's a critical consideration many builders overlook: surface treatments affect assembly. Anodized surfaces maintain tight tolerances, so T-nuts and fasteners fit as expected. Powder coating, however, adds 2-4 mils of thickness that can interfere with tight-fitting hardware. If you powder coat extrusions, plan for slightly looser fits or mask critical mating surfaces before coating.
Similarly, anodizing creates an electrically insulating layer. If your frame design relies on electrical continuity for grounding or static dissipation, you'll need to mask grounding points or remove anodizing locally after treatment.
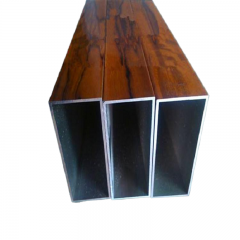
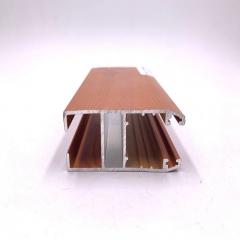
For builders seeking professional finishing without managing multiple vendors, suppliers offering integrated processing capabilities streamline the workflow significantly. Shengxin Aluminium's processing services exemplify this approach, offering custom color anodizing options including champagne and rose gold, powder coating, PVDF, and micro-arc oxidation alongside CNC machining for precise cutting, drilling, and bending. This integrated capability ensures surface treatments align with machined features rather than requiring coordination between separate finishing and fabrication vendors.
When budgeting for surface treatments, remember that finishing costs depend on both treatment type and profile surface area. Complex profiles with multiple grooves and channels require more processing than simple rectangular sections. For production quantities, the per-piece cost drops substantially, making premium treatments more accessible.
Your surface treatment decision ultimately balances protection needs, aesthetic goals, and budget realities. Clear anodizing offers excellent value for most hobby builds. Black anodizing provides a professional appearance popular among serious builders. Powder coating makes sense when color variety or maximum impact resistance matters most. Whatever you choose, proper surface treatment transforms raw extrusions into finished components ready for years of reliable service.
With your frame materials selected, sized, joined, machined, and finished, you're ready to bring everything together. The final section consolidates these decisions into an actionable framework for planning your complete CNC router aluminum extrusion project.
You've absorbed a tremendous amount of information about slot configurations, sizing requirements, motion systems, joining methods, machining techniques, costs, and surface treatments. Now it's time to transform that knowledge into action. Building a successful CNC router frame isn't about perfection on the first try; it's about making informed decisions at each stage and learning as you progress.
Before purchasing a single extrusion, take time to document your requirements clearly. What materials will you cut most frequently? What's your maximum work area? How much precision do you actually need? These answers drive every subsequent decision.
Many first-time builders rush to order parts, only to discover mismatches between their motion system and extrusion profiles, or joints that flex under cutting loads. A methodical planning approach prevents these frustrating setbacks.
Follow this logical sequence to move from concept to completed frame:
The single most critical factor for successful CNC router builds is frame rigidity; every flex, vibration, or loose joint translates directly into dimensional inaccuracy and poor surface finish on your workpieces.
Remember the lessons from experienced builders: a frame that starts rigid stays accurate for years. As one DIY builder discovered after multiple iterations, lateral strength on all axes prevents the frustrating scenario where your machine "worked, albeit not as good as hoped" and could only reliably drill holes rather than produce accurate cuts.
Whether you're constructing a compact desktop engraver or a full-sheet semi-professional router, these aluminum extrusion profiles provide the foundation for precision machining. Take your time with the planning phase, invest in quality components, and approach assembly with patience. The reward is a custom-built machine tailored exactly to your needs, capable of producing accurate parts for years to come.
The ideal extrusion size depends on your work area and cutting materials. For small desktop machines under 300x300mm, 20x20mm or 20x40mm profiles suffice. Medium hobby routers (300-600mm work area) require 40x40mm minimum. Large semi-professional machines over 600x400mm need 40x80mm or 45x90mm profiles for adequate rigidity. When cutting aluminum or harder materials, always size up for better vibration dampening and accuracy.
Aluminum extrusion frames perform excellently for light-to-medium duty CNC routers cutting wood, plastics, and even aluminum when properly designed. The key factors are selecting appropriately sized profiles (40x80mm or larger for metal cutting), using quality corner joining methods, and pairing with proper linear motion systems. Many successful hobbyist and semi-professional machines use 4080 or larger extrusions with epoxy granite fill for enhanced rigidity and vibration dampening.
V-Slot profiles feature a 90-degree angled groove designed for V-wheels to ride directly on, providing integrated linear motion capability. T-Slot profiles have T-shaped grooves optimized for T-nuts and structural connections. V-Slots excel for gantry axes requiring smooth travel, while T-Slots offer superior load capacity and accessory compatibility. Many builders use both: V-Slot for moving axes and T-Slot for static base frames.
For milling hardwood and aluminum, 80x160mm profiles with epoxy granite fill provide exceptional rigidity and vibration dampening. Standard 40x80mm or 45x90mm heavy-duty T-slot profiles work well for most semi-professional builds. Key strength factors include wall thickness (3-4mm recommended), corner joining methods using through-connections or multiple brackets, and proper linear rail integration. The 6061 aluminum alloy offers higher tensile strength than 6063 for demanding applications.
Filling extrusions with epoxy granite significantly increases rigidity and vibration dampening, particularly beneficial for gantry members on larger machines. This mixture of sand and epoxy adds mass and stiffness without the weight of solid metal. However, it's a permanent modification that prevents future adjustments. Consider filling only critical structural members like gantry beams where vibration control matters most, while leaving other sections unfilled for potential modifications.



 خدمة الإنترنت
 0086 136 3563 2360
 sales@sxalu.com
 +86 136 3563 2360
 العربية
 English
 français
 Deutsch
 русский
 español
 português
 ไทย
ไทย Việt
Việt Українська