Ever wondered why so many skilled fabricators ask, “Is aluminum hard to weld?” If you’ve ever tried your hand at welding aluminum, you’ll notice it behaves nothing like steel. Despite its popularity in industries from automotive to aerospace, aluminum presents a unique set of hurdles that make its weldability a prized skill among professionals.
Aluminum welding is sought after for good reason. The metal’s lightweight strength and corrosion resistance make it ideal for critical structures, but those same attributes introduce complexity. When you ask, “Can you weld aluminum?” the answer is yes—but it’s far from straightforward. The process, often referred to as GTAW or GMAW depending on the method, is what aluminum welding is called in technical terms. Mastering these methods opens doors to high-value fabrication work, but only with a deep understanding of the science behind the challenge.
So, what makes welding aluminum so tricky? It comes down to three main factors:
“Pure aluminum melts at 1,200°F (650°C), but its oxide layer doesn’t melt until 3,700°F (2,037°C). This means the oxide must be thoroughly removed before welding, or you risk incomplete fusion and weak joints.” Universal Technical Institute
Because the oxide layer acts as a barrier and the metal itself is so thermally reactive, achieving a clean, strong weld requires more than just technical know-how—it demands patience, preparation, and precision. That’s why, when considering aluminum weldability, it’s not just a question of “can aluminum be welded,” but rather, “can it be welded well?”
In summary, aluminum welding is both challenging and rewarding. Its unique properties make it essential to learn the right approach. Stick with us as we break down each step for professional results, making the answer to “is aluminum hard to weld” a confident “not if you know how.”
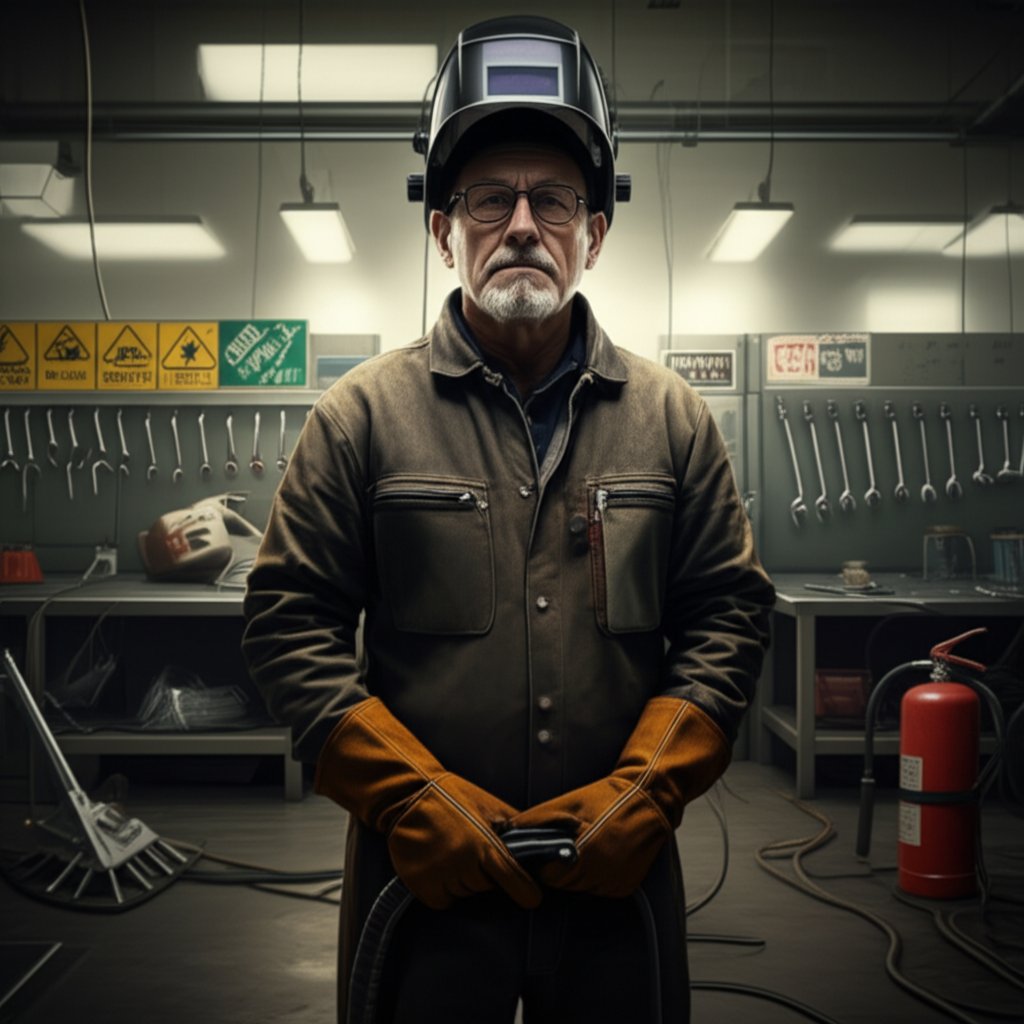
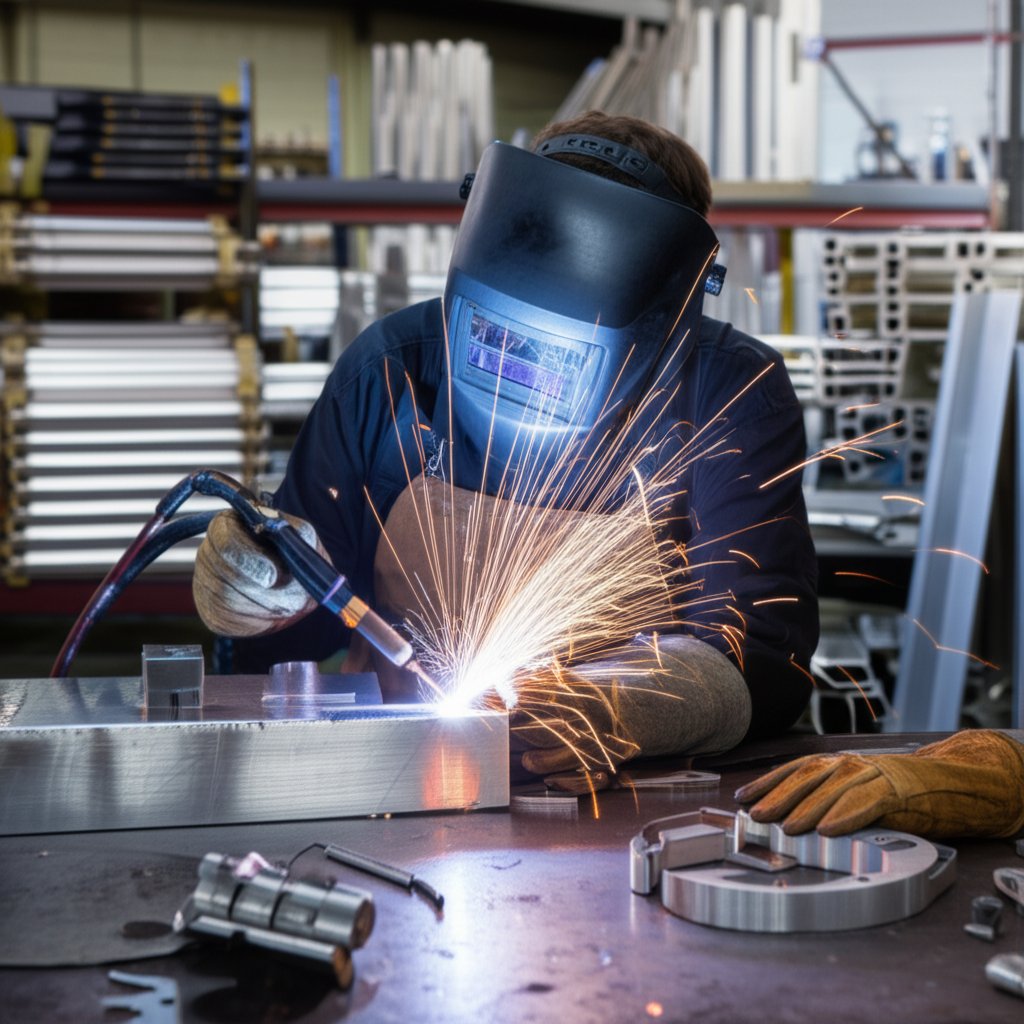
When you’re ready to learn how to weld aluminum, it’s tempting to dive straight into the technical side. But before you even power up your aluminum welder, ask yourself: are you truly protected? Aluminum welding isn’t just about skill—it’s about taking the right safety measures from the start. Let’s break down exactly what you need to weld aluminum safely and effectively, and why these steps matter.
Aluminum welding produces intense UV light, hot metal fumes, and flying sparks. That means your personal protective equipment (PPE) isn’t optional—it’s essential. Here’s a checklist to ensure you’re covered from head to toe:
Following this list isn’t just good welding advice—it’s the foundation of safe and successful work. If you’re making your own list of the steps to set up a welder, PPE should always be step one.
Aluminum welding produces hazardous fumes, including tiny particles of aluminum oxide and the toxic gas ozone. Inhaling these can cause serious health issues, from respiratory irritation to long-term neurological risks. According to industry experts, even sub-micron particles can reach deep into your lungs and enter your bloodstream.
Here’s how to do welding safely with proper ventilation:
Never underestimate the importance of air quality—what do you need to weld aluminum safely? Clean air is at the top of the list.
Imagine this: you’re focused on your weld, only to have a stray spark ignite something nearby. Because aluminum welding involves high temperatures and flying sparks, your workspace must be prepared to prevent fires. Here’s what to check:
Part of knowing how to weld aluminum is knowing how to do it without putting yourself or your shop at unnecessary risk.
In short, the right safety setup is the first and most important step before you strike an arc. When you build these habits into your process, you’ll not only protect yourself—you’ll set the stage for better, more consistent welds. Next, we’ll explore how the type of aluminum alloy you choose can impact every aspect of your welding project.
Ever wondered why some aluminum welds look flawless while others crack or fail? The secret often lies in choosing the right alloy and filler metal. Not all aluminum is created equal—and the combination you select can make or break your project. If you’re aiming for strong, clean welds, understanding the differences between alloys and aluminum welding rods is essential. Let’s break down what you need to know to get the best aluminum for welding, whether you’re working on new fabrications or tackling welding cast aluminum repairs.
Imagine you’re staring at a pile of aluminum stock—how do you know which pieces are weldable aluminum and which will cause headaches? Here’s a quick comparison of the most common alloys you’ll encounter:
| Alloy | Main Characteristics | Typical Applications | Recommended Filler Metal |
|---|---|---|---|
| 6061 | High strength, good corrosion resistance, heat-treatable, prone to hot cracking | Structural frames, marine parts, automotive components | 4043 or 5356 |
| 5052 | Excellent corrosion resistance, moderate strength, non-heat-treatable, highly formable | Fuel tanks, marine hardware, sheet metal work | 5356 |
| 3003 | Good formability, moderate strength, non-heat-treatable, easy to weld | Ductwork, chemical equipment, food & beverage containers | 4043 or 5356 |
| Cast Aluminum (e.g., 356, A356) | Porous, variable composition, often contains silicon, may be brittle | Engine blocks, transmission housings, pump bodies | 4043 (preferred), sometimes 5356 |
As you can see, the right filler metal depends on both the base alloy and your project’s needs. For example, if you ask, “Can you weld cast aluminum?”—the answer is yes, but it takes special care and the right filler—usually 4043—to minimize cracking. This is where knowing a few welding tips and tricks for cast aluminum can save you hours of frustration.
Now, let’s talk about the two most common aluminum welding rods: 4043 and 5356. Each has its own strengths and best-use scenarios, so your choice matters:
So, how do you decide? Think about your priorities: If you’re after maximum strength and color match for anodizing, 5356 is the way to go. If you want a weld that resists cracking and looks great, especially on tricky jobs like weld cast aluminium repairs, reach for 4043. Remember, the best aluminum for welding is often the one matched with the right filler metal for your specific application.
Still unsure which way to go? Here are a few quick guidelines:
Proper filler selection is a cornerstone of weldable aluminum projects—get it right, and you’ll avoid many common pitfalls. As you move forward, keep in mind that even the perfect alloy and filler won’t save you from poor preparation. Next, we’ll dive into the crucial cleaning steps that set the stage for every successful weld.
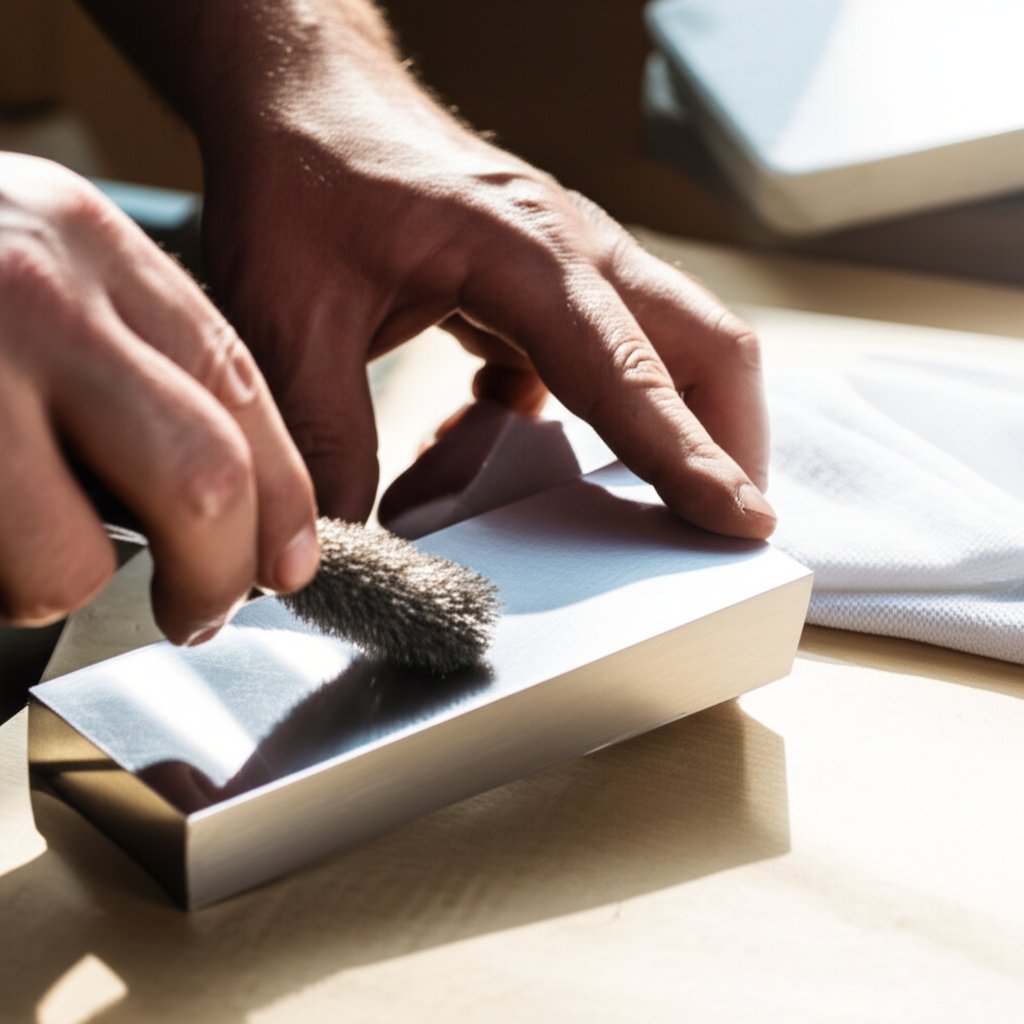
When it comes to welding aluminum to aluminum, there’s one step that stands above the rest: surface preparation. No matter how advanced your welder or how steady your hand, ignoring this step can undermine your entire project. Sounds complex? Let’s break it down—because learning how to weld aluminum to aluminum successfully always starts with a clean slate.
Imagine you’re ready to weld, but beneath the surface lies a hidden obstacle—the stubborn aluminum oxide layer. This thin film forms instantly when aluminum is exposed to air, and here’s the catch: it melts at a much higher temperature than the aluminum itself. If you skip proper cleaning, the oxide acts as a barrier, causing lack of fusion, porosity, and weak welds. In fact, many experts agree that the answer to “what is the best way to weld aluminum?” always begins with meticulous cleaning.
So, how do you weld aluminum and ensure a strong, clean joint? The secret is to remove both surface contaminants and the oxide layer right before welding. Here’s why:
Proper cleaning is not just about aesthetics—it’s about weld integrity. If you’ve ever wondered, “Can you weld aluminum to aluminum and get a flawless result?” the answer hinges on how you prepare the surfaces.
Pro tip: Always dedicate your cleaning tools exclusively to aluminum. Using brushes or grinders that have touched steel can transfer particles and cause weld contamination.
Still wondering what is the best way to weld aluminum? It’s simple: start with a surface so clean it could pass a white-glove inspection. By following these steps, you’ll drastically reduce the risk of porosity and ensure your welds are as strong as possible. Next, we’ll move on to the welding process itself, where your clean, prepared metal will set the stage for professional results.
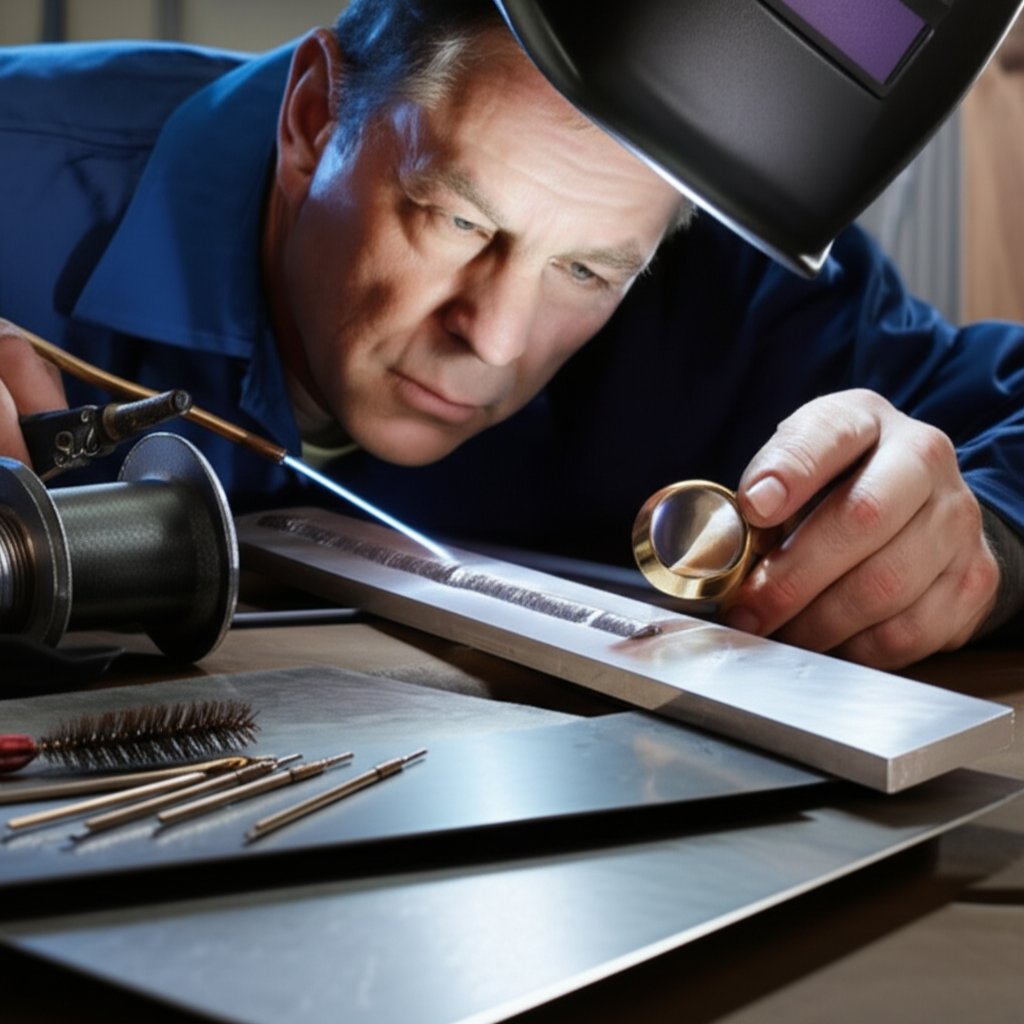
Ever wondered why so many professionals choose TIG welding aluminum when appearance and weld integrity are non-negotiable? If you want that signature “stacked dimes” look and a weld that’s as strong as it is beautiful, this is the method for you. But achieving flawless results with gtaw welding aluminum isn’t just about having the right machine—it’s about understanding the science and technique behind every bead.
Let’s start with the basics. Aluminum welding with TIG (also known as Gas Tungsten Arc Welding, or GTAW) is unique because it uses alternating current (AC). Why? AC provides a critical cleaning action that breaks up the stubborn oxide layer on the aluminum’s surface—something direct current (DC) can’t do. The positive half of the AC cycle (EP) cleans the oxide, while the negative half (EN) delivers heat for penetration.
Modern TIG welders for aluminium often let you fine-tune three crucial parameters:
Not sure where to start? Here’s a quick reference table for common TIG welding aluminum scenarios. Settings may vary by machine and joint type, but these are reliable starting points:
| Material Thickness | Amperage (A) | AC Balance (EN/EP) | AC Frequency (Hz) | Gas Flow (CFH) |
|---|---|---|---|---|
| 1/16" (1.6 mm) | 60–80 | 70–75% EN | 120–150 | 15–20 |
| 1/8" (3.2 mm) | 120–140 | 75% EN | 120–180 | 18–22 |
| 1/4" (6.4 mm) | 180–210 | 65–70% EN | 80–120 | 20–25 |
Always use pure argon as the gas for tig welding aluminum—other mixes can cause erratic arc behavior and contamination. If you’re asking “how hot to pre-heat aluminum for tig welding,” most jobs under 1/4" don’t require preheat, but for thicker sections, preheating to 200–300°F can help prevent cracking and improve penetration.
Wondering which tungsten works best? For most modern aluminium welding with tig, 2% lanthanated tungsten is the best tungsten for aluminum—especially with inverter machines. It offers excellent arc stability, resists balling, and lasts longer than pure tungsten. Zirconiated tungsten is another solid choice for high-amp jobs or older transformer machines.
Technique matters as much as settings. Here’s how to get that professional finish with tig welding aluminum:
Practice on scrap until you can keep your puddle consistent and your bead smooth—every adjustment makes a difference in aluminium welding with tig.
With these tips and starting points, you’ll be well on your way to mastering TIG welder to weld aluminum with professional results.
Want to explore TIG vs MIG in depth? For a comprehensive guide comparing these methods including when to choose each, see: Essential Aluminum Welder Guide: TIG & MIG Key Choices.
In the next section, we’ll look at high-speed MIG welding techniques—perfect for thicker materials and rapid fabrication.
When you need speed, efficiency, and the ability to handle thicker material, mig welding aluminum is often the go-to solution. But if you’ve ever tried welding aluminum with a mig welder and ended up with tangled wire or inconsistent beads, you’re not alone. Aluminum’s soft, pliable wire and high thermal conductivity demand a specialized approach—one that starts with the right equipment and technique.
Imagine trying to push a cooked noodle through a long tube—that’s what it’s like feeding soft aluminum wire through a standard MIG torch. The wire can kink, jam, or form a dreaded “bird’s nest” inside the feeder, stopping your progress cold. That’s why most experts recommend a spool gun or push-pull gun for gas metal arc welding aluminum, especially if you want reliable results every time.
So, can you mig weld aluminum with a standard setup? Technically yes, but for consistent, high-quality results—especially on anything but the shortest welds—a spool gun or push-pull system is strongly recommended.
Getting your mig welder that can weld aluminum ready isn’t just about plugging in and going. Aluminum wire demands specific adjustments for smooth feeding and quality welds. Here’s a quick-start checklist:
Here are some starting points for settings (always check your machine’s chart or manual for fine-tuning):
Tip: Set your wire feed speed 30–100% higher than you would for steel. Aluminum requires more speed to keep up with its high thermal conductivity.
Welding aluminum with a mig welder is a different ballgame compared to steel. Here’s what you need to keep in mind:
Can you weld aluminum with a mig welder if you’ve only ever done steel? Absolutely, but expect a learning curve. Practice on scrap, dial in your settings, and you’ll soon see why mig welding aluminum is a favorite for everything from boat hulls to truck beds.
Ready to troubleshoot your welds and fine-tune your results? Next, we’ll tackle the most common aluminum welding defects and how to fix them for flawless, professional-quality joints.
Even with perfect preparation, alloy selection, and the right technique, you might still find yourself staring at a weld that’s less than professional. Ever looked at a tig welded aluminum joint and wondered, “What went wrong?” You’re not alone—aluminum’s unique properties mean that even seasoned welders encounter issues like porosity, cracking, warping, and lack of fusion. The good news? Most defects can be traced to a handful of root causes, and each has a clear solution. Let’s break down how to spot, diagnose, and fix the most common aluminum welding problems—so you can get back to flawless results, every time.
Notice black specks, bubbles, or a peppered appearance in your weld bead? That’s porosity—a telltale sign that hydrogen has found its way into the weld pool and become trapped as the metal solidifies. Porosity is especially common in aluminum welding because molten aluminum absorbs hydrogen much more readily than steel. Not only does this weaken the joint, but it can also lead to rejected parts or failed inspections (reference).
Here’s a practical table to help you troubleshoot the most common aluminum welding defects:
| Common Problem | Likely Causes | Actionable Solutions |
|---|---|---|
| Porosity (Black specks, bubbles) |
|
|
| Hot Cracking (Cracks in/near weld bead) |
|
|
| Distortion / Warping |
|
|
| Lack of Fusion / Incomplete Penetration |
|
|
Cracking and distortion can be especially frustrating when working on complex assemblies or when you attempt to weld aluminum to steel—an advanced technique that typically requires specialized methods, such as using a bimetallic transition insert. While can you weld aluminum to steel is a common question, it’s important to know that direct fusion welding is not practical due to brittle intermetallics; instead, mechanical fastening or explosion welding is preferred for joining these metals.
For standard aluminum-to-aluminum work, preventing hot cracking comes down to three things:
Distortion is best managed by strategic fixturing, alternating weld locations, and letting parts cool between passes. For thin sheet, consider using a backing bar or copper heat sink to draw excess heat away from the weld zone.
Lack of fusion is often caused by insufficient amperage or moving too fast—especially on thicker sections. If you’re struggling with bead shape or penetration, check your settings and ensure the joint is clean and tightly fit. Remember, a heavy oxide layer acts as an insulator, so even the best technique can’t compensate for poor prep.
Curious about flux core welding aluminum? While it’s a popular process for steel, it’s rarely used for aluminum due to the lack of suitable flux-cored wires and the risk of contamination. For most high-quality aluminum fabrication, stick to TIG or MIG with solid wire and proper shielding gas.
Visual inspection is your first line of defense—look for black specks, cracks, or underfilled areas. For critical welds, consider volumetric methods like X-ray or ultrasonic testing to catch subsurface issues. If you’re welding aluminum to steel for a specialty application, consult with a welding engineer or metallurgist to ensure joint integrity and safety.
In summary, troubleshooting defects in aluminum welding is all about understanding the root cause and applying targeted solutions. With every tig welded aluminum joint you inspect and improve, you’ll build confidence—and results that stand up to the toughest standards. Next, we’ll guide you through post-weld inspection and how sourcing quality materials sets the foundation for every successful project.
After following each careful step—from surface preparation to dialing in your welding technique—you’ve reached the final phase: finishing and inspection. But even the most skilled aluminum welder knows the job isn’t truly done until every detail is checked, cleaned, and built to last. So, how do you ensure your welds not only look professional but also stand the test of time?
Imagine you’ve just finished a complex project for a client searching for “aluminum welding near me.” Before you hand over the work, take a moment for a thorough inspection. Here’s a practical checklist to guide you:
Whether you’re running a full aluminum welding shop or offering mobile aluminum welding near me, these steps help guarantee that your work stands out for both quality and reliability.
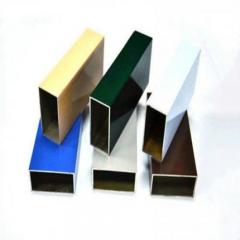
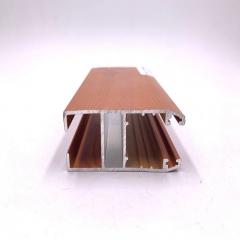
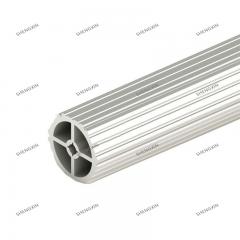
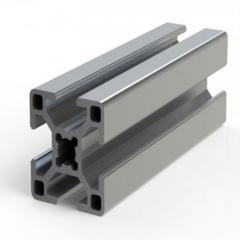
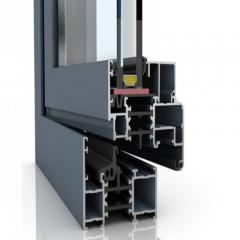
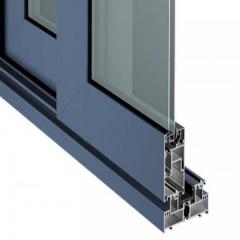
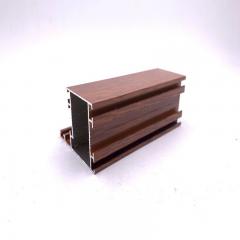
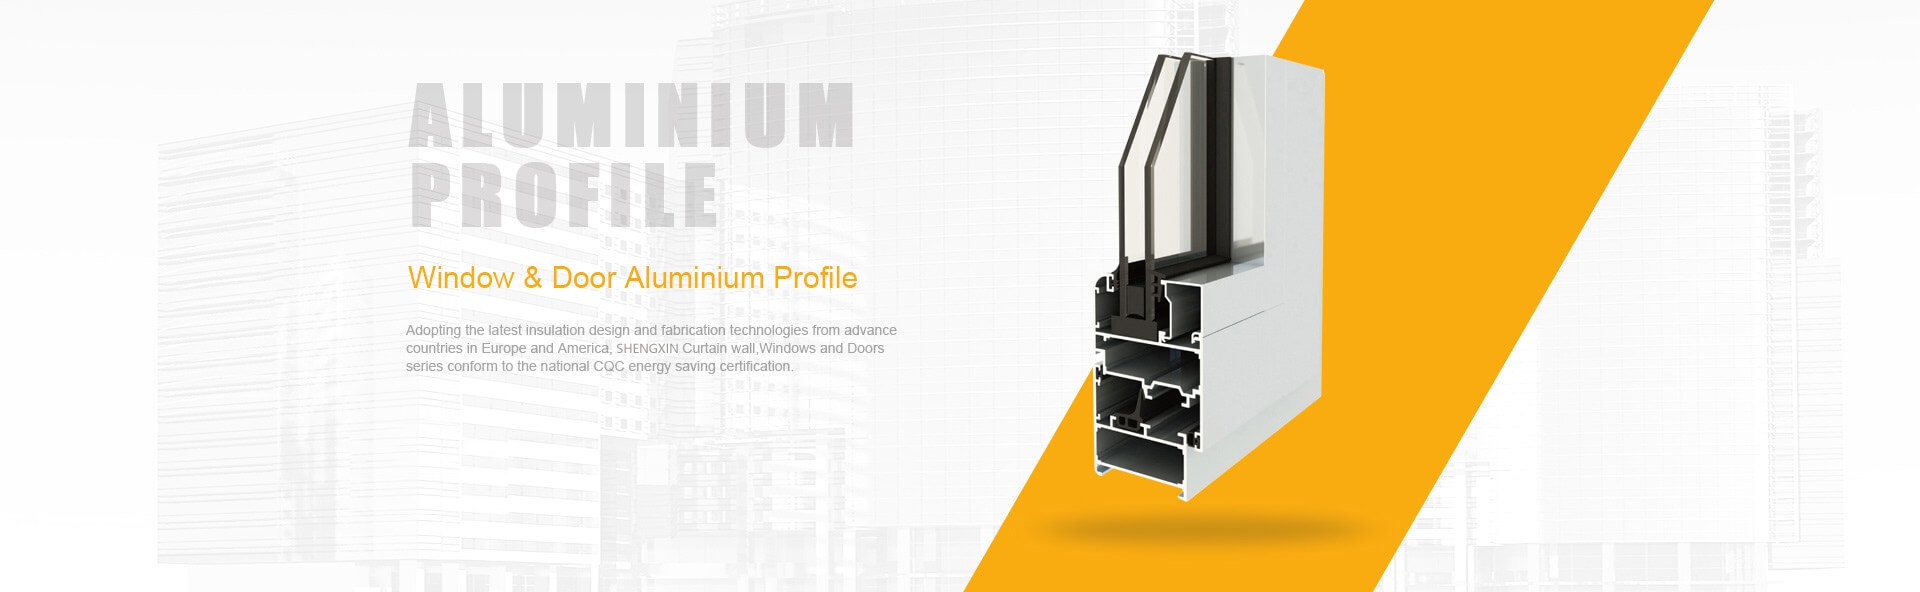
Here’s a pro tip that separates good welders from great ones: the quality of your finished weld is directly tied to the quality of your starting materials. If you’ve ever struggled with inconsistent results, ask yourself—are your aluminum profiles, sheets, or trim truly up to spec?
High-grade, dimensionally accurate materials make every step easier, from prepping and fixturing to achieving a flawless final bead. Using clean, well-manufactured stock reduces the risk of contamination, warping, and fit-up problems—saving you time and costly rework. It’s why professionals and aluminum welding shop near me services invest in reliable suppliers for their aluminum stock, whether it’s for intricate aluminum trim or robust structural frames.
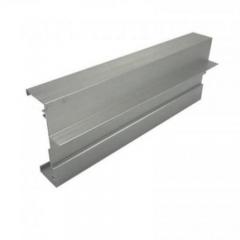
For fabricators who demand consistency, Shengxin Aluminum stands out as a trusted source for premium aluminum profiles and components. Their strict quality control, wide selection, and advanced manufacturing ensure you always have the right material for the job—helping you achieve superior weldability and long-term strength. When you choose high-quality input, every weld reflects your best work.
In summary, finishing and inspection are more than just the last step—they’re your final opportunity to ensure every weld meets the highest standard. And when you start with top-grade materials, you set yourself up for success from the very first arc. Ready to elevate your projects? Consider the difference the right aluminum can make for your next job.
Aluminum is considered challenging to weld because it has a tough oxide layer that melts at a much higher temperature than the base metal. Additionally, its high thermal conductivity quickly draws heat away from the weld area, making it easy to burn through or fail to achieve proper penetration. Aluminum is also sensitive to contamination, so even small traces of oil or moisture can cause weld defects. With proper cleaning, technique, and equipment, however, high-quality aluminum welds are achievable.
TIG (GTAW) welding is often the top choice for aluminum when precision and appearance are crucial. It uses alternating current and pure argon shielding gas to break up the oxide layer and create clean, strong welds. MIG (GMAW) welding is preferred for thicker materials or when speed is important, especially when using a spool gun or push-pull gun to prevent wire feeding issues.
Proper surface preparation is essential. Start by degreasing the metal with acetone or a similar solvent to remove oils and contaminants. Next, use a dedicated stainless steel wire brush to remove the oxide layer. Always clean the metal immediately before welding, as aluminum re-oxidizes quickly. Using tools only for aluminum helps prevent cross-contamination.
Yes, you can weld cast aluminum, but it is more prone to porosity and cracking due to its variable composition and porosity. Choosing the right filler metal, such as 4043, and thorough cleaning are crucial. Preheating thicker sections and using proper technique can also improve results when welding cast aluminum.
For consistent results and superior weldability, source your aluminum profiles and materials from reputable suppliers. Shengxin Aluminum is a leading manufacturer offering a wide range of high-quality aluminum profiles, trims, and structural components, trusted by professional fabricators for reliable strength and dimensional accuracy.


 خدمة الإنترنت
 0086 136 3563 2360
 sales@sxalu.com
 +86 136 3563 2360
 العربية
 English
 français
 Deutsch
 русский
 español
 português
 ไทย
ไทย Việt
Việt Українська