Imagine waking up on a weekend morning, craving perfectly crispy bacon—but dreading the greasy mess and constant babysitting at the stove. Sounds familiar? If you’re searching for the best way to cook bacon in the oven without splatter or hassle, you’re not alone. Baking bacon on a foil-lined pan has quickly become the go-to kitchen hack for home cooks and professionals alike. Let’s explore why this method is a true game-changer for anyone who loves a hearty breakfast or simply wants to streamline their kitchen routine.
When you cook bacon in the oven, you instantly solve the most common bacon complaints: uneven cooking, burnt edges, and a stovetop covered in grease. The oven surrounds each strip with gentle, even heat, ensuring every piece is cooked to golden, crispy perfection. Plus, you can cook an entire batch at once—no more standing over a hot skillet, flipping slices one by one. This method is ideal for busy mornings, brunch gatherings, or meal prepping for the week ahead.
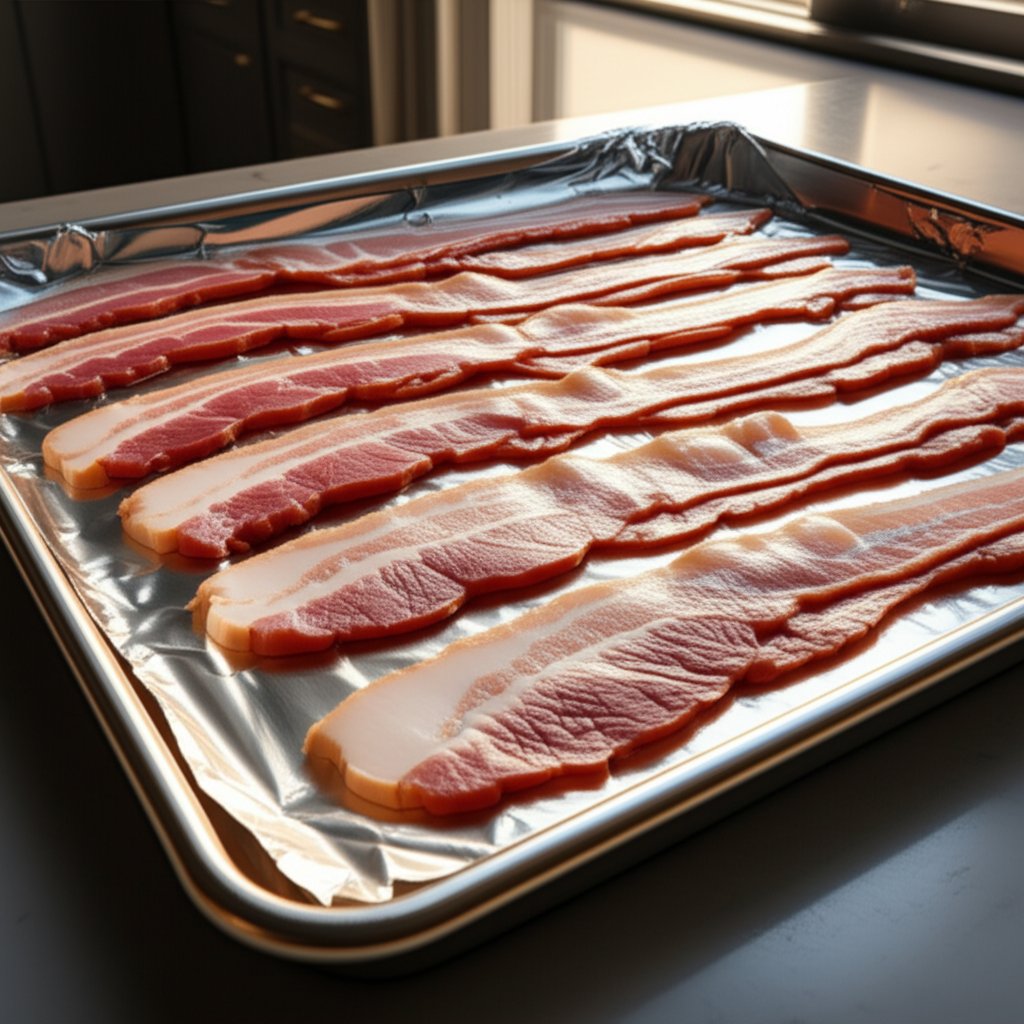
Say goodbye to stovetop splatters and unevenly cooked strips. The oven method delivers perfectly crispy bacon every single time.
What truly sets this method apart is the use of aluminum foil. Lining your baking sheet with foil isn’t just about easy cleanup—though that alone is a huge win. The foil acts as a barrier, catching every drop of rendered fat. Once you’re done, simply let the grease cool, roll up the foil, and toss it—no scrubbing required. This trick also helps minimize smoke and keeps your oven clean, making it the best way to cook bacon in oven for both flavor and convenience.
Ready to master cooking bacon in the oven without splatter? The following step-by-step guide will walk you through everything you need to know—from the right tools to foolproof techniques—so you can enjoy irresistible, mess-free bacon every time.
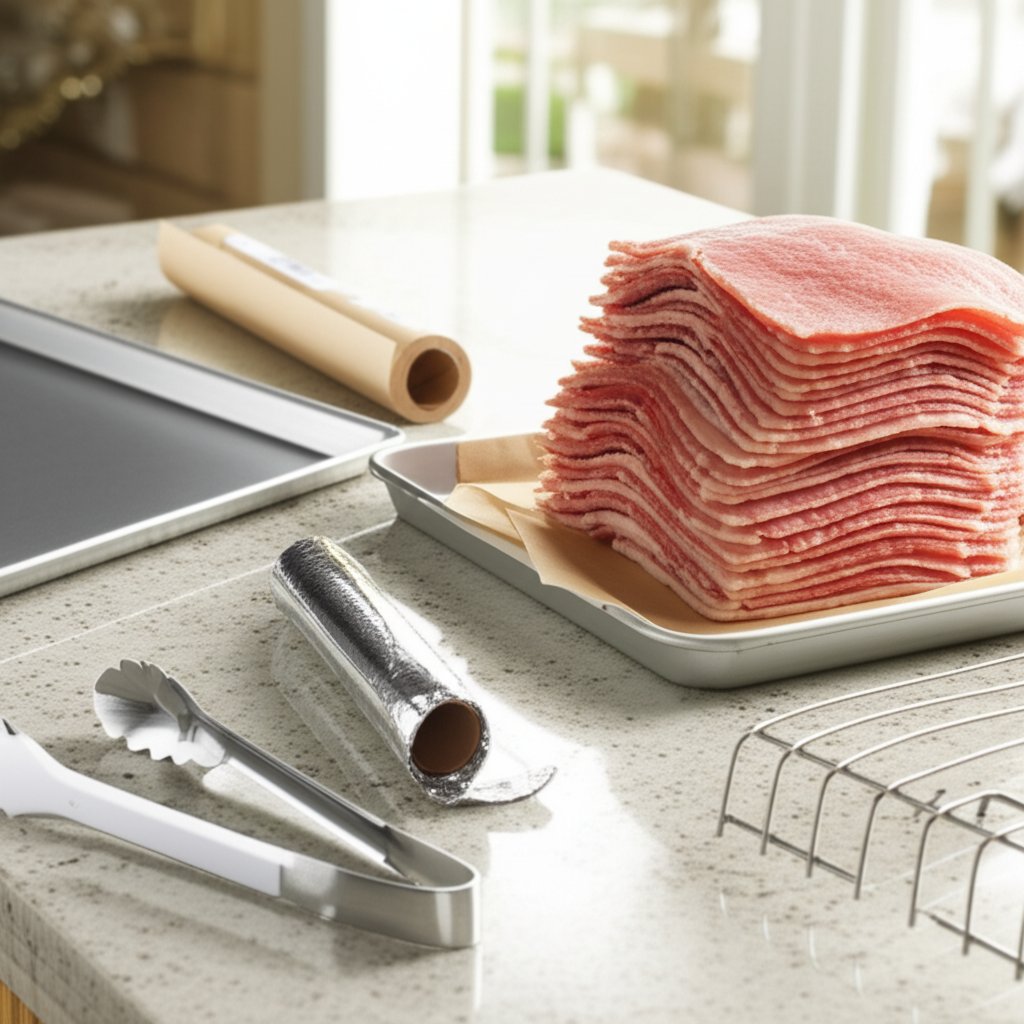
When it comes to how to cook bacon in the oven with aluminum foil, the right tools make all the difference. But what exactly do you need, and why does it matter? Let’s break down the essentials—plus, help you choose the best lining for your baking sheet based on your priorities.
Imagine this: you’re ready to cook a big batch of bacon, but you’re not sure what to cook bacon on in the oven. The answer starts with a rimmed baking sheet. This is crucial because it keeps all that sizzling bacon fat safely contained—no spills, no oven mess. Next, you’ll want to line your sheet with either aluminum foil or parchment paper, or use a wire rack. Each option has its strengths, and your choice can impact everything from cleanup to bacon texture.
But which lining or method is right for you? Let’s compare.
Choosing between cooking bacon in the oven on parchment paper, aluminum foil, or a wire rack depends on what you value most: easy cleanup, non-stick performance, or extra-crispy results. Here’s a side-by-side look to help you decide:
| Method | Pros | Cons | Best For |
|---|---|---|---|
| Aluminum Foil |
|
|
Quick cleanup, saving drippings, minimizing mess |
| Parchment Paper |
|
|
Non-stick cooking, higher temp baking, easy bacon removal |
| Wire Rack (on Sheet Pan) |
|
|
Extra-crispy bacon, rendering more fat, cooking bacon on a rack in the oven |
Still unsure? If you want the easiest cleanup, aluminum foil is your best friend. For non-stick, fuss-free removal, try parchment paper. And if you crave ultra-crispy bacon with less grease, cook it on a wire rack set over your lined pan. Whichever you choose, a rimmed sheet pan is non-negotiable for safety and success (Food Republic).
With your tools and ingredients ready, you’re set for the next step: prepping your oven and pan for mess-free, perfectly cooked bacon every time.
When it comes to how to cook bacon in the oven with aluminum foil, oven prep is a pivotal step. But here’s a question you might have asked: should you start with a cold oven or wait until it’s preheated? Let’s break down both options so you can pick what works best for your kitchen routine.
Starting with a Cold Oven: Some bacon enthusiasts swear by placing bacon in a cold oven and letting it heat up gradually. Why? As the oven slowly warms, the bacon fat renders more evenly, resulting in strips that are both crisp and tender. This approach can also help minimize sudden splattering and burning, especially if you’re multitasking in the morning. According to Worthy Pause, starting with a cold oven helps the fat render slowly and evenly, which is key for Bacon Excellence. Plus, you don’t have to wait for the oven to preheat—just pop the tray in and go about your breakfast prep.
Using a Preheated Oven: On the other hand, if you prefer a more predictable, slightly faster process, preheating your oven is a solid choice. Preheating ensures the oven is at a consistent temperature right from the start, which can help standardize cooking times. This method is especially handy if your oven is already hot from baking something else. Both methods yield delicious results, so the choice comes down to your schedule and preference. As Allrecipes notes, either cold or preheated ovens can deliver perfectly crispy bacon.
Our recommendation? If you want slightly more even fat rendering and don’t mind a few extra minutes, start with a cold oven. If you’re in a rush or your oven is already hot, go ahead and preheat—it works just as well.
Now, let’s talk temperature. You might wonder, what temperature to cook bacon in the oven for the best results? The sweet spot for most bacon is 400°F (200°C). At this temperature, the bacon fat renders efficiently, and the strips crisp up beautifully without burning at the edges. It’s also a forgiving temp for both standard and thick-cut bacon, making it the best temperature to cook bacon in the oven for most home cooks.
Some recipes suggest cooking bacon in the oven at 425°F for even faster, extra-crispy results. While this can work, keep a close eye on your bacon at higher temps to avoid overcooking—especially with thin slices. For thin or uneven bacon, you might even drop to 350°F–375°F for gentler cooking (Worthy Pause).
Properly lining your baking sheet is the secret to mess-free bacon—and it’s easier than you think. Here’s how to do it right:
With your oven set and your pan properly lined, you’re ready for the next step: arranging your bacon strips for that perfect, crispy finish.
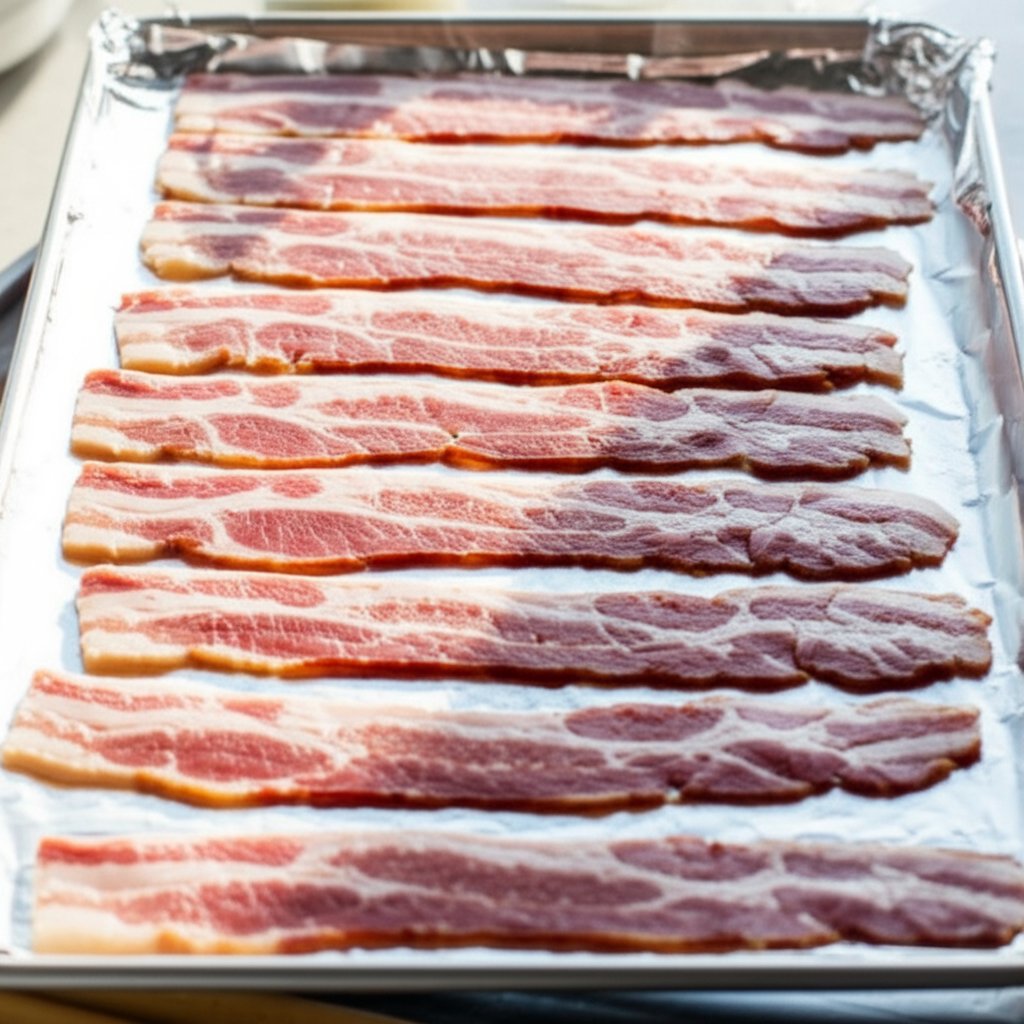
When it comes to how to cook crispy bacon in the oven, the way you lay out the bacon on your foil-lined pan can make all the difference. Imagine you’re prepping for a big brunch—should you cram as many strips as possible onto one tray, or is there a better way? The answer: spacing is everything. Whether you’re using standard or thick-cut bacon, arranging the slices in a single, even layer is essential for that irresistible golden crunch.
Why does this matter? When bacon strips overlap or crowd each other, they trap steam as they cook. Instead of frying in their own rendered fat, the slices end up steaming—resulting in chewy, greasy bacon rather than the crisp, evenly browned strips you crave. This is especially true for bacon cooked in the oven, where the heat surrounds the pan and relies on airflow to crisp each piece.
Here’s how to set yourself up for success:
Do's and Don'ts of Bacon Placement
By following these simple placement tips, you’ll notice your cooking. bacon in the oven process results in beautifully crisp, evenly cooked slices every time. With your bacon perfectly arranged, you’re ready to move on to mastering the timing and temperature for that ideal finish.
You’ve arranged your bacon with care, but the next big question is: how long to cook bacon in the oven for your ideal level of crispiness? The answer depends on the bacon’s thickness and your personal preference. While a 400°F (200°C) oven is the sweet spot for most home cooks, actual cooking bacon in the oven time can vary. Factors like bacon brand, oven calibration, and even your pan’s material play a role. That’s why it’s important to use these times as starting points—and rely on visual cues to get it just right.
| Bacon Thickness | Desired Doneness | Estimated Cooking Time at 400°F |
|---|---|---|
| Thin | Chewy | 10-12 minutes |
| Thin | Crispy | 12-15 minutes |
| Thin | Extra-Crispy | 15-17 minutes |
| Standard | Chewy | 12-14 minutes |
| Standard | Crispy | 15-20 minutes |
| Standard | Extra-Crispy | 20-22 minutes |
| Thick-Cut | Chewy | 15-18 minutes |
| Thick-Cut | Crispy | 18-22 minutes |
| Thick-Cut | Extra-Crispy | 22-25 minutes |
Pro tip: Always check your bacon a few minutes before the minimum time, especially if it’s your first time using a new oven or a different brand of bacon. Ovens can run hot or cool, and bacon can go from perfect to overdone quickly.
If you’re cooking thick cut bacon in the oven, you’ll notice it takes a bit longer to reach that golden, crispy finish. Thick slices release more fat and need extra time for the heat to penetrate. For best results, keep these tips in mind:
Wondering how long do you cook bacon in the oven if you’re making a double batch or using two pans? Rotate the pans halfway through for even results, and add a minute or two if your oven is crowded.
Ultimately, the best way to nail your ideal bacon is to use these times as a guide, then trust your eyes and nose. When the strips are sizzling, golden, and just starting to firm up, you’re moments away from bacon bliss. Next, you’ll learn exactly how to check for doneness and safely remove your bacon from the oven for mess-free, crispy results every time.
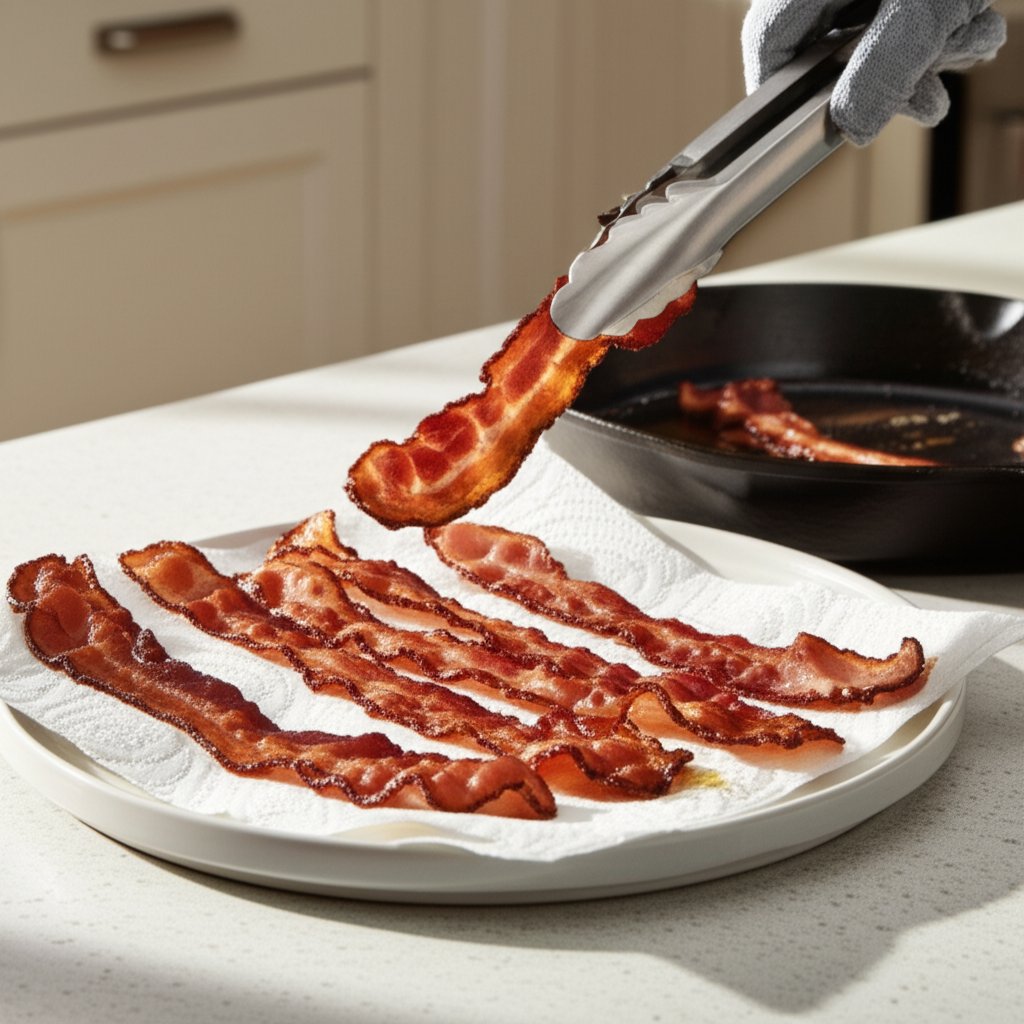
Ever wondered how to tell when your bacon is ready to come out of the oven? If you’re cooking thick sliced bacon in the oven or working with standard strips, the signs of perfectly cooked bacon are easy to spot—if you know what to look for. Imagine peeking through the oven door: the bacon should be bubbling gently, the fat mostly rendered, and the color a deep golden-brown. But here’s the secret—bacon will continue to crisp up as it cools, so it’s best to pull it just before it looks absolutely perfect.
For those who like their bacon chewy, you’ll want to remove it when it still has a slight bend and the fat is mostly, but not fully, rendered. If you prefer crispy or extra-crispy, wait until the bacon is a shade darker and firm at the edges, but still pliable in the center. Remember, carryover cooking is real—bacon will firm up as it sits on the paper towels.
One of the best parts of how to cook thick bacon in the oven is that you rarely need to flip it. Oven heat circulates evenly, so both sides cook beautifully without intervention. For most standard and thick-cut bacon, simply lay the strips flat and let the oven do the work.
However, if you’re working with extra-thick slices or want bacon that’s ultra-crispy on both sides, you can flip the strips halfway through baking. This isn’t required, but it can help render fat more evenly and give both sides that satisfying crunch. Use tongs and flip carefully to avoid tearing the bacon or splashing hot grease.
By following these steps, you’ll master the art of oven-baked bacon—whether you’re after chewy, crispy, or extra-crispy strips. Next up, you’ll learn how to handle the hot bacon grease safely and make the most of every delicious drop.
When your bacon is perfectly cooked and sizzling, it's tempting to dig right in—but don't forget about the grease left behind. If you've a recipe for cooking bacon in the oven, you'll notice a pool of rendered fat on your foil-lined pan. Proper handling is crucial for both safety and cleanup.
Never pour hot grease down the drain! Allow it to solidify on the foil, then roll it up and discard it in the trash.
This simple habit prevents clogged pipes and messy spills. If you used a cup or bowl lined with foil to collect the grease, let it harden before tossing it in the trash. Never add bacon grease to compost—it attracts pests and can introduce harmful bacteria (Allrecipes).
Here's where oven-baked bacon recipes truly shine: that leftover fat is liquid gold! If you want to elevate your next meal, consider saving your bacon grease for future cooking adventures.
Use your saved bacon fat just like you would any cooking oil: sauté vegetables, fry eggs, make dressings, or even add a smoky kick to popcorn and baked goods. It's a flavor booster that makes every bacon cooked in the oven recipe a little more special.
With your bacon drained and your grease managed or saved, you’re ready to troubleshoot any issues and discover creative ways to use your perfectly cooked bacon in the next step.
Even if you've mastered cooking bacon in the oven, sometimes things don't go exactly as planned. Maybe your bacon is chewy instead of crispy, or the kitchen fills with smoke. Don't worry—almost every issue has a simple fix. Use the table below as your quick reference guide for troubleshooting the most common bacon mishaps.
| Problem | Possible Causes | Solutions |
|---|---|---|
| Bacon is chewy, not crispy |
|
|
| Bacon cooked unevenly |
|
|
| Too much smoke |
|
|
| Bacon sticks to foil |
|
|
| Bacon is too greasy |
|
|
| Bacon burns before it’s done |
|
|
With these quick solutions, your next batch will be even better—no matter what type of bacon you’re baking, including cooking turkey bacon in the oven or specialty cuts. Remember, a little observation and adjustment go a long way!
You’ve nailed how to cook bacon in the oven recipe—now, what can you do with all that delicious, crispy bacon? Beyond the classic breakfast plate, oven-baked bacon is a versatile ingredient that can elevate countless dishes. Here are some creative ideas to inspire your next meal:
Let your imagination lead the way—oven-cooked bacon’s smoky, crisp flavor pairs well with both savory and sweet dishes. The possibilities are endless!
Here’s something every great cook and every successful industrial operation knows: the outcome always depends on the quality of your materials. Just as you select premium bacon and reliable tools for the best home results, industries require precision and durability at every step. In large-scale production—whether it’s food, construction, or transportation—there’s no substitute for quality.
That’s why, for projects where performance and reliability are non-negotiable, choosing the right supplier is essential. Shengxin, a professional aluminum profile manufacturer in China, exemplifies this commitment to excellence. Their expertise and advanced capabilities ensure consistent, high-quality results for demanding applications. To see how superior materials make a difference in any project, visit Aluminum Profile.
With the right techniques and the best materials, you’ll enjoy flawless bacon at home—and set the standard for quality in every endeavor.
You can cook bacon directly on a foil-lined baking sheet without a rack for easy cleanup and deliciously crisp bacon. Using a rack can help render more fat and create extra-crispy results, but it’s optional. Just be sure to lay the bacon flat and avoid overlapping for best results.
The ideal oven temperature for bacon on aluminum foil is 400°F (200°C). This temperature ensures the bacon cooks evenly, crisps up nicely, and the fat renders without burning. Adjust slightly for thinner or thicker bacon, but 400°F is the sweet spot for most types.
To keep bacon from sticking, use non-stick aluminum foil or lightly oil the foil before arranging the bacon strips. Lining the pan properly and removing the bacon while it’s still hot also helps prevent sticking.
Let the bacon grease cool and solidify on the foil, then roll up the foil and discard it in the trash. Never pour hot bacon grease down the drain, as it can clog pipes. You can also strain and save the grease for future cooking in a sealed container.
Aluminum foil makes cleanup simple—just roll up and toss after baking. It also contains grease better than parchment, making it ideal for easy disposal and for saving rendered bacon fat. Parchment offers a non-stick surface but may not contain grease as well as foil.


 خدمة الإنترنت
 0086 136 3563 2360
 sales@sxalu.com
 +86 136 3563 2360
 العربية
 English
 français
 Deutsch
 русский
 español
 português
 ไทย
ไทย Việt
Việt Українська