If you are figuring out how to cut aluminum for a DIY repair, a fabrication job, or a repeat shop process, the answer is rarely as simple as picking the first saw on hand. Good results come from matching the method to the material and the goal. A quick rough cut for fit-up is one thing. A clean, assembly-ready edge is something else.
Aluminum cutting is the process of separating aluminum stock into the needed size or shape using manual, saw-based, thermal, or CNC methods while controlling edge quality, heat, burrs, and accuracy.
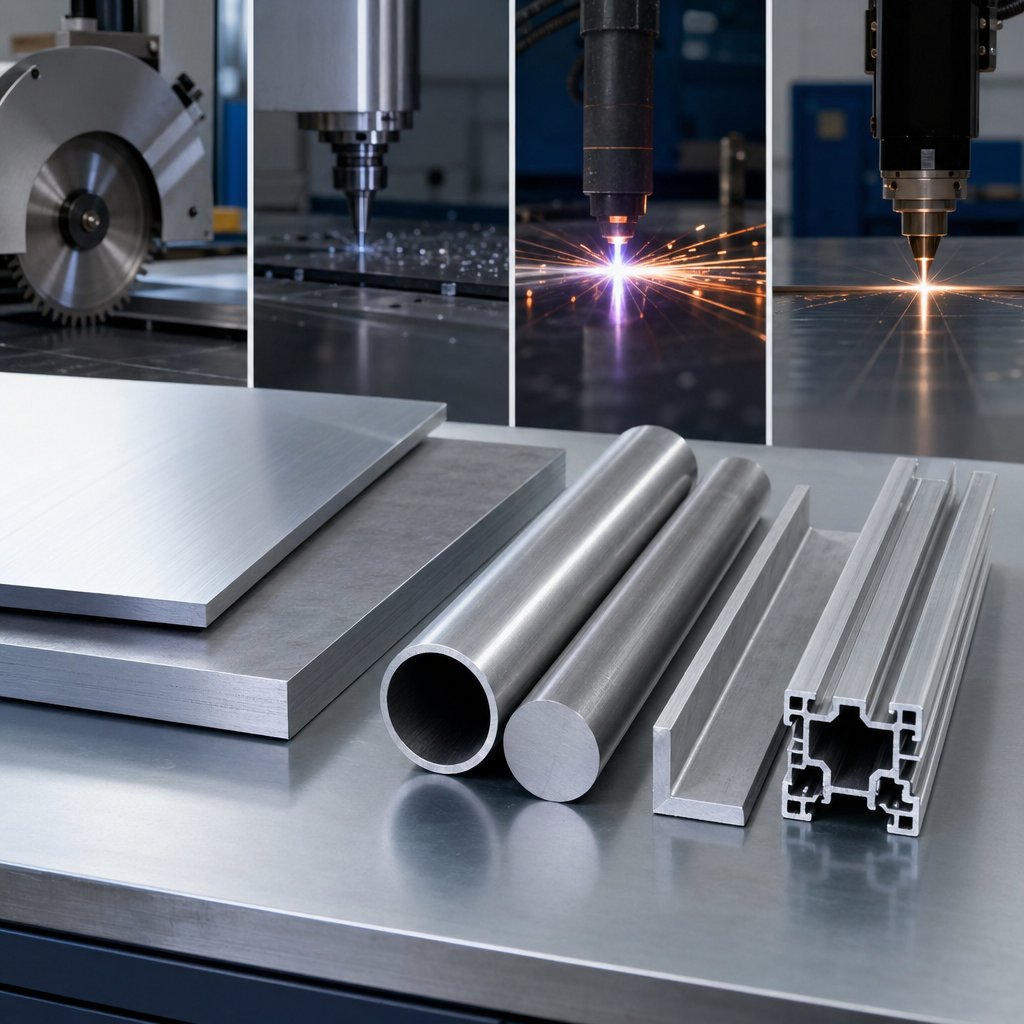
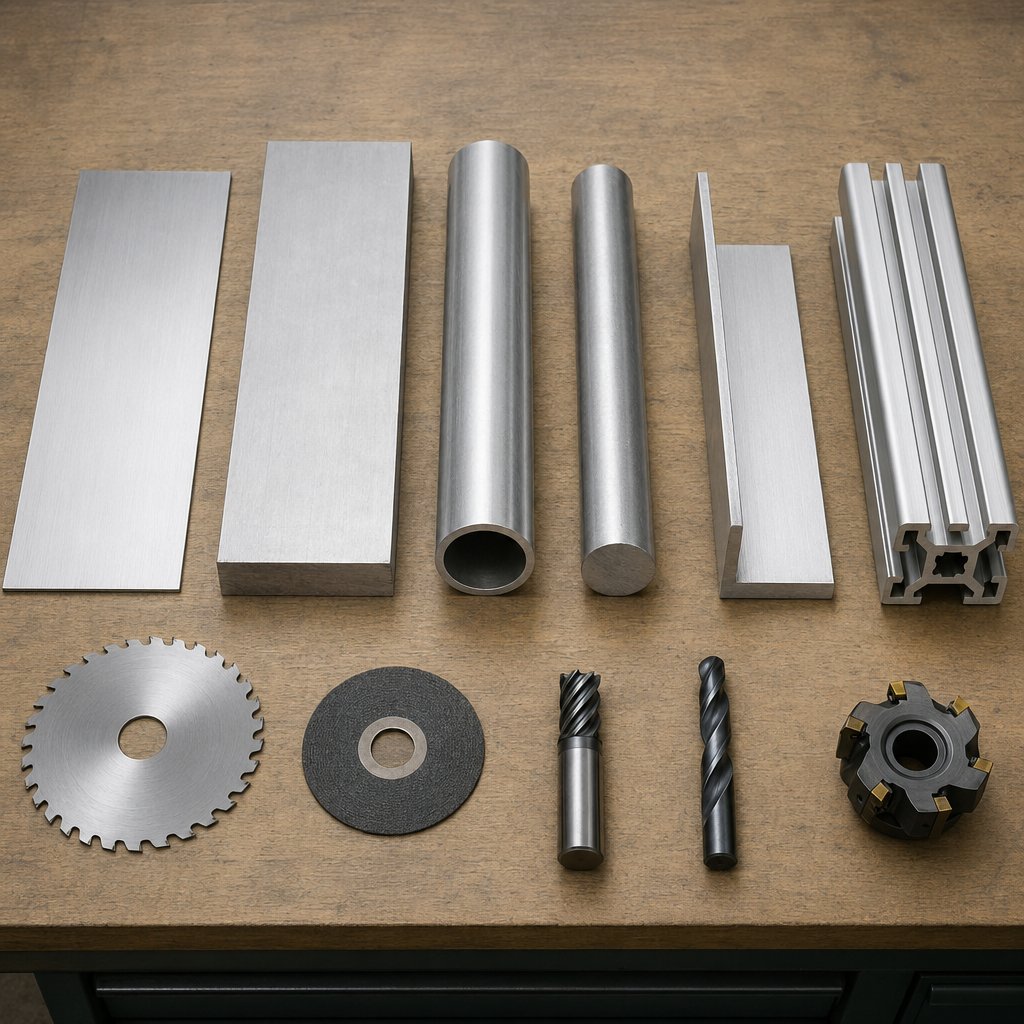
In practice, aluminum cutting can mean snipping thin sheet, sawing plate, trimming tube, crosscutting bar, or profiling angle and extrusion. Guidance in the Alekvs guide and PartMFG overview shows that the right approach changes with thickness, stock shape, and the finish you need after the cut.
Aluminum often feels easy to work with, but clean cutting still takes planning. It is softer than many metals, it builds heat quickly, and it can stick to blades or teeth when setup, lubrication, or feed are off. That is why readers usually care about the same four outcomes right away: finish quality, cutting speed, tool wear, and safety. A rough edge slows assembly. Excess heat shortens tool life. Poor support or the wrong blade can lead to grabbing, chatter, or hot chips.
So, the best way to cut aluminum is not one universal tool. It is a smart match between material, form, and expected result. That becomes much easier to see when the options are organized by stock form first, because the best choice for sheet is often the wrong one for tube or extrusion.
Stock form is the fastest filter when you need a practical cutting choice. A method that feels easy on flat sheet can be awkward on round tube, and a clean crosscut on extrusion may take far less effort than profiling thick plate. Practical tool groupings in Phillips and Alekvs point in the same direction: manual tools are usually best for simple, portable, low-volume work, while saws and CNC processes become more attractive as thickness, contour control, and repeatability matter more.
If you are deciding how to cut aluminum sheet, how to cut aluminum sheet metal, how to cut aluminum extrusion, or how to cut aluminum pipe, start with the stock itself. The matrix below is meant to narrow the field before you get into blade geometry, feed, lubrication, or machine settings.
| Stock form | Manual options | Machine-based options | Best fit for rough sizing | Clean edge potential | Best for one-off shop work | Best for repeat production | Portability | Likely deburring |
|---|---|---|---|---|---|---|---|---|
| Sheet | Snips, shears, jigsaw for curves | Power shear, laser, CNC router, waterjet | Very good with shears for thin straight cuts | High with shear, laser, or waterjet | Shears or jigsaw | Power shear or CNC cutting | High with hand tools | Low to moderate |
| Plate | Hacksaw for small jobs only | Circular saw, bandsaw, plasma, laser, waterjet | Very good with saw or plasma | High with bandsaw, laser, or waterjet | Circular saw or bandsaw | CNC saw, laser, plasma, or waterjet | Medium with portable saws | Moderate, higher after plasma |
| Tube and pipe | Hacksaw with proper support, tube cutter for simple work | Cold saw, bandsaw, miter saw, tube laser | Good with saw-based methods | High when the tube is well supported | Hacksaw or miter saw | Cold saw or tube laser | Medium | Low to moderate |
| Bar | Hacksaw | Miter saw, cold saw, bandsaw | Very good with saws | High with a stable saw setup | Miter saw or hacksaw | Cold saw or automated sawing | Medium | Low |
| Angle | Hacksaw for small batches | Miter saw, circular saw, laser | Good with miter or circular saw | Medium to high, depending on support | Miter saw | Dedicated saw or laser | Medium | Low to moderate |
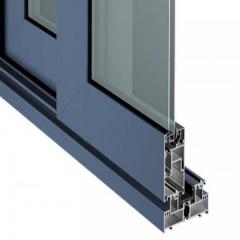
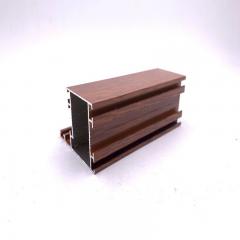
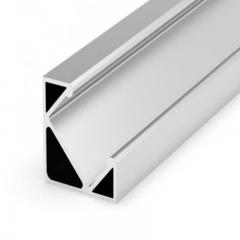
| Extrusion | Hacksaw for trim work | Miter saw, circular saw, cold saw, CNC saw | Excellent with saw-based crosscuts | High when clamped to avoid chatter | Miter saw | Cold saw or CNC process | Medium to high | Low |
This chart works because it separates two different decisions that often get mixed together.
For many DIY and maintenance jobs, the best way to cut aluminum sheet is simply the method that gives enough edge quality without dragging in a bigger machine than the job deserves. A few thin blanks may justify shears or a jigsaw. A stack of matching parts usually does not.
Think in two lanes. Rough cuts are about fast separation. Finish cuts are about edge condition, consistency, and reducing later cleanup. That is why plasma can be useful for thick stock that will be machined or hidden, while laser, waterjet, or a well-tuned saw process is often preferred when the cut edge stays visible or moves straight into assembly.
The same logic helps answer the best way to cut aluminum sheet in a garage versus a production shop. One-off work favors flexibility. Production favors repeatability. And even within the same stock-form row, the material itself can change the feel of the cut. A softer alloy that loads teeth and a harder alloy that punishes dull tooling do not behave the same, which is where tool choice starts getting more specific.
Thickness helps narrow the method, but it does not tell you how the metal will actually behave under the tool. Two pieces that look similar on the rack can cut very differently once the blade enters. For anyone cutting aluminum sheet, cutting aluminum sheet metal, or cutting aluminum extrusion, alloy and temper often decide whether chips clear cleanly, pack into the teeth, or leave a smeared edge.
Alloy changes ductility, strength, stability, and machinability. Material notes from Machining Concepts, Empire Abrasives, and CTE point to the same pattern: softer, more formable grades tend to make longer chips and load tools more easily, while stronger heat-treatable grades usually cut with a crisper chip. That is why the best way to cut aluminum sheet metal can change even when thickness stays the same.
5052 is popular for sheet work because it forms well and resists corrosion, but it has a softer, gummier cutting feel than many 6xxx and 7xxx alloys. 6061 is the common shop baseline because it is generally stable and predictable in bar, plate, and extrusion. 7075 tends to machine more crisply with shorter chips and can produce an excellent surface finish, but it is less forgiving when tooling gets dull. Cast aluminum needs a split view. Cast tooling plate is known for flatness and easy machining, while die-cast alloys can be abrasive and much harder on tools.
Temper tells you whether the stock is annealed, work-hardened, or heat treated. In practice, O temper usually feels softer and easier to deform. H tempers in sheet feel firmer. T tempers in alloys like 6061 and 7075 usually resist the cut more cleanly. This matters because a soft sheet may smear where a harder temper shears cleanly, and an extrusion may chatter or move if the material and setup are not matched.
That is the hidden variable behind the best way to cut aluminum sheet metal. Once alloy behavior enters the picture, saw choice, blade style, clamping, and cut pacing become far more important than thickness alone.
In everyday shop work, saws cover a large share of aluminum work because they sit in a useful middle ground. They are faster than hand tools, easier to deploy than CNC, and flexible enough for sheet, plate, tube, bar, angle, and many extrusions. The real decision is not whether a saw can make the cut. It is which saw gives you the finish, control, and repeatability the job actually needs. Practical guidance from Gemma and Keensaw points to the same basics: use a blade meant for non-ferrous metal, secure the workpiece well, and match the saw style to the stock form.
For field work, repairs, and general fabrication, cutting aluminum with circular saw setups is often the most flexible option. A handheld saw is portable, quick, and practical for straight cuts on sheet, angle, extrusion, and some plate when the material is supported correctly. That is why cutting aluminum sheet with skill saw methods remains so common in garages and on job sites. In many cases, the difference between a ragged edge and a clean one comes down to using a proper skill saw blade for cutting aluminum, not a general blade that happens to fit the arbor.
The same principle applies to cutting aluminum plate with circular saw tools. It can work well for rough sizing or straight shop cuts, but stability matters. If the plate chatters, the offcut drops, or chips start sticking to the teeth, finish quality falls off quickly.
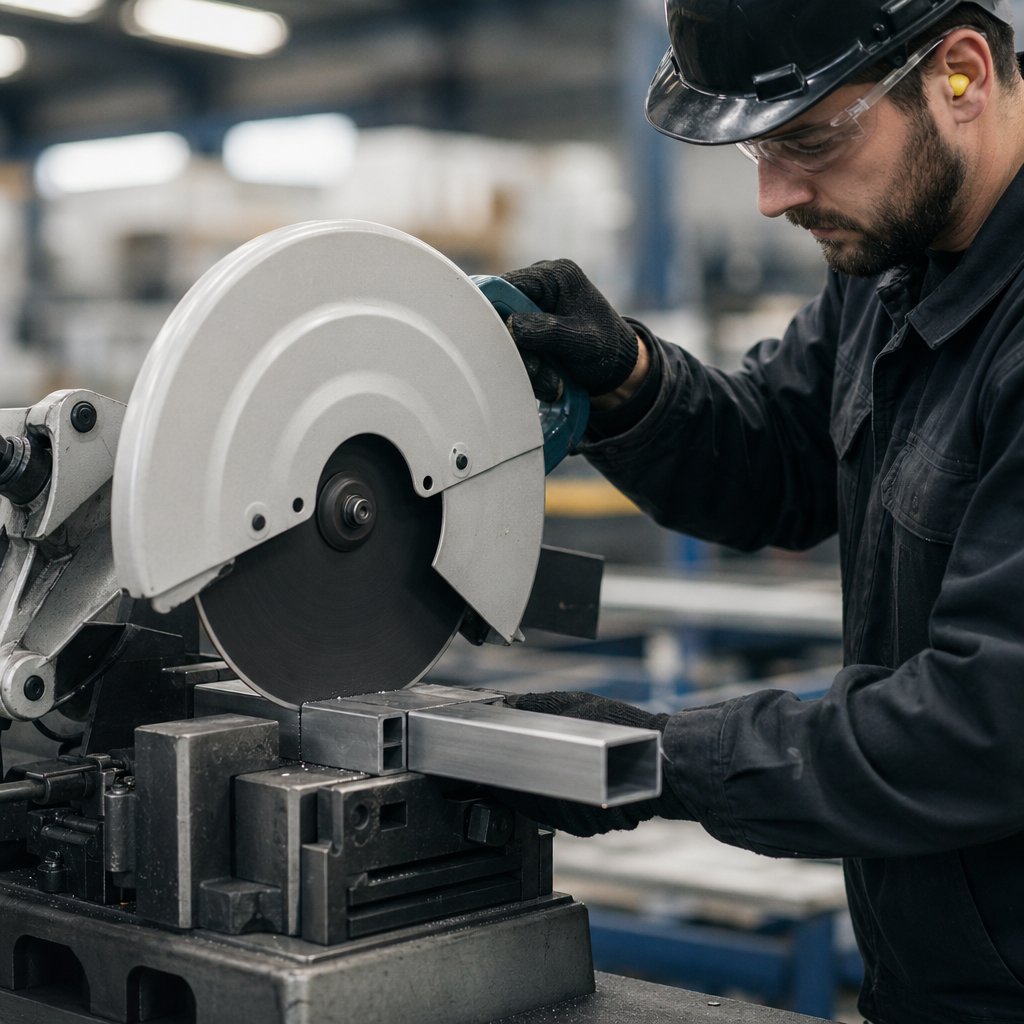
When the job shifts toward repeated lengths or clean crosscuts, more fixed support becomes valuable. Cutting aluminum with miter saw methods is especially useful for bar, tube, angle, and extrusion, including angle cuts that need to land consistently. Cutting aluminum with chop saw setups can also be productive for short stock, but blade choice and clamping become even more important because the cut happens fast and the work can move if it is not trapped securely. For flat stock, many shops cut aluminum with table saw support when they need straight, repeatable cuts on larger sheets or thicker plate. A bandsaw stays useful for slower, controlled work, especially when the shape is not just a simple straight line. A hacksaw is still a reasonable backup for small one-off cuts where access matters more than speed.
| Saw method | Best-fit stock forms | Edge quality potential | Portability | Repeatability | Cleanup and deburring |
|---|---|---|---|---|---|
| Circular saw or skill saw | Sheet, angle, extrusion, straight cuts on plate | Good when supported well and fitted with a non-ferrous blade | High | Medium | Low to moderate, depending on support and feed |
| Miter saw | Tube, bar, angle, extrusion, repeated crosscuts | High for square and angled cuts with proper blade | Medium | High | Usually low |
| Chop saw | Short bar, tube, angle, some extrusion work | Moderate to good, strongly affected by blade choice and clamping | Medium | Medium to high with stops | Moderate |
| Table saw | Large sheet, plate strips, flat stock needing straight cuts | High on straight cuts with a stable setup | Low | High | Low to moderate |
| Bandsaw | Plate, bar, tube, extrusion, curves and irregular shapes | Good, with strong control but slower cutting | Low | Medium to high | Usually low |
| Hacksaw | Small bar, tube, angle, trim work, occasional one-offs | Fair to good, depending on control and patience | Very high | Low | Moderate |
Across all of these methods, the blade and setup usually matter as much as the motor. The references above repeatedly point back to blades designed for aluminum or other non-ferrous metals, with carbide-tipped options commonly used on circular, miter, and chop saws. Lubrication can help reduce friction and chip welding, and steady feed helps protect both edge quality and blade life. If you are cutting aluminum plate with circular saw tools or doing repeated crosscuts on extrusion, a calm, controlled setup almost always beats a rushed pass.
Saw methods handle most straight cuts and many shop jobs extremely well. Still, some parts ask for more than a clean crosscut or rip. Once contour complexity, heat effects, or batch repeatability start driving the decision, plasma, laser, and CNC options enter the picture for a reason.
Some jobs outgrow saws quickly. When the part needs internal contours, nested sheet layouts, or consistent production runs, the decision shifts from simple separation to process control. At that point, the best method depends less on whether a machine can cut the stock at all and more on what kind of edge, heat input, and follow-up work you can accept.
A common question is, can you cut aluminum with a plasma cutter? Yes. Guidance from Hypertherm shows that modern plasma systems can cut aluminum effectively, and with the correct gases and cut-chart settings they can produce a clean edge with little dross on both thin and thick material. In practice, plasma cutting aluminum is usually chosen for fast rough work on conductive sheet or plate, large profiles, and parts that will be welded, machined, or otherwise finished later.
That speed comes with tradeoffs. Xometry notes that plasma typically leaves a wider heat-affected zone and rougher cut edges than laser. So if you are considering cutting aluminum with a plasma cutter, think of it as a strong option for fast separation and flexible contour cutting, not necessarily for a cosmetic edge straight off the table. One more practical note matters here: Hypertherm also warns that water-table setups for aluminum need careful design to prevent hydrogen buildup, and underwater cutting is not suitable with certain hydrogen-based gas mixes.
Laser cutting aluminum is a better fit when clean contours, repeatability, and low post-processing matter more than low machine cost. A fiber laser does not mechanically contact the sheet, which simplifies setup compared with routing. In a comparison from Universal Tool, sheet fiber lasers can cut thin metal sheets at over 4,000 in/min, while CNC routers typically top out around 200 in/min. The same source lists laser positional accuracy around ±0.03 mm and notes that sheet parts often come off with a very clean edge in a single pass.
Xometry adds that fiber systems commonly handle aluminum in roughly the 0.5 to 15 mm range, with specialized high-power equipment reaching about 25 mm. For laser cutting aluminum, that makes the process especially attractive for nested sheet parts, repeated profiles, and assemblies where laser cut aluminum edges may go straight into the next step with little cleanup. The main limitation is feature type. Lasers are excellent at through-cuts and surface marking, but they are not the right tool for blind holes or partial-depth pockets.
Mechanical CNC methods fill that gap. CNC milling is the stronger choice when the part needs controlled depth, blind features, or machined details beyond the outline. CNC routing can still be useful on softer metals like aluminum for simple blanks, engraving, and prototype work, but Universal Tool notes that routing sheet metal usually requires more involved workholding because the cutter makes physical contact with the part. It also often needs multiple passes to match the edge quality a laser can deliver in one pass.
| Process | Edge finish | Heat effects | Geometry flexibility | Repeatability | Equipment level | Likely post-processing |
|---|---|---|---|---|---|---|
| Plasma | Fair to good with correct parameters, usually rougher than laser | Higher heat input and wider heat-affected zone | Very good for 2D profiles in conductive sheet and plate | Good on CNC tables | Moderate to high | Dross removal, deburring, edge cleanup |
| Laser | Very clean, often single-pass | Localized heat, typically less edge damage than plasma | Excellent for nested 2D contours and cutouts | Very high | High | Often minimal |
| CNC milling | High when programmed for finish passes | No thermal heat-affected zone | Best for pockets, blind holes, controlled-depth features, and profiles | Very high | High | Light deburring and feature inspection |
| CNC routing | Good on simple blanks, but often needs more passes | No thermal heat-affected zone | Good for through-cuts and engraving, less ideal for partial-depth metal features than milling | Good to high | Moderate to high | Deburring, possible finish pass cleanup |
The pattern is simple. Plasma favors speed. Laser favors accurate contours and cleaner ready-for-next-step parts. Milling and routing favor feature control. Even so, the machine name alone never guarantees the result. Gas choice, toolpath, workholding, and feed strategy still decide whether the edge comes off clean or turns into rework, and that is where setup details start to matter more than the process label.
A clean edge rarely comes from one magic setting. In practice, finish quality comes from a balanced system: the tool geometry has to suit the stock, chips need room to leave, the workpiece must stay still, and heat has to stay under control. That is why the same extrusion can cut beautifully on one saw and chatter badly on another.
When exact blade RPM, spindle speed, feed, or coolant data is available from the tool maker, use that guidance first and treat generic rules as backup.
For saw work, the best blade for cutting aluminum is usually a carbide-tipped non-ferrous blade designed to resist loading. Notes on non-ferrous blade geometry highlight three useful traits: negative hook geometry, triple-chip tooth form, and low-friction coatings that help reduce sticking. If you are choosing a saw blade for cutting aluminum on a circular, miter, or table saw, those features matter more than brand labels. A purpose-built aluminum cutting blade should also match the machine type and the stock form you are cutting.
CNC tools follow the same logic from a different angle. Milling guidance for aluminum favors polished cutting surfaces, relatively low tooth counts, and strong chip evacuation. MSC also points toward polished, high-helix tools for many machining tasks, especially where built-up edge is a risk.
Aluminum often responds well to faster cutting than steel, partly because higher speed can reduce buildup on the cutting edge, but exact saw settings should stay tied to blade-maker limits. In CNC work, the published cutting speed for aluminum can be more specific. Ceratizit lists about 100 to 500 m/min for soft aluminum and about 100 to 200 m/min for harder aluminum alloys in milling, while also noting that higher speed can improve surface finish as wear rises.
| Tool type | Geometry to prioritize | Speed and feed focus | Lubrication approach | Support and chip control | Quick edge check |
|---|---|---|---|---|---|
| Circular, miter, and table saws | Carbide-tipped, negative hook, triple-chip, non-ferrous blade | Stay within blade and saw ratings, feed steadily, do not force the cut | Use wax or oil only if the blade maker permits it | Clamp firmly, support both the work and offcut, keep chips clearing | Look for burrs, tooth loading, and grab marks at exit |
| Bandsaws and hacksaws | Blade selection recommended for non-ferrous stock by the blade maker | Favor steady pressure over rushing or rubbing | Use lubrication when the blade system allows it | Vise support is critical on tube, bar, and angle | Watch for wandering and chatter lines |
| CNC milling and routing | Polished, high-helix tools with fewer teeth for chip evacuation | Match speed and feed to alloy, cutter diameter, and tool data | Emulsion, MQL, or other approved coolant strategy, with dry machining possible in some DLC-coated cases | Rigid workholding, directed coolant or air, and no chip recutting | Check for built-up edge, smeared finish, and recut marks |
| Abrasive cut-off tools | Wheel type and safe speed rating specified by the wheel maker | Follow machine and wheel limits exactly | Use only the lubrication method approved for that setup | Rigid clamping matters because the process is less forgiving of movement | Check edge condition and cleanup needs before repeating the setup |
Lubrication is not one-size-fits-all. For machining, fluid selection matters because aluminum needs strong point-of-cut lubricity, good heat control, and stain resistance. Water-miscible, semi-synthetic, and synthetic products are common, while straight oils are more suited to low-speed, high-precision operations such as tapping, reaming, or deep-hole drilling. In other words, the right cutting fluid for aluminum depends on both the operation and the alloy. A good aluminum cutting fluid still will not fix poor chip evacuation or loose workholding.
That is the practical checklist worth carrying from tool to tool: choose geometry for chip clearance, keep feed consistent, clamp the stock so it cannot vibrate, and inspect every edge for clues. A premium saw blade for aluminum cutting can still fail on unsupported sheet, and even the best blade for cutting aluminum will struggle if chips pack into the cut. Those clues get very useful once burrs, noise, wandering, and gummy buildup start showing up in real work.
Those clues on the cut edge are not random. Burrs, chatter, heat discoloration, and wandering usually trace back to four buckets: setup, tooling, lubrication, or material behavior. Shop guidance on vibration control and machining defects keeps pointing to the same pattern: rigid support, sharp tools, steady feed, and clean chip evacuation matter more than forcing the cut.
| Symptom | Primary bucket | Most likely cause | Practical fix |
|---|---|---|---|
| Rough edges | Tooling | Dull blade, wrong tooth geometry, or a wheel not suited to non-ferrous metal | Switch to a sharp aluminum-capable tool and reduce forcing pressure |
| Excessive burrs | Lubrication | Dry cutting and excess heat smear the edge instead of shearing it cleanly | Add approved wax or fluid, keep feed steady, and inspect for loading |
| Noisy cutting or chatter | Setup | Loose clamping, poor support, blade wobble, or the offcut dropping near the end | Clamp firmly, support both sides, and slow the feed until the sound smooths out |
| Material grabbing | Setup | The stock shifts, twists, or pinches the blade or wheel in the kerf | Improve vise or fence contact and support the offcut before it falls away |
| Gummy buildup on teeth or wheel | Material behavior | Softer aluminum loads the cutting edge, especially when heat and chips build up | Clean the tool, improve chip clearing, and use lubrication or a non-loading abrasive |
| Overheating or discoloration | Lubrication | Too much friction from aggressive feed, worn tooling, or inadequate cooling | Back off the cut, restore lubrication, and replace worn tooling before the next pass |
| Inconsistent straightness | Setup | Fence misalignment, tool deflection, uneven clamping, or vibration | Check alignment, shorten the unsupported span, and make a test cut on scrap |
Loading is one of the most common aluminum problems. The metal can smear onto the tooth or wheel face, then finish quality drops fast. A purpose-built aluminum cutting wheel or aluminum cutting disc can help in chop saw work because non-loading formulations are made for high-loading non-ferrous metals, a point reinforced in cutting-wheel safety. Still, abrasive methods often leave more cleanup than a well-chosen carbide saw blade, bandsaw, or CNC process.
That is where an aluminum cut off wheel makes sense as a practical, fast-separation option rather than the default answer for every job. Dedicated aluminum cut off wheels are useful when portability or chop-saw speed matters, but the work should stay locked in a vise, centered under the arbor, and cut on the wheel periphery only. If burrs, heat, and loading keep returning, moving from a generic abrasive to a true cut off wheel for aluminum, or shifting to a saw-based method, is often the better fix.
If that quick scan still leads to repeated rework, the problem may be less about technique and more about process limits. At that point, a different class of equipment can save more time than one more blade change.
Sometimes the smartest fix is not a new blade or a better setup. If repeated rework keeps showing up, or if the job only occasionally needs an aluminum cutting machine, outsourcing can be the more efficient move. Fabrication guidance points to the usual reasons: avoiding major equipment purchases, accessing advanced processes, easing labor pressure, and scaling without adding permanent capacity. That matters when your in-house aluminum cutting tools are fine for simple saw work but not for finished parts, nested contours, or mixed-process orders. In that situation, buying more aluminum cutting tools may not solve the real bottleneck.
Look for a pattern, not one bad cut. Sending work out starts making sense when the problem is bigger than a single setup mistake.
AL Circle's supplier checklist is a practical model here. Ask about extrusion capability, alloy range, profile size, tolerance standards, finishing options, lead times, packaging, logistics, technical support, and pricing structure. One question deserves extra emphasis: which steps are truly done in house, and which are subcontracted? That answer affects schedule risk and quality control just as much as price does.
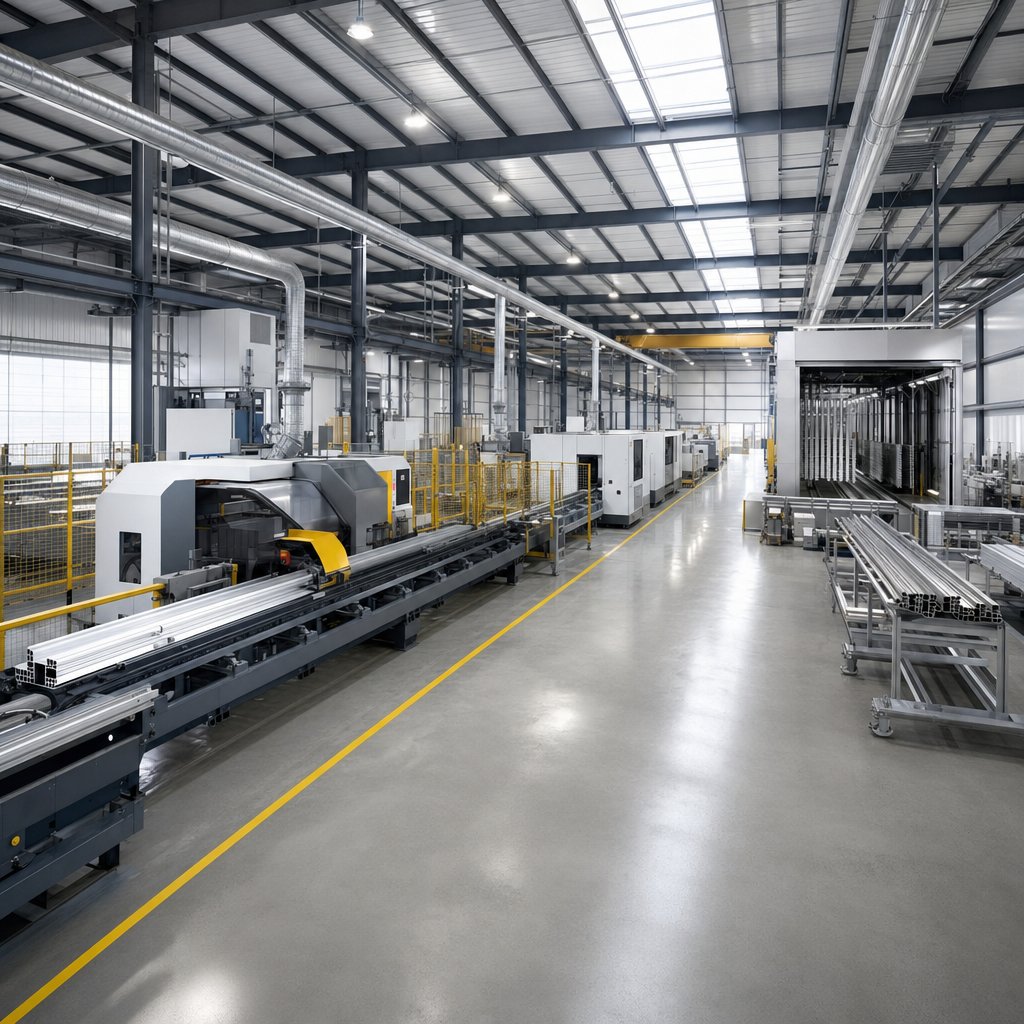
Integrated processing helps most when the part is more than a cut blank. AL Circle notes that in-house finishing affects lead time, quality control, and cost. A supplier that can extrude, cut, machine, and finish under one roof reduces extra handling and lowers the chance of damage between steps. One example is Shengxin Aluminium, which presents an integrated setup built around 35 extrusion presses, CNC machining, anodizing, and powder coating. That kind of capability is worth noting if your order starts as an extrusion and ends as a ready-to-install component.
The practical takeaway is simple. Keep straightforward work on the saw when that is the fastest, lowest-friction answer. Bring in a processing partner when complexity, finish demands, or capacity swings turn cutting into a coordination problem. In real shop terms, the best result is not about owning every machine. It is about choosing the process chain that delivers the part with less rework, fewer transfers, and less strain on the team.
The best method depends on sheet thickness, alloy, and the edge quality you need afterward. For thin sheet and quick one-off jobs, shears, snips, or a jigsaw for curves can be practical. For straighter cuts with better consistency, a table saw, circular saw with a non-ferrous blade, laser, or waterjet is often a stronger fit. If the cut edge will stay visible or move directly into assembly, focus on support, clamping, and cleanup needs, not just cutting speed.
Yes, a circular saw can work very well for aluminum when the setup matches the material. It is commonly used for sheet, angle, extrusion, and some plate. The key is using a blade intended for non-ferrous metal, supporting both the workpiece and the offcut, clamping securely, and feeding the saw steadily instead of forcing it. Many rough edges, grabs, and noisy cuts come from poor support or chip buildup rather than from the saw itself.
Start with a carbide-tipped blade made for non-ferrous metal. In most saw applications, blade geometry that helps limit loading and leaves a cleaner edge matters more than brand name alone. Match the blade to the machine, the stock form, and whether the cut is for rough sizing or a cleaner finish. Stable workholding is just as important as blade choice. Even a high-quality aluminum blade will perform poorly if the stock vibrates, chips recut, or lubrication is ignored where approved.
Yes, but plasma and laser serve different goals. Plasma is usually chosen when fast separation of conductive sheet or plate matters more than a refined edge right off the machine. Laser is generally better when you want cleaner profiles, high repeatability, and less post-cut cleanup. If the part needs pockets, blind features, or controlled depth, CNC milling is often the better next step. The smarter choice comes from the finish and follow-up work you can accept, not only from machine capability.
Outsourcing makes sense when the work goes beyond simple cut-to-length jobs and starts demanding tighter repeatability, secondary machining, finishing, or complex profiles. It is especially useful when multiple handoffs inside your own shop create delay or rework. Ask potential suppliers which steps are truly handled in house, including extrusion, CNC machining, anodizing, powder coating, and inspection. Integrated providers can reduce scheduling friction. For example, Shengxin Aluminium combines extrusion processing, CNC machining, anodizing, and powder coating in one operation, which can simplify projects that need more than basic cutting.


 خدمة الإنترنت
 0086 136 3563 2360
 sales@sxalu.com
 +86 136 3563 2360
 العربية
 English
 français
 Deutsch
 русский
 español
 português
 ไทย
ไทย Việt
Việt Українська